How to add a toolbar to the keyboard
About 2 min
How to add a toolbar to the keyboard 관련
SwiftUI by Example
Back to Home
How to add a toolbar to the keyboard | SwiftUI by Example
How to add a toolbar to the keyboard
Updated for Xcode 15
New in iOS 15
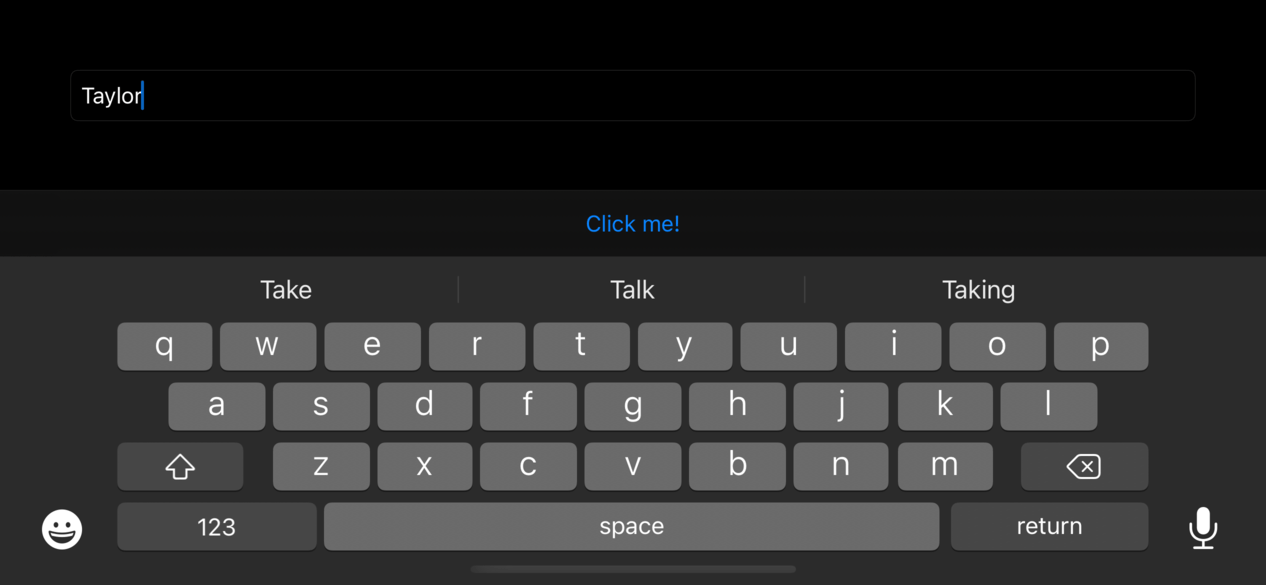
SwiftUI lets us add input accessory views to keyboards, which means that when the user activates some text entry we can present custom buttons there.
This is all done using by attaching the toolbar() modifier to whatever view should own the input accessory. When creating your toolbar item group, use a placement of .keyboard to attach this toolbar to the keyboard, like this:
struct ContentView: View {
    @State private var name = "Taylor"

    var body: some View {
        TextField("Enter your name", text: $name)
            .textFieldStyle(.roundedBorder)
            .toolbar {
                ToolbarItemGroup(placement: .keyboard) {
                    Button("Click me!") {
                        print("Clicked")
                    }
                }
            }
    }
}

In practice this is a great place to use something like @FocusState to move between input fields in your UI, or to hide the keyboard altogether, like this:
struct ContentView: View {
    @State private var name = "Taylor Swift"
    @FocusState var isInputActive: Bool

    var body: some View {
        NavigationStack {
            TextField("Enter your name", text: $name)
                .textFieldStyle(.roundedBorder)
                .focused($isInputActive)
                .toolbar {
                    ToolbarItemGroup(placement: .keyboard) {
                        Spacer()

                        Button("Done") {
                            isInputActive = false
                        }
                    }
                }
        }
    }
}
Similar solutions…
How to create a toolbar and add buttons to it | SwiftUI by Example
How to create a toolbar and add buttons to it
How to let users customize toolbar buttons | SwiftUI by Example
How to let users customize toolbar buttons
How to add keyboard shortcuts using keyboardShortcut() | SwiftUI by Example
How to add keyboard shortcuts using keyboardShortcut()
How to dismiss the keyboard for a TextField | SwiftUI by Example
How to dismiss the keyboard for a TextField
How to dismiss the keyboard when the user scrolls | SwiftUI by Example
How to dismiss the keyboard when the user scrolls