A complete guide for leveling up your CSS selector skills
A complete guide for leveling up your CSS selector skills 관련


Editor’s Note
This post was updated in July 2021 to reflect the latest information on CSS selectors, including the May 2021 CSS Pseudo-Elements Module Level 4 update.
I’ve been using CSS for many years now, but one thing I have not revisited in depth until recently is the topic of CSS selectors.
Why would I need to do this? We all know selectors inside-out by now, right?
The trouble is that (at least in my case) over time, it’s easy to get used to using the same trusted set of selectors on every project to achieve what you need to do.
So I took it upon myself to provide an in-depth review of CSS selectors and came across some interesting ones that were new to me, were used in a way that hadn’t occurred to me before, or will be available soon.
The latest CSS selectors specified by the W3C are contained in the Selectors Level 4 document, which was last updated in late 2018. Most of these selectors are in all of the major browsers now, but a few, such as :has(), are still pending. There is a separate specification for pseudo-elements, with the latest being CSS Pseudo-Elements Module Level 4, which was updated again in May 2021. So, there should be more coming soon!
I invite you to join me as I take a look at various types of CSS selectors. How many of these are you already using in your day-to-day work? I’d be interested to know.
Ready to level up your CSS selector skills? OK then, let’s go.
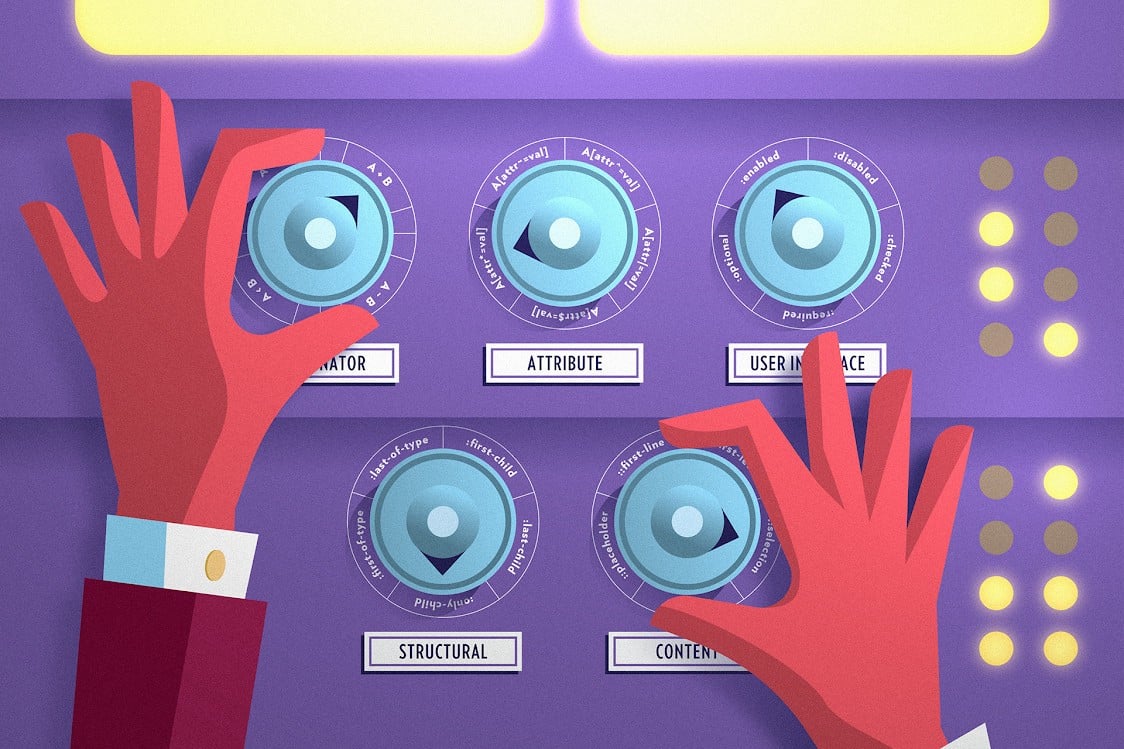
Combinator CSS selectors
Let’s start in familiar territory. Combinator selectors are used to select child elements, as well as siblings, and have been around for quite a while now.
- General child selector (space), e.g.,
A B - Direct child selector, e.g.,
A > B - Adjacent sibling selector, e.g.,
A + B - General sibling selector, e.g.,
A ~ B
The adjacent selector A + B should be familiar to you. It selects the element B, which immediately follows A. But what about the general sibling selector A ~ B? This selects all sibling elements B that follow A.
Here’s an example of them both in action:
The New York row is selected because it immediately follows the first row, and the last two cities are highlighted, as the general sibling selector matches all cities after the fourth one.
Attribute CSS selectors
I really like attribute selectors. They’re just so flexible when you need to match elements containing attributes with specific values.
This example demonstrates selecting all checkbox input elements and applying styles to their associated labels to make them bold and colored blue.
We then override the style for a checkbox with the specific name chk2 and color its associated label red. Notice how the other form element labels are unaffected and don’t have label styles applied.
Attribute selectors aren’t just for form elements though, they can target attributes on any element. You can match any attribute, not just officially supported ones. Furthermore, you can just check for the existence of an attribute as follows:
button
This matches <button> elements that contain an icon attribute. It will match the attribute whether it’s blank or if set to a specific value.
Some more examples:
The first link doesn’t have a target attribute, so isn’t matched. The next two links are matched because they either have a blank target attribute or one with a specific value. Finally, the last link is set to pink as it matches the fluffy attribute. Its value is irrelevant and just has to exist to match the a[fluffy] selector.
A practical example of this could be to highlight images that don’t have an alt attribute. This attribute is required for accessibility so for SEO purposes, it’s important to ensure all image elements contain this attribute.
We can use the following rule to achieve this:
img:not([alt]) {
 border: 2px red dashed;
}
If you want to match a specific part of an attribute value, then there are some very useful selectors available.
A[attr^=val] : attribute begins with valA[attr|=val] : attribute whose value exactly matches val OR begins with val, immediately followed by a dash (hyphen)A[attr$=val] : attribute ends with valA[attr*=val] : an attribute that contains val anywhere within the value stringA[attr~=val] : attribute where the value string is val OR contains val in a space-separated list
Here’s an example of each one:
The first two examples are very similar, except that A[attr|=val] also matches the value, followed by a dash-separated string. This can be useful for matching language attributes. e.g. <p lang="en-us">.
Matching file extensions is made easy with A[attr$="val"] and coupled with::after so you can easily display the matched file too. Note the use of attr() and concatenation to join it with a static string.
The A[attr*=val] shows how you can match a specific domain no matter what protocol or subdomain is used.
Finally, we have A[attr~=val], which is great for matching a value in an attribute made up of a list of values separated by spaces. This only matches the whole word not word fragments as the *= operator does so word plurals won’t match.
All of the above examples of attribute selectors are case-sensitive. But we have a trick up our sleeve. If we insert an i before the closing square brackets, we can switch on case-sensitive matching.
User interface selectors
If you’ve worked on styling forms, then you’ve undoubtedly encountered these types of pseudo-classes before:
:enabled:disabled:checked
For example, we can use :checked to style a simple to-do list.
This is pretty standard, but there are some other interesting pseudo-classes that we have at our disposal.
We can use pseudo-classes to match whether input values are valid or not directly with CSS, as well as check if any elements are required before the form can be submitted.
:valid:invalid:required:optional(i.e., not required)
If you start typing into the personal email input field, then it has to be valid. However, the work email address is always required and needs to be valid, so it can’t be left empty. Notice, too, how we can chain pseudo-classes (e.g., :required:invalid) to achieve what we need.
Next, we have two pseudo-classes that can match if a form element (that supports min and max attributes) is in range or not.
:in-range:out-of-range
Here, the valid range is between 10 and 20. If it is outside of the range, you see the red background. Again, we can use the reset button type to reset the default value of the number input element.
To round off this section, let’s take a look at the :read-only,:read-write, and:placeholder-shown pseudo-classes.
Using these allows you to easily match elements that are read-only, or writable (editable). Matched elements don’t have to be from input fields either, as demonstrated in the example Pen.
Finally,:placeholder-shown will match elements that haven’t been interacted with yet and still display the default placeholder text.
There are more pseudo-classes you may want to use for styling user interfaces such as:
- When an element has focus:
(:focus) - When a user hovers over an element:
(:hover) - When a link was visited:
(:visited) - When media is in different states:
(:playing)and(:paused).
You can consult this page to find out about more pseudo-classes.
Structural selectors
Structural selectors are very powerful and match elements based on their position in the DOM. They give you the flexibility to match elements purely with CSS that would otherwise require JavaScript to do the same thing.
This type of selector is different from the ones shown so far, as some of them allow you to pass in a parameter to modify how the selector works.
For example, :nth-child() has an argument that is used to match a specific child element relative to it. The value can be an index (beginning at 1) or an expression.
So, if we had a list of items the following selector would match the third item:
ul:nth-child(3)
It can be a simple expression instead that makes the pseudo-class even more powerful.
Valid expressions are:
ul:nth-child(2): matches the second child elementul:nth-child(4n): matches every fourth child element (4, 8, 12, …)ul:nth-child(2n + 1): matches every second child element offset by one (1, 3, 5, …)ul:nth-child(3n — 1): matches every third child element offset by negative one (2, 5, 8, …)ul:nth-child(odd): matches odd-numbered elements (1, 3, 5, …)ul:nth-child(even): matches even-numbered elements (2, 4, 6, …)
The expression variable n always starts as zero, so to work out exactly what elements will be matched, start with n as zero, then n as 1, and so on to compile a list of elements.
You can use :nth-last-child() to match child elements counting backward (starting from the last child element). If you want to match child elements of a certain type, you can use :nth-of-type() that counts forward (starting from the first sibling element), and :nth-last-of-type() that counts backward.
You can use an index or an expression as the parameter for all of these structural selectors.
:nth-last-child() and:nth-last-of-type() are very similar to:nth-child() and:nth-of-type(), except that they match from the last element rather than the first.
You can get quite creative with selectors by playing around with various combinations. For example, the previous Pen example contained the selector:
ul:last-of-type li:nth-last-of-type(2)::after {
  content: “ (2nd from end)”;
  /* Other styles… */
}
This matches the pseudo-element that comes after the second from the last list item inside the last unordered list. If you’re ever struggling to decode a complicated selector, then it’s best to read it from right to left so it can be deconstructed logically.
The next set of selectors are specialized structural selectors as they match specific child elements only. You can’t pass expressions to them to modify their behavior.
:first-child:last-child:only-child:first-of-type:last-of-type
At first glance, there’s a lot going on here and you need to be careful when using these types of selectors, as you might get results you weren’t expecting.
For example, you might be wondering why the And so on… text is blue inside the <section> tag. Actually, all the section content is blue, as it’s the last child of the main div container. Other section elements have their own colors overridden via other selectors leaving the single paragraph colored blue.
CSS content selectors
Content selectors belong to a specialized set of selectors for matching content. The ones available for us to use right away are:
::first-line: matches the first line of a block-level element::first-letter: matches the first letter of the first line of a block-level element::selection: matches the part of a document that has been highlighted by the user (such as clicking and dragging the mouse across text)
::first-lineand::first-letter only work if applied to block-level elements. Also, be careful to use ::first-letter only on specific elements, otherwise, every single paragraph would have a drop cap, which is probably not what you want!
There are some exciting content selectors in the works which aren’t available right now, but when they are supported they’ll open up all sorts of possibilities.
Here’s a list of content selectors to watch out for:
::spelling-error: check spelling and grammar for editable elements::grammar-error: matches grammatical errors::target-text: the text directly targeted by the URL fragment. This is currently available as an experimental feature in Chrome and Edge
Miscellaneous selectors
We’ve just got time to mention a couple of other selectors that didn’t fit into any of the previous categories. Don’t worry, we’re almost done!
The:target selector targets an element with an ID that matches part of the current URL. So if we had an element with an idofpart1and the URL:
https://mysite.com#part1
We could match that element with:
:target { border: 1px red solid; }
If you have a large selector, then :is() can help simplify it. For example, if you had the following selector:
nav p.content,
header p.content,
main p.content,
sidebar p.content,
footer p.content {
  margin: 15px;
  padding: 10px;
}
Then can be simplified with:is()and is equivalent to:
:is(nav, header, main, sidebar, footer) p:content {
margin: 15px;
padding: 10px;
}
Nice! This will help to make style sheets much more readable.
Next, we have :any-link, which is a convenience selector and does the same as :linkand:visitedcombined.
So, these two selectors would effectively be the same:
:any-link {
  color: red;
}
:link, :visited {
  color: red;
}
And that brings us to the last selectors we’ll be looking at in this article:
:dir():lang()
Both these relate to the language of your site.
:dir()takes in a parameterltrorrtl, depending on the direction of text you want to match, and it’s only currently supported in Firefox.
:dir(rtl)would match all elements with content with RTL direction.
Every element in an HTML document can set its own individual language by using the lang attribute.
<div lang=”en”>The language of this element is set to English.</div>
<div lang=”el”>Η γλώσσα αυτού του στοιχείου έχει οριστεί στα ελληνικά.</div>
<div lang=”is”>Tungumál þessa þáttar er sett á íslensku.</div>
The same basic text is entered into three<div> tags but with the specific country added to the end of the content. Also, the country codes used in the lang attribute represent the corresponding country.
en: English languageel: Greek languageis: Icelandic language
The<div>elements can be matched using the:lang()selector:
:lang(en) { color: red; }
:lang(el) { color: green; }
:lang(is) { color: blue; }
Here’s a Pen to demonstrate:
Resources for CSS selectors
If you get stuck trying to figure out a selector or need to dig deeper into the CSS specifications, here are some useful resources that you might want to check out:
- CSS Diner: this is a fun game to test out your selector prowess
- MDN Web Docs: a go-to resource for CSS
- CSS Specifications: specifically Selectors Level 4 and CSS Pseudo-Elements Module Level 4, for the latest selectors, pseudo-classes, and pseudo-elements
- Can I Use: to check browser compatibility
Conclusion
I hope you’ve found this article useful. I certainly had a lot of fun brushing up on my CSS selector skills and playing around with the various possibilities. There’s a lot of cool things you can do now using pure CSS, which is exciting for designers who can do some pretty advanced styling and animation in pure CSS, and all without a single line of JavaScript in sight. Happy styling!