How to add an inspector to any view
How to add an inspector to any view 관련
Updated for Xcode 15
New in iOS 17
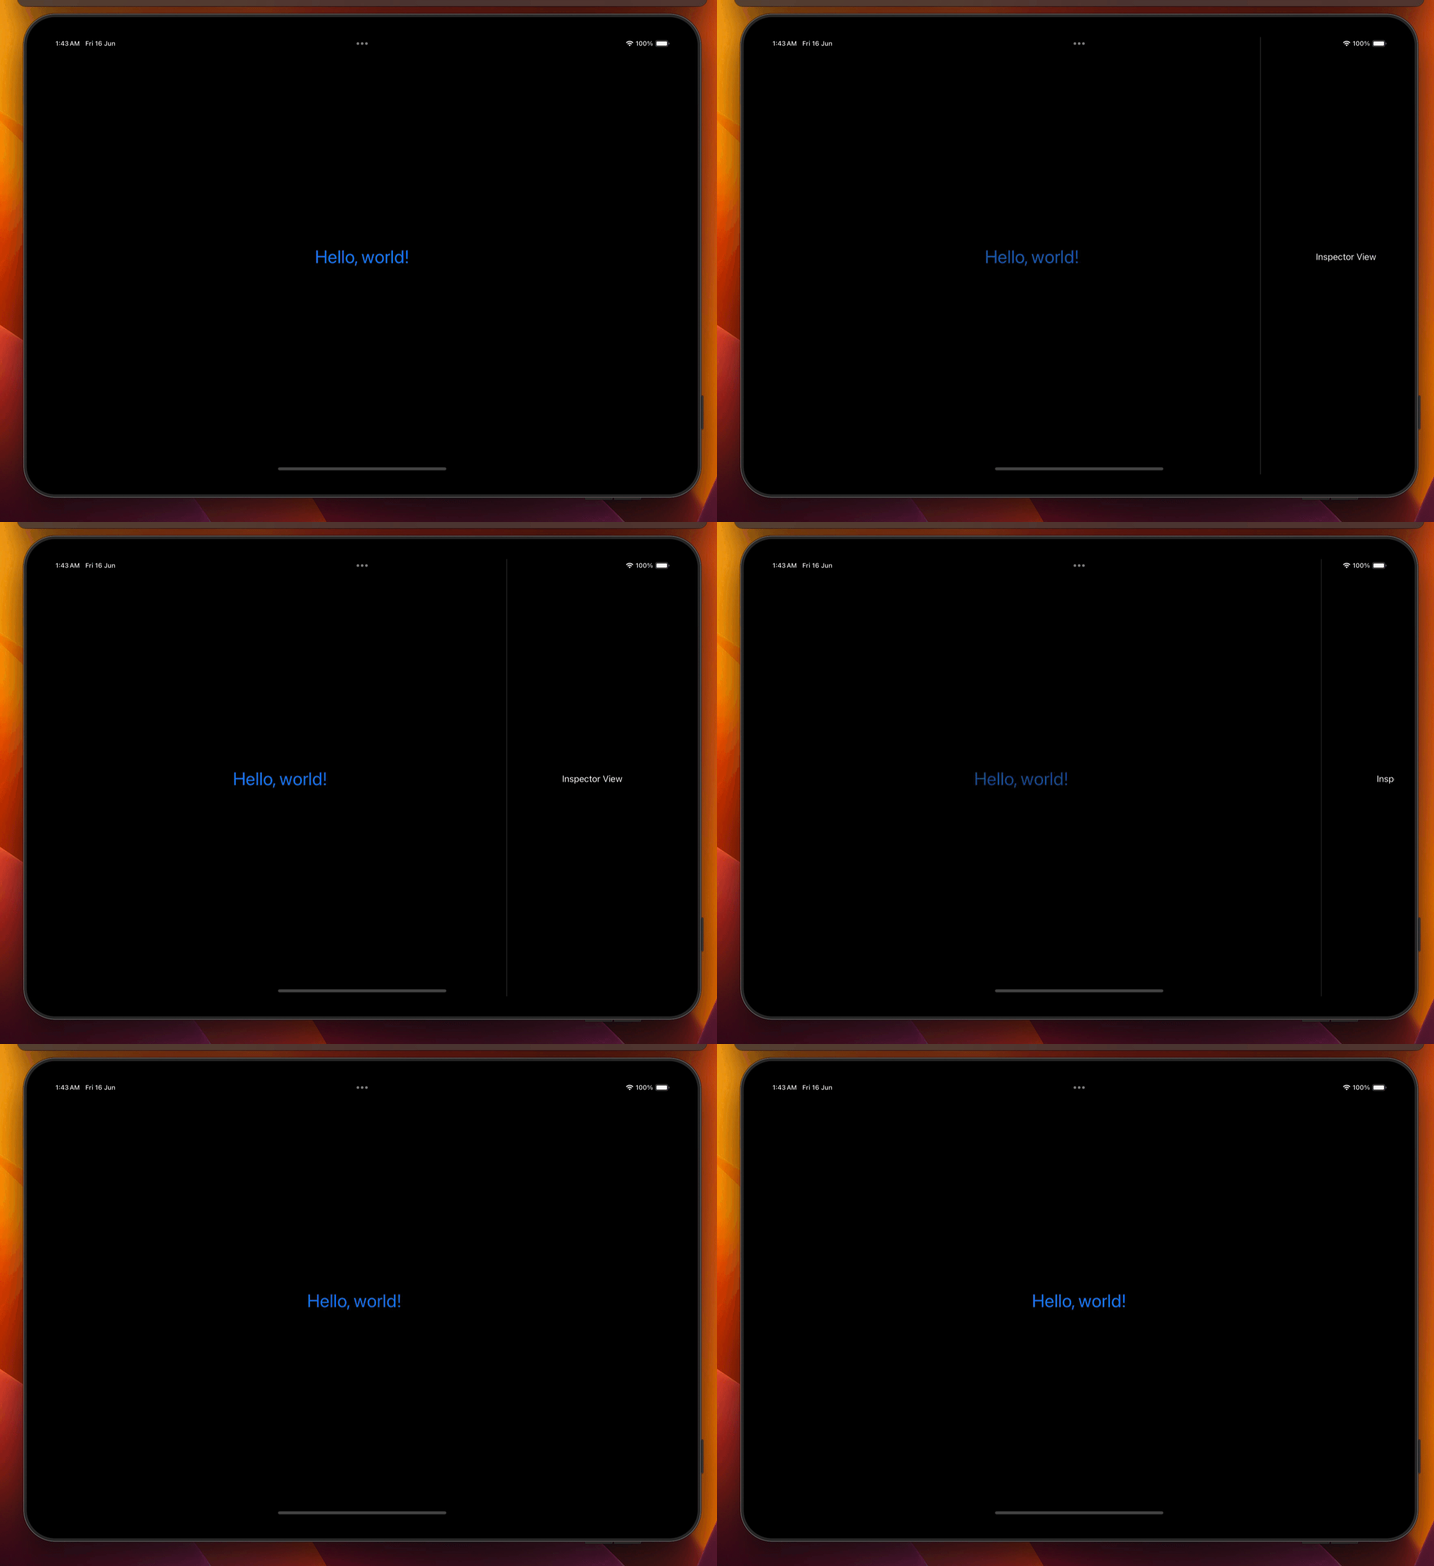
SwiftUI's inspector() modifier lets us add an inspector view anywhere we need it. This works just like Xcode: the inspector slides in on the trailing edge of your UI, and can work alongside NavigationStack or NavigationSplitView as needed.
As a simple example, this brings up an inspector view when a button is pressed:
struct ContentView: View {
    @State private var isShowingInspector = false

    var body: some View {
        Button("Hello, world!") {
            isShowingInspector.toggle()
        }
        .font(.largeTitle)
        .inspector(isPresented: $isShowingInspector) {
            Text("Inspector View")
        }
    }
}

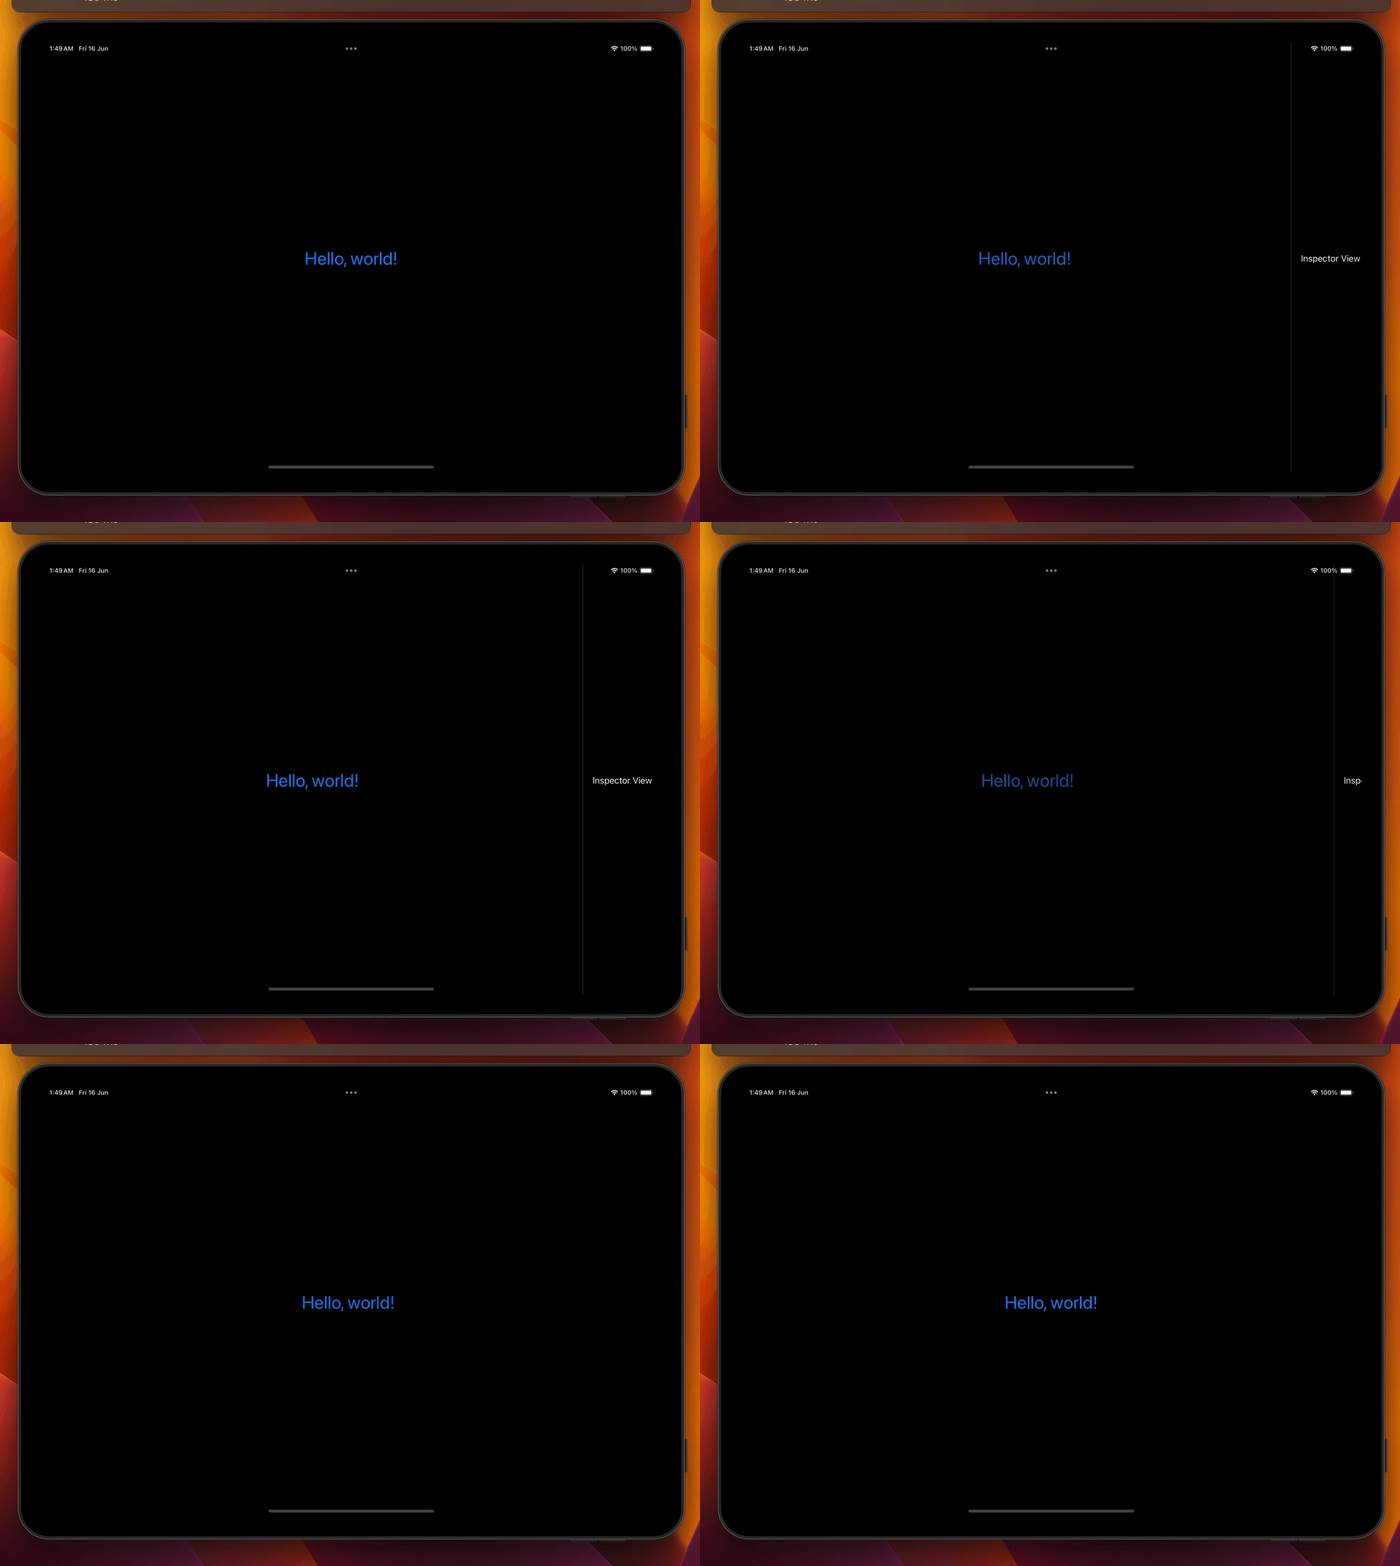
When there's lots of space, such as with full-screen iPad apps or macOS, the inspector sits alongside the button. However, when space is restricted such as on iPhone, the inspector slides up as a sheet.
On platforms that support it, you can adjust how much space the inspector occupies by providing it with a fixed size (.inspectorColumnWidth(500)) - or by providing it with a range of sizes (.inspectorColumnWidth(min: 50, ideal: 150, max: 200)). This modifier should be applied to the contents of the inspector, like this:
struct ContentView: View {
    @State private var isShowingInspector = false

    var body: some View {
        Button("Hello, world!") {
            isShowingInspector.toggle()
        }
        .font(.largeTitle)
        .inspector(isPresented: $isShowingInspector) {
            Text("Inspector View")
                .inspectorColumnWidth(min: 50, ideal: 150, max: 200)
        }
    }
}

The ideal size will be used for your inspector's size when it's first shown, but the system will remember changes from the user.
You can add multiple inspectors if you want, although I'm not sure it's a good idea.