
Zustand vs useState – How to Manage State in React Apps
Zustand vs useState – How to Manage State in React Apps 관련


State management in React applications has evolved a lot in recent years, especially with the advancement of functional state and the introduction of hooks.
Developers have more flexibility and state management has generally become simpler. But as applications grow, they become more complex to manage – and you may find yourself needing a more robust state management solution.
React hooks provide built-in solutions to managing the state of your applications – for example, with the useState() hook. But there are other libraries like MobX, Zustand (zustand), and Recoil that ca help make state management easier.
In this article, I’ll focus on Zustand and compare it with the useState() hook. You can check out a comparison of useState() and Redux here if you want to learn more about Redux and how it compares to useState().
To get started, I want to make sure you understand how both useState() and Zustand work. Then we'll compare them to see which is a better solution for your project.
Prerequisites
Before you begin coding, please ensure you have the following:
- Node.js installed on your system.
- A basic understanding of React.js.
- A code editor that you prefer, such as Visual Studio Code, or Sublime Text.
How to Use useState() for State Management
Overview of useState hook
useState() is a built-in React Hook that allows functional components to manage state without using class components. It provides a simple way to declare state variables and update them within functional components.
For more information on the useState() hook, you can check out this tutorial. It will provide you with detailed insights and examples related to useState() in React.
Basic usage and syntax
The syntax for useState() is straightforward. It takes an initial state as an argument and returns an array with the current state value and a function to update that value.
// useState() syntax
const [text, setText] = useState();
Let's look at an example of how to use useState().
Initial state of the application:
const Usestate = () => {
  return (
    <div className='container'>
      <h1>
       State management using useState()
      </h1>
      <br />
      <div className='input'>
        <input
          type='text'
          className='input'
        />
        <button>
          Change Color
        </button>
      </div>
    </div>
  );
}

export default Usestate;
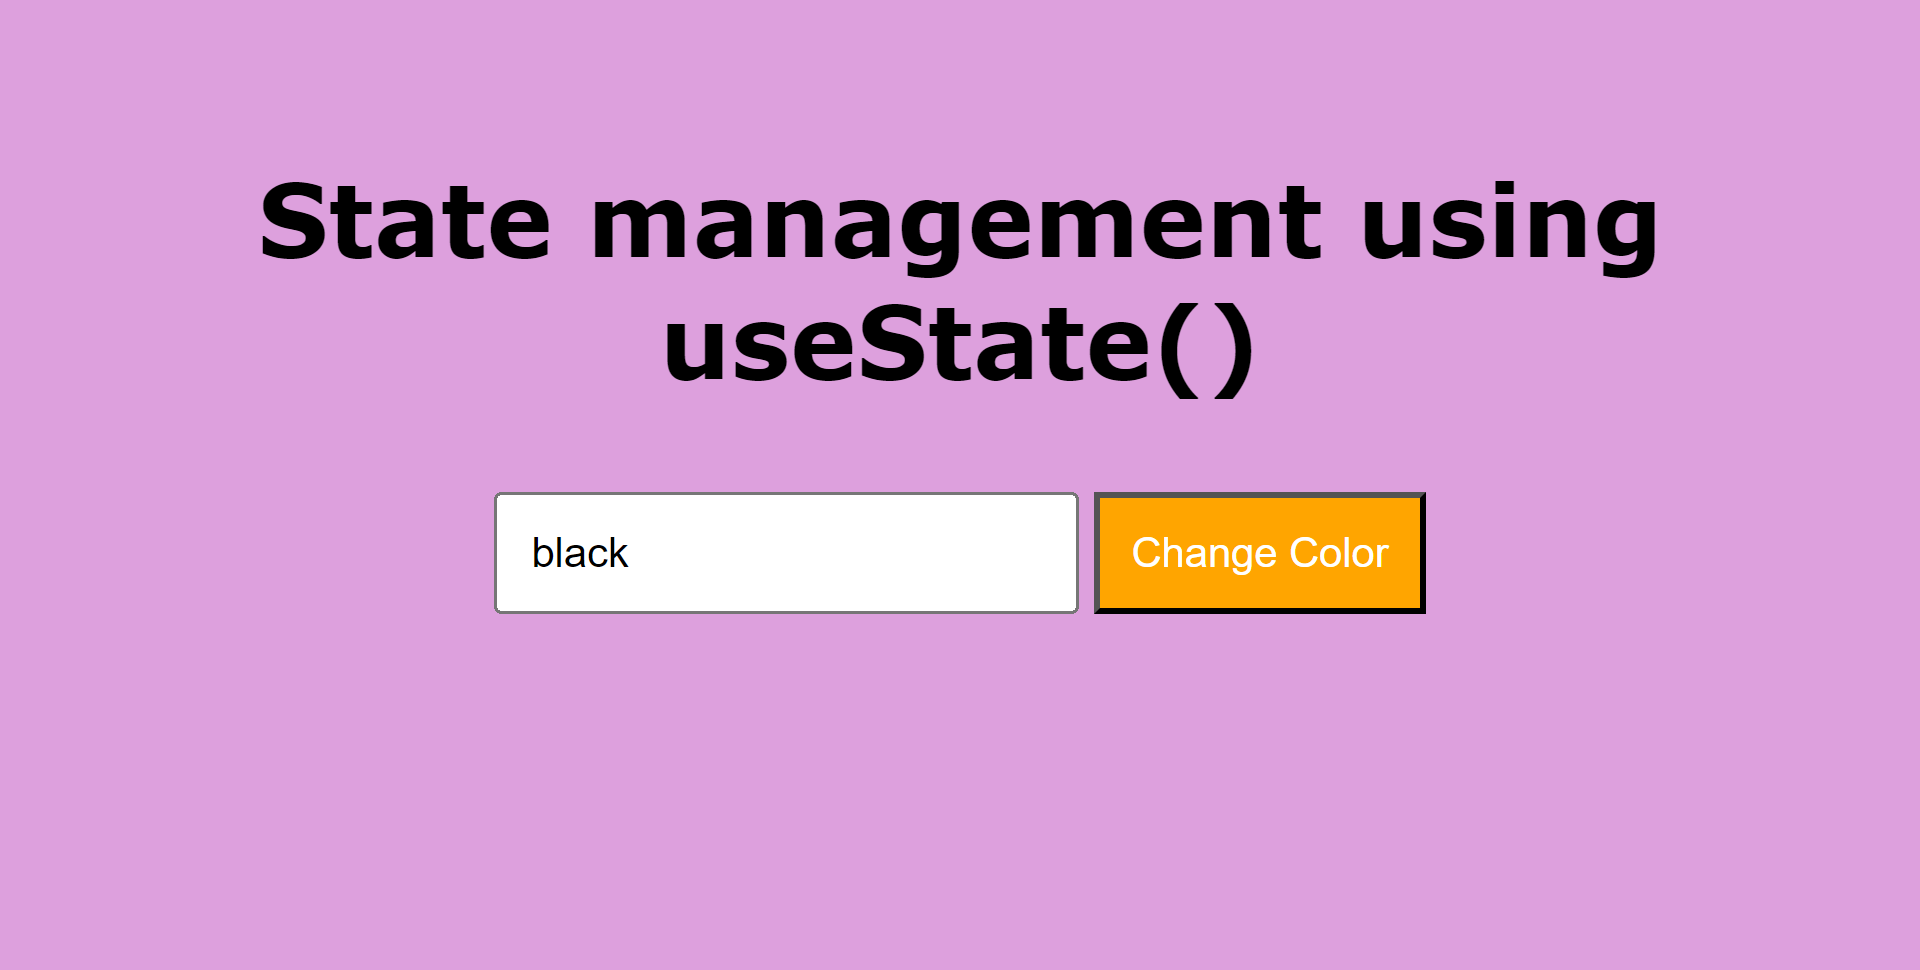
In the above code, we have a React component named Usestate. It renders a simple interface with a heading "State management using useState()", a text input field, and a button labeled "Change color".
Here's the result of that code:
Now, let's add useState() and making it functional. Here's the code:
/**
 * An example showing the state of an application using Usestate()
 **/

import { useState } from "react";

const Usestate = () => {
  const [text, setText] = useState('black');
  const [color, setColor] = useState('black'); // Another state to store the chosen color by the user

  const handleInputChange = (e) => {
    setText(e.target.value);
  };

  // A function has been declared
  const handleButtonClick = () => {
    setColor(text); // it updates the chosen color when the button is clicked
  };

  return (
    <div className='container'>
      <h1 style={{color:color}}>
        State management using useState()
      </h1>
      <br />
      <div className='input'>
        <input
          type='text'
          className='input'
          value={text}
          onChange={handleInputChange}
        />
        <button className='btn' onClick={handleButtonClick}>
          Change Color
        </button>
      </div>
    </div>
  );
}

export default Usestate;
In the above code, the state variable text is set to the initial state (color) using useState(). The setText function is set to update the value of color when the button is clicked.
The second state defined stores the color update from the user. So the text color remains unchanged until the button is clicked. Once the button is clicked, the color state updates with text value, changing text color to what the user types.
Here's the result:

useState() to the applicationPros and cons of useState()
Pros:
- Built-in to React, so no need for additional dependencies.
- Simple and intuitive API, easy to understand and use.
Cons:
- Limited to managing local component state.
- Can lead to prop drilling in deeply nested components which can cause confusion if you don't understand prop drilling.
- Complex state management scenarios may require additional logic to handle.
To learn more about useState() and other functional hooks check out this article: Simplify your React programming effortlessly with these 8 amazing hooks.
How to Use the Zustand Library for State Management
Overview of Zustand
Zustand is a handy state management tool for managing state in React apps. It's small, works quickly, and grows with your needs.
With Zustand, you can create and update states globally that can be easily shared between different parts of your app. It's like having a central hub for your app's information, making it simple to organize and access data from anywhere in your application.
Zustand basic usage and syntax
To get started with Zustand, follow these steps:
First, start by installing Zustand in your React application using the command:
npm install zustand
yarn add zustand
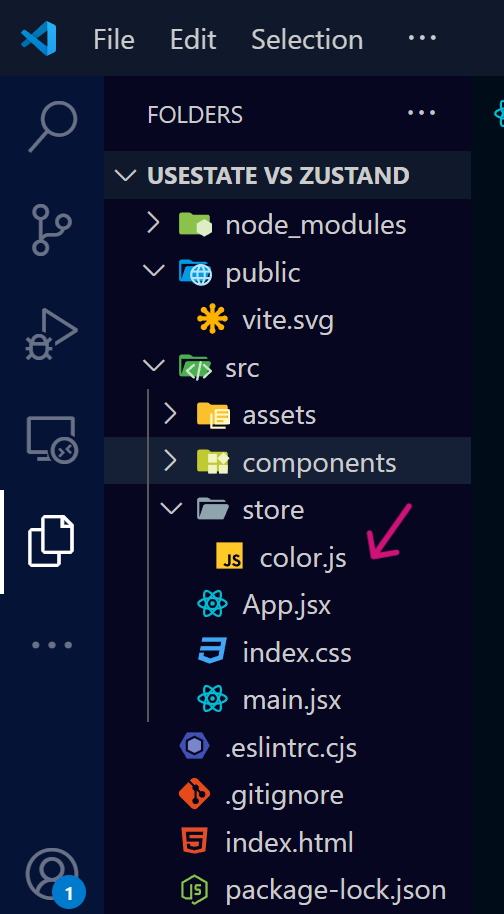
Next, in your React application, navigate to the src directory and create a new folder called store.
Inside the store folder, create a file named color.js (or any preferred name). This a JavaScript file to define your state.
Then, in that color.js file, import the create function from Zustand to begin setting up your state management:
/**
 * importing create function
 */
import { create } from zustand
We're going to use the create function to build a custom hook, which acts as the main access point to our store.
The color.js file is where we'll keep all our state values and the actions. Think of actions as the updated values. It's similar to how you use useState().
/**
 * The store defining your state in one place
 */
import { create } from 'zustand';

// Create a custom hook called useColor
export const useColor = create((set) => ({
  // Initial state: text and color both set to 'black'
  text: 'black',
  color: 'black',

  // Function to update text state
  setText: (text) => set({ text }),

  // Function to update color state
  setColor: (color) => set({ color }),
}));
Let's go over what this code is doing:
- This code creates a special tool (a hook) called
useColorusing Zustand. - The
useColortool helps keep track of two things: the text and the color. - At the start, both the text and the color are set to "black".
- There are two other tools inside
useColor:setText, which is used to change the text to whatever we want, andsetColor, which is used to change the color to any color we choose.
Creating this store involves defining it in a file. This makes it reusable throughout your whole app and makes it global. It removes the need to worry about passing props.
Then you need to pass it to your component to be used:
/**
 * The components where you want to use a state
 */
// First we will import useColor from a folder named 'store'
import { useColor } from '../store/color';


const UseZustand = () => {
  // we will bring in the functions we defined in color.js and destructure it so we can use it in our component
    // pass a state into the custom hook we created; this state will now be used to set and update the values
  const { text, color, setText, setColor } = useColor((state) => ({
    text: state.text,
    color: state.color,
    setText: state.setText,
    setColor: state.setColor,
  }));


  const handleInputChange = (e) => {
    setText(e.target.value);
  };


//Function defined for the button
// When the button is clicked, we use setColor to change the color to what we typed
  const handleButtonClick = () => {
    setColor(text);
  };


  return (
    <div className='container'>
      <h1 style={{ color: color }}>
        State management using Zustand
      </h1>
      <br />
      <div className='input'>
        <input
          type='text'
          className='input'
          value={text}
          onChange={handleInputChange}
        />
        <button className='btn' onClick={handleButtonClick}>
          Change Color
        </button>
      </div>
    </div>
  );
};


export default UseZustand;
In summary:
- We're using a tool called
useColorto keep track of text and color. - Inside our app section
UseZustand, we allow users to type something and change its color by clicking a button.
Here what the final output looks like:

Pros:
- Global state management without prop drilling.
- Simple and concise for defining and accessing state.
- Built-in support for middleware and devtools.
Cons:
- Requires additional dependency compared to useState.
- May introduce a learning curve for developers new to the library.
How Does Zustand Differ from useState?
Unlike useState(), Zustand allows developers to create and manage global state that can be accessed from any component in the application without prop drilling.
It offers a more centralized approach to state management.
Factors to ### consider when choosing between Zustand and useState
Here are some simple things to think about when choosing between Zustand and useState:
- State Complexity: If your app's state is simple, useState might be fine. But for more complex state needs, Zustand could be better.
- Speed: Zustand is known for being fast, which is great if your app needs to be quick.
- Team Skills: If your team already knows how to use React Hooks, useState might be easier. But if they're open to learning something new, Zustand could be worth a try.
- App Growth: Consider how your app might grow over time. Zustand's centralized approach can make it easier to handle state as your app gets bigger.
- Community Support: See what resources and help are available for Zustand and useState. A strong community can be helpful.
Thinking about these things should help you decide. It will show you which state management option is best for your project.
What Are ### the Differences Between These Two State Management Tools?
The difference in the two tools lies in their feature with this you can make an informed decision.
| Feature | useState | Zustand |
|---|---|---|
| Complexity Handling | Good for simple state in one component | Better for complex state shared across many components |
| State Scope | Local to one component | Global state that can be used by any component |
| Performance | Works well for small tasks | Designed to reduce re-renders |
| Ease of Use | Very simple to start with, no setup needed | Needs a bit more setup, more features but a bit harder to learn |
| Scalability | Can get tricky as the app grows, often needs other tools for big apps | Handles growth well, easier to manage state in big apps |
| Support and Tools | Part of React, lots of help and info available, no extra libraries needed | Separate library, good support, not as much info as useState but still good |
| Learning Curve | useState is easier to learn | Zustand has a slightly steeper learning curve due to its store creation process. |
Use Cases
- For simple state management, useState() is often enough.
- Zustand offers advantages like centralized state and reducing prop drilling in complex apps.
- Regarding performance, Zustand is built to be fast and efficient. It's made to reduce unneeded re-renders of your components. These can make your app run smoother.
Don't know what to build with useState() or zustand? You can check out this very simple application built with React: Birthday Reminder. And here it is on my GitHub ((ijayhub/Birthday-reminder).
Conclusion
In conclusion, Zustand and useState() are both useful for managing state in React. They serve different purposes based on your project's requirements and scale. You should understand the strengths and weaknesses of each approach in order to choose the best state management option for your app.
Have you used Zustand or useState() before? Share your experiences, insights, and tips on Twitter (ijaydimples)! Your input could make a real difference for other developers grappling with state management in React.
You can read theZustand documentationto learn more.
If you found this article helpful, share it with others who may also find it interesting.
Stay updated with my projects by following me on Twitter (ijaydimples) and LinkedIn (ijeoma-igboagu) or check out my BioDrop.
If you enjoy what I do and want to show your support or want to show some💖, consider buying me a coffee☕ or checking out my e-Book for kids! Your support means a lot to me!
Keep learning, keep sharing, and happy coding!
Thank you for reading💖.
