Creating our first unit test using XCTest
Creating our first unit test using XCTest 관련

At the core of test-driven development lies the concept that you should begin by writing a test that succeeds only when your code works the way you want it to. It might seem strange at first, but it makes a lot of sense: your new test will fail at first because your program doesn't do the right thing, then it's your job to write just enough code (but no more!) to make that test pass.
We're going to follow this approach here, but we need to do a little bit of setup work first so that we're able to write a failing test. So: go to the File menu and choose New > File. From the list of options, choose iOS > Source > Swift File. Click Next, then name it PlayData. We'll be using this to store all the words in the plays.
The goal right now is to write just enough code for us to return to testing, so for now just put this text into the file:
class PlayData {
    var allWords = [String]()
}
That's it: there's a class called PlayData, and we've given it a property called allWords that will hold an array of strings. We're not going to fill that array with data yet, though: first we need to write a test to check that allWords has been populated with the words from the plays.txt file. For now, just to make sure you understand how an XCTest works, we're going to write a test that checks allWords has exactly 0 strings inside it.
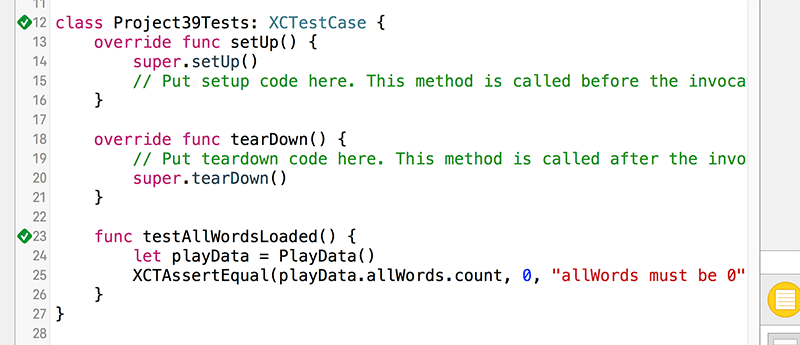
Look in the "Project39Tests" for Project39Tests.swift and open it for editing. You'll see it contains four methods: setUp(), tearDown(), as well as two example test methods, all wrapped up in a class that inherits from XCTestCase.
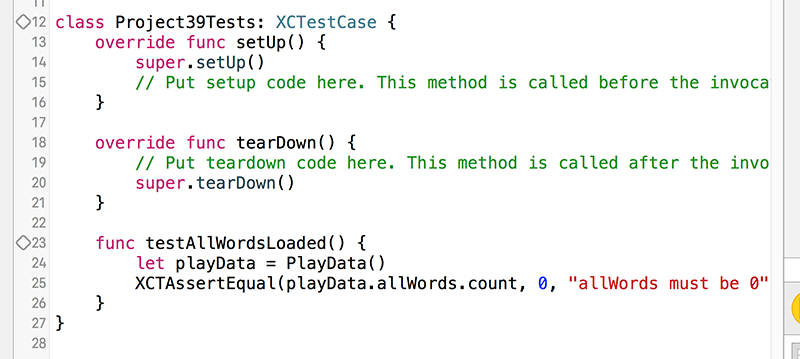
Please delete the two test methods, so your file is left like this:
import XCTest
@testable import Project39

class Project39Tests: XCTestCase {
    override func setUp() {
        super.setUp()
        // Put setup code here. This method is called before the invocation of each test method in the class.
    }

    override func tearDown() {
        // Put teardown code here. This method is called after the invocation of each test method in the class.
        super.tearDown()
    }
}
We're going to write a very basic test that checks allWords has 0 items inside. Please add this method just below tearDown():
func testAllWordsLoaded() {
    let playData = PlayData()
    XCTAssertEqual(playData.allWords.count, 0, "allWords must be 0")
}
If we include the method name and the closing brace, that's only four lines of code, none of which look that difficult. However, it masks quite a lot of functionality, so I want to walk through exactly what it does and why.
First, the method has a very specific name: it starts with "test" all in lowercase, it accepts no parameters and returns nothing. When you create a method like this inside an XCTestCase subclass, Xcode automatically considers it to be a test that should run on your code. When Xcode recognizes a test, you'll see an empty gray diamond appear in the left-hand gutter, next to the line numbers. If you hover over that – but don't click it just yet! – it will turn into a play button, which will run the test.
The first line of our testAllWordsLoaded() method does nothing surprising: it just creates a new PlayData object so we have something to test with. The second line is new, though, and uses a function called XCTAssertEqual(). This checks that its first parameter (playData.allWords.count) equals its second parameter (0). If it doesn't, the test will fail and print the message given in parameter three ("allWords must be 0").
XCTAssertEqual() lies at the center of XCTest: if all the calls to XCTAssertEqual() in a test return true, the test is considered a pass, otherwise it will fail. There are other assert functions you can use (XCTAssertGreaterThan(), XCTAssertNotNil(), etc), but you can do almost everything with XCTAssertEqual() just by using the correct parameters.
Now that you understand how the test works, hover over the gray diamond next to the test and click its play button. Xcode will run this single test, which means launching the app in the iOS Simulator and verifying that the allWords array contains 0 items. Because we haven't written any loading code yet, this test will succeed and the diamond will turn into a green checkmark. You'll also see a green checkmark next to the class name at the top, which means that all tests in this class passed last time they were run.