ii. Hello, SwiftUI
ii. Hello, SwiftUI 관련

Start your app development journey by getting to know Xcode, Swift, and SwiftUI.
In your first project, ChatPrototype, you’ll code a chat conversation using text views. The text and colors in the project are just suggestions, so feel free to make it your own by changing the words and style.
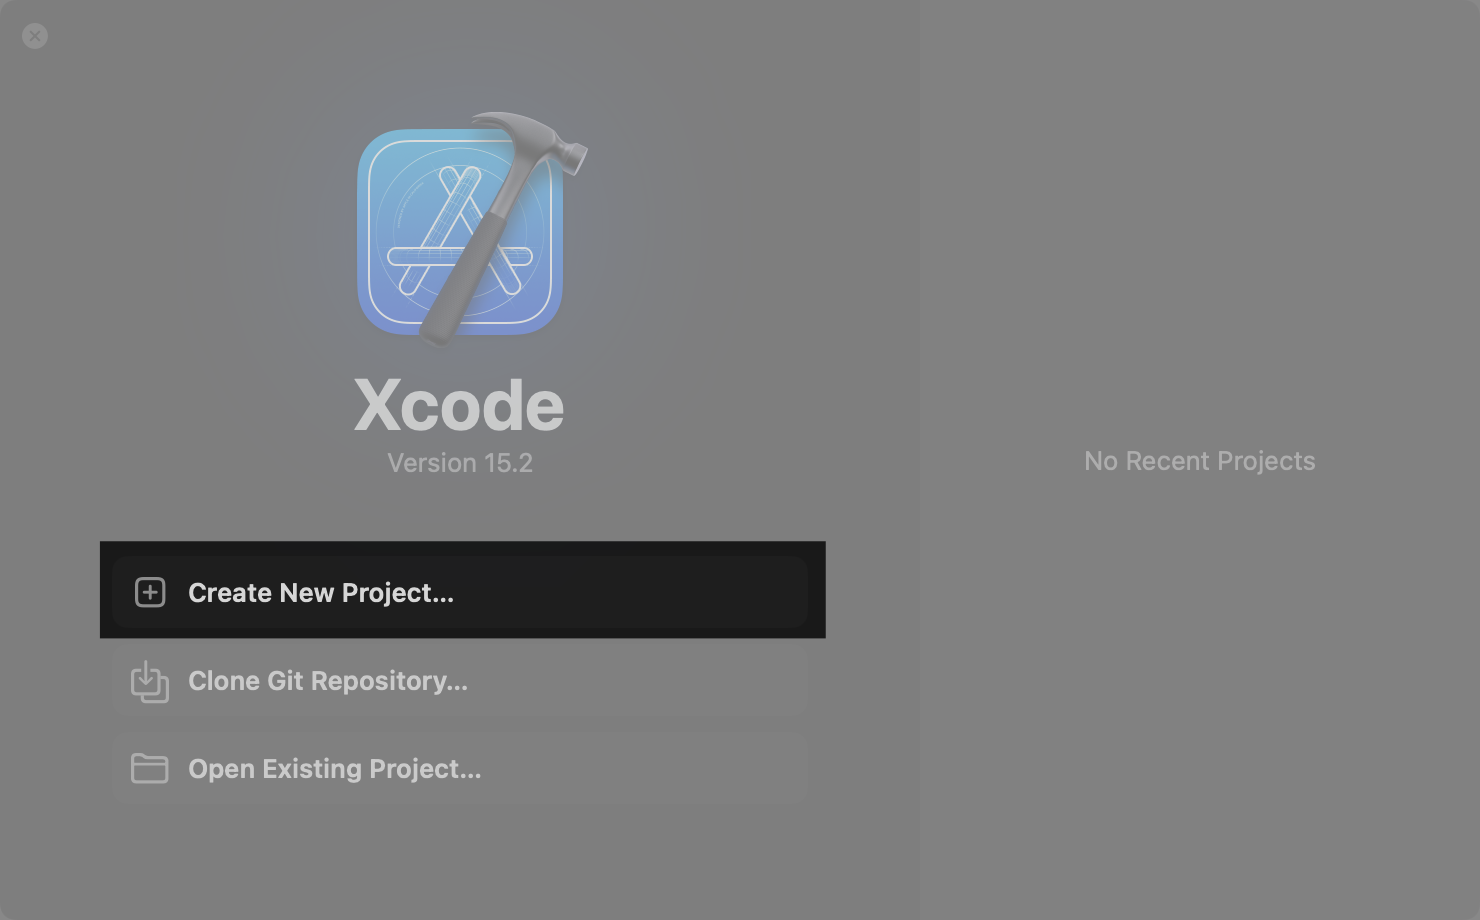
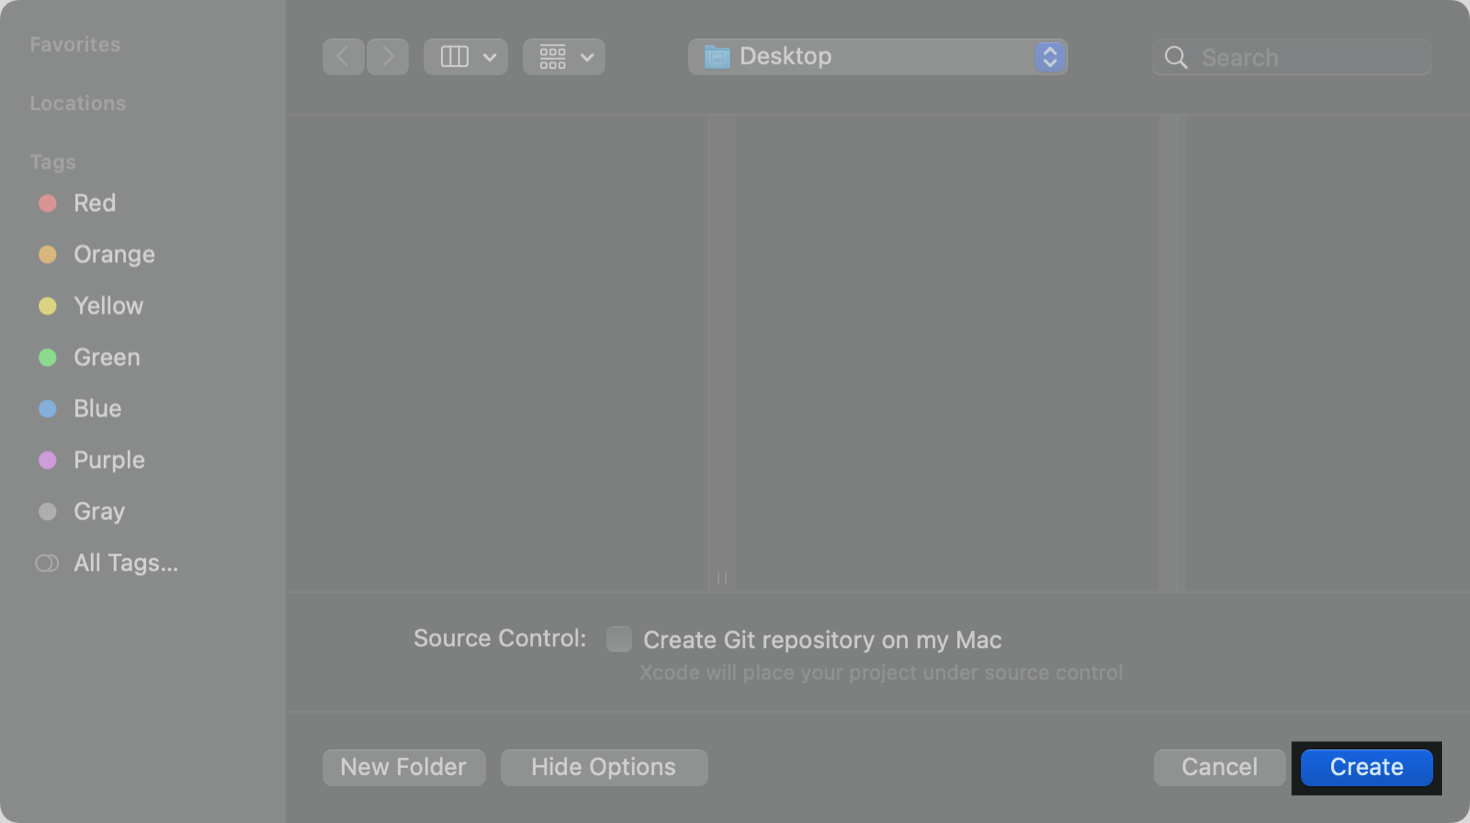
Create a new project
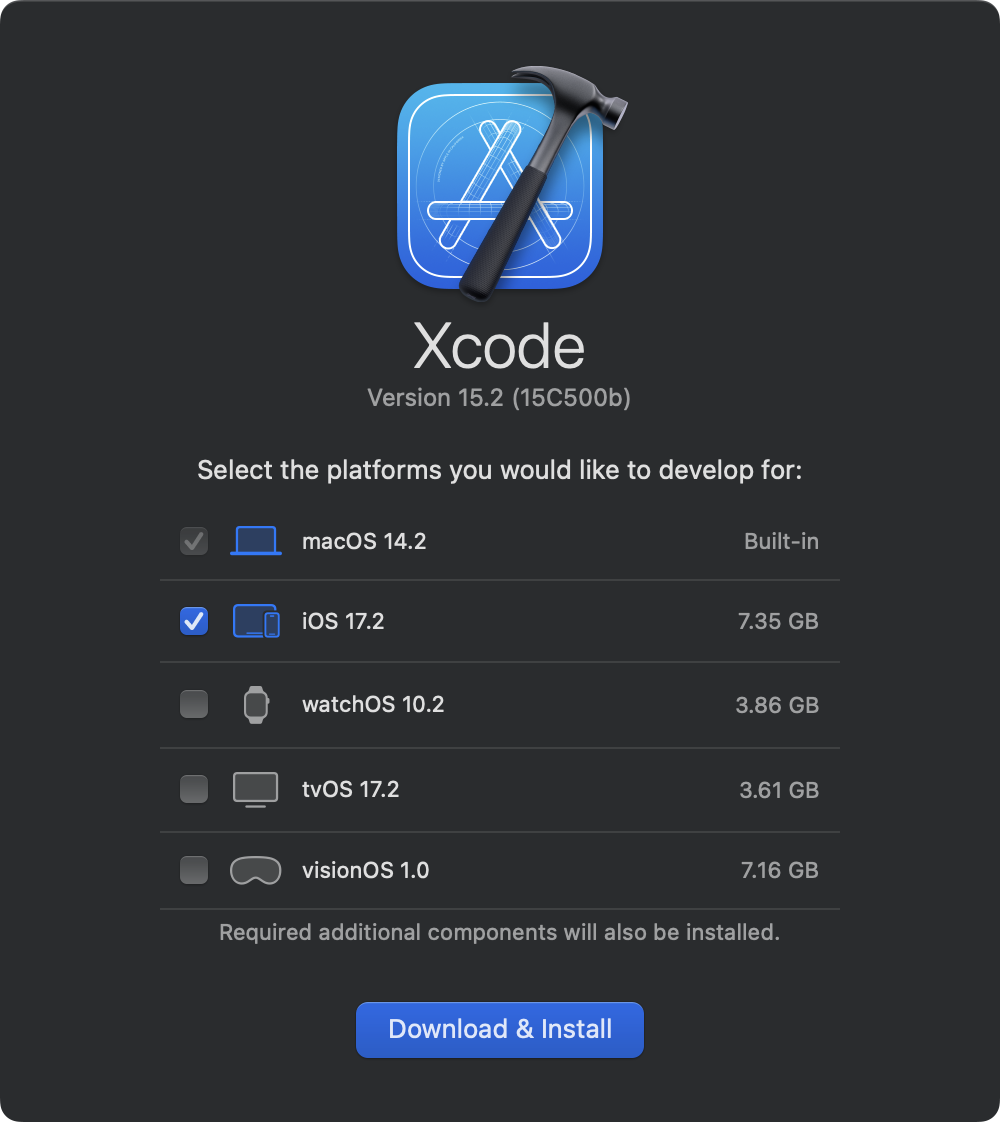
Begin by downloading Xcode, the tool you use to create apps.
Xcode manages all the files that make up an app: images, icons, project settings, and code.
If you haven’t already done so, install Xcode from the Mac App Store.
Xcode is a large app, so you’ll need to give your computer time to install it.
A project contains all the components of an app — from the source code that describes how it runs to the icon that represents it.

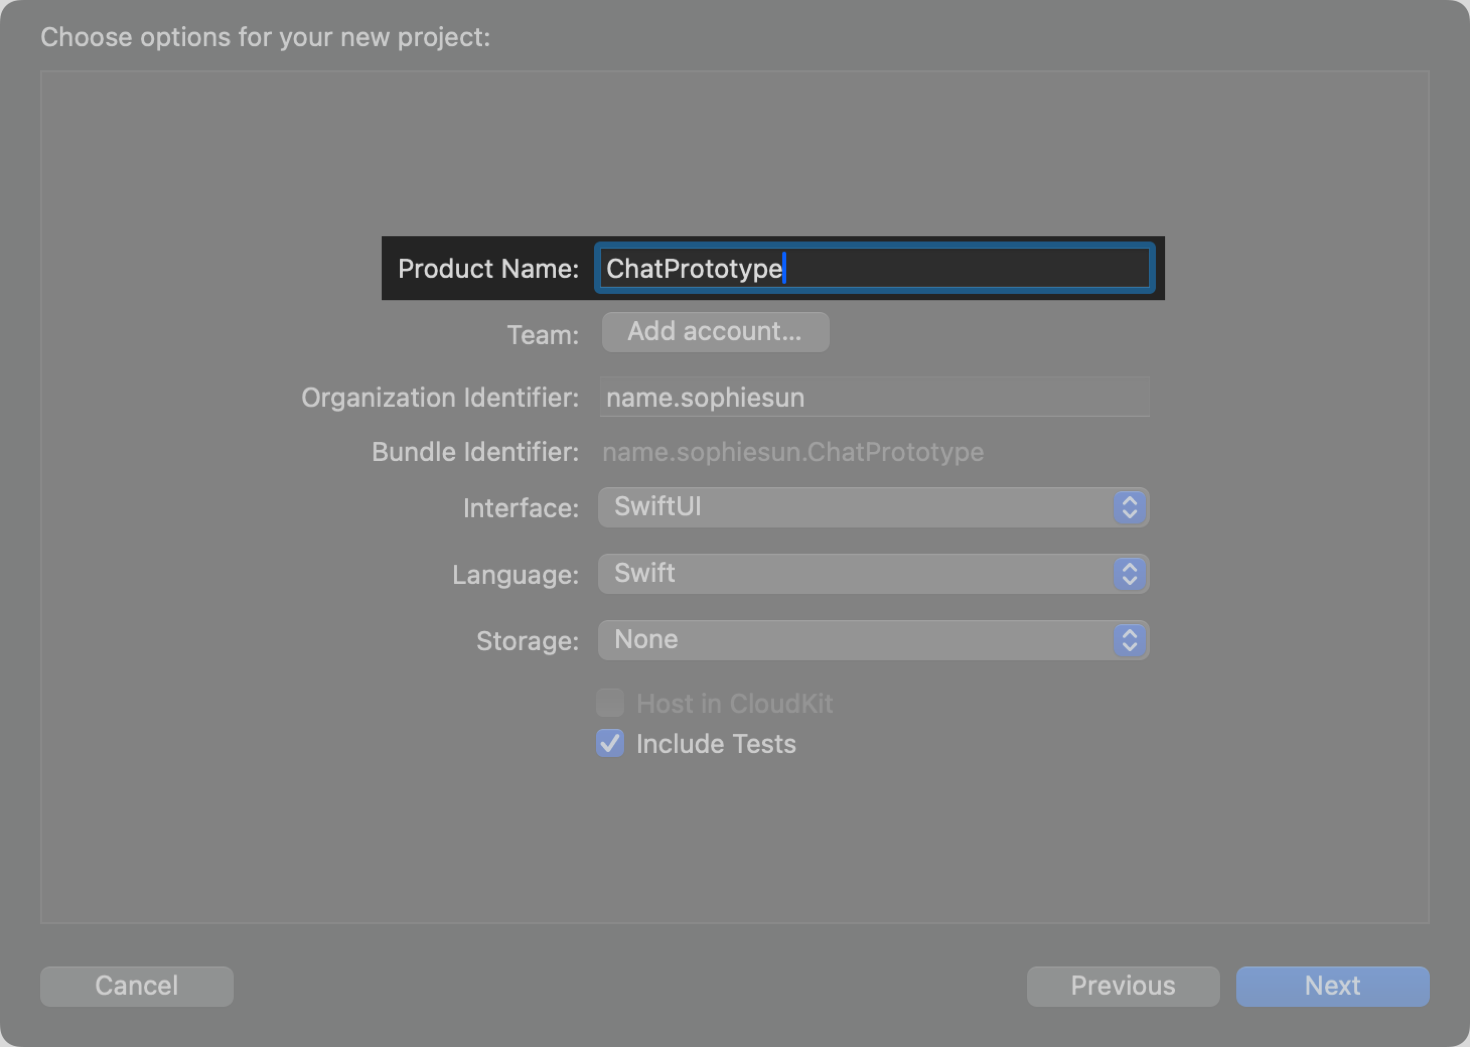
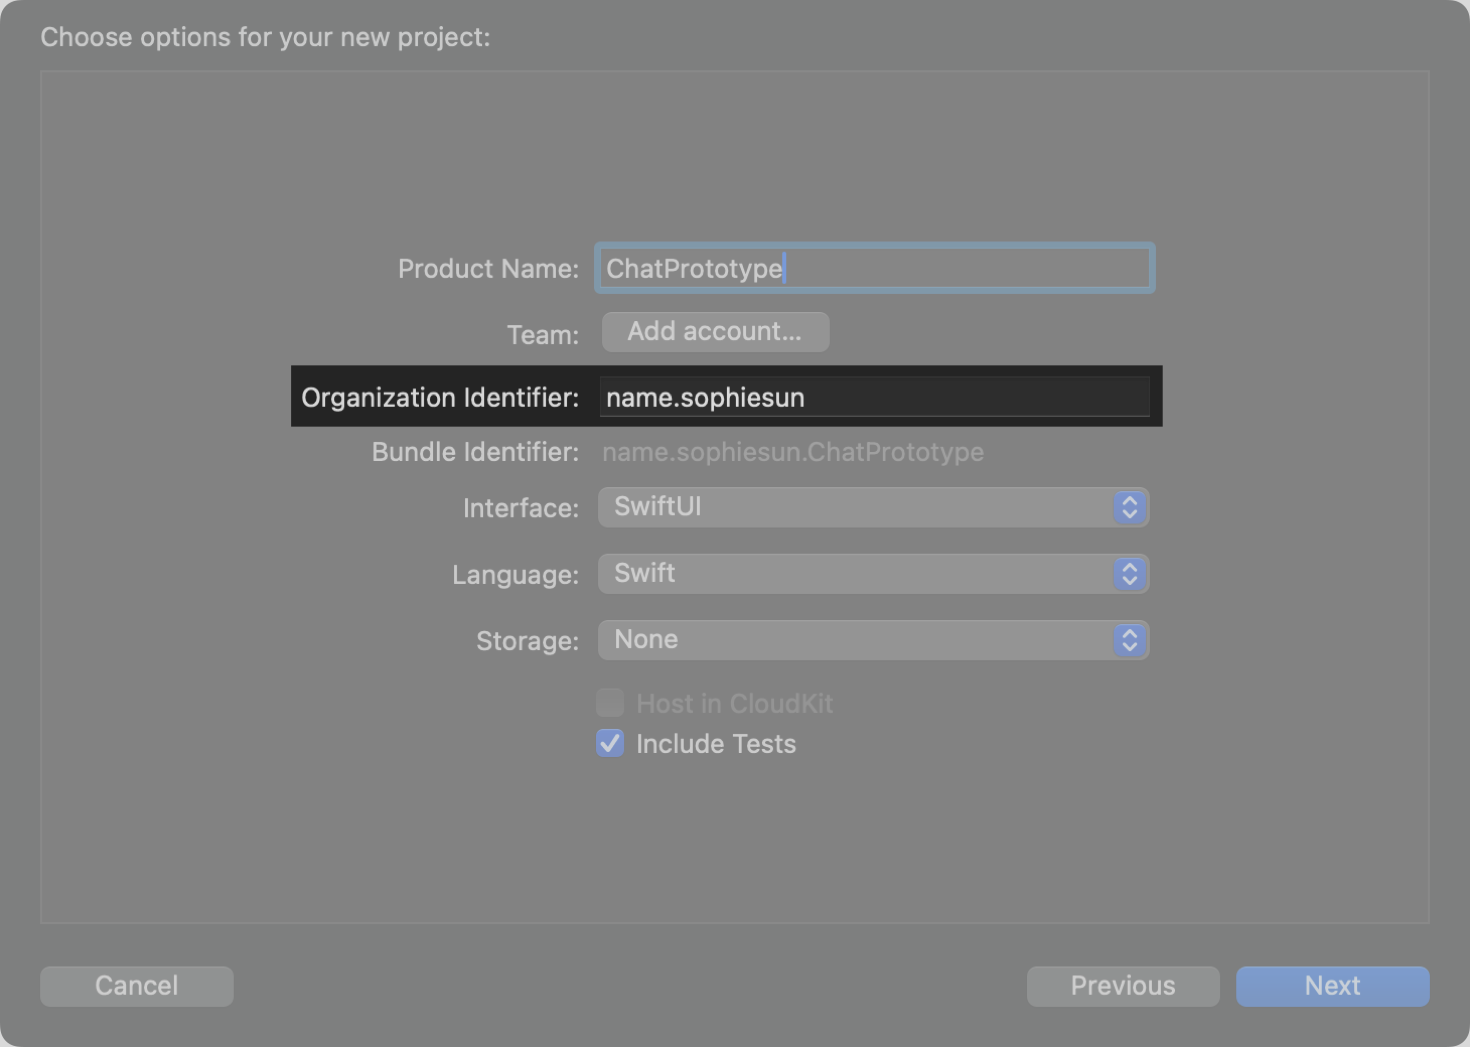
For example, if your name is Sophie Sun, you would enter “name.sophiesun”. The organization identifier is used when you upload an app to the App Store.
Note
The App Store requires your organization identifier to be unique. You typically format it as a reverse domain name like “com.apple”.
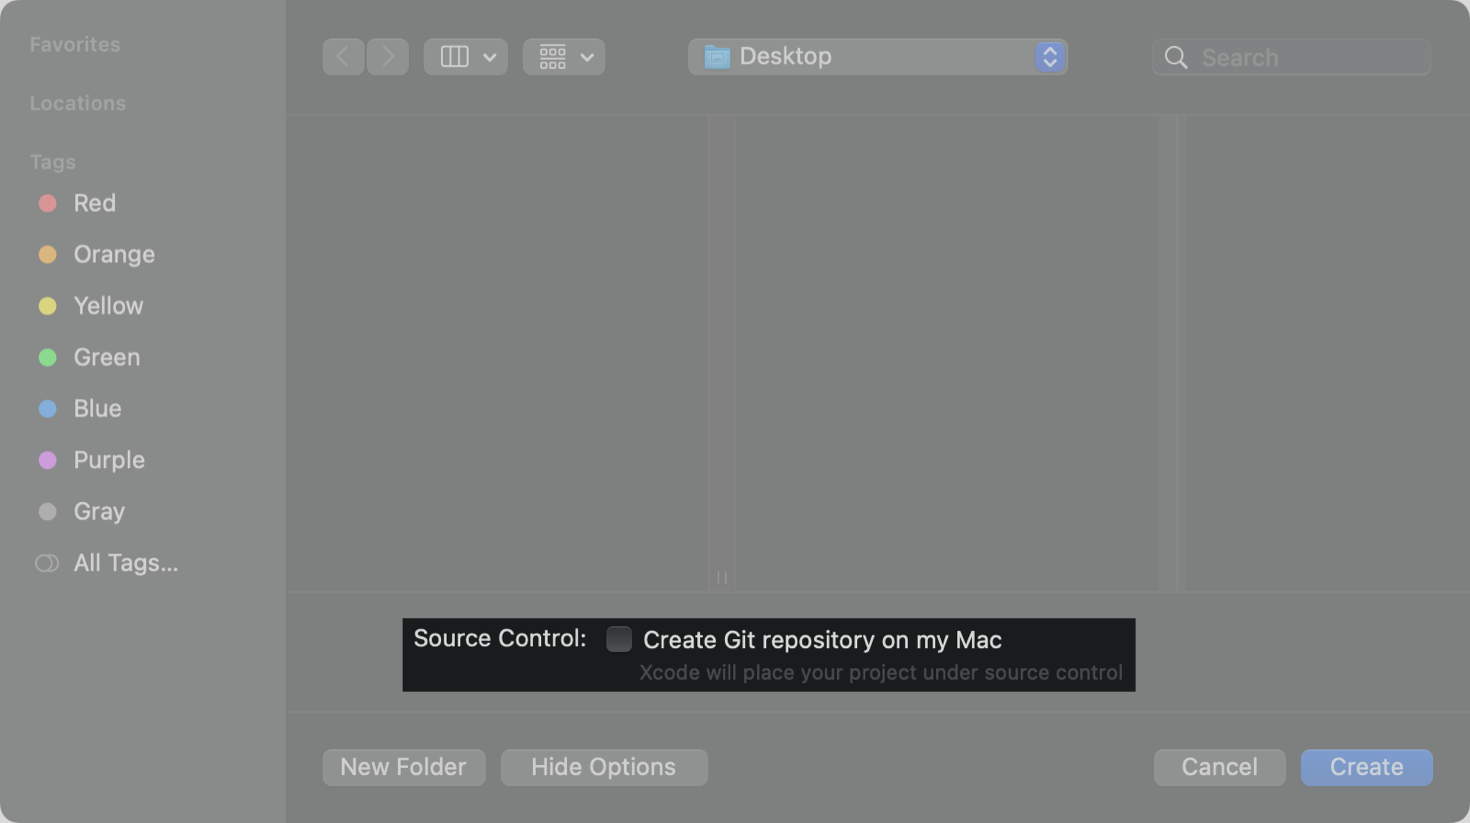
For more information about source control in Xcode, see Source control management in the developer documentation.
Explore your project
Start by exploring three key features of Xcode: the navigator, the editor, and the preview.
Step 1
The navigator is the leftmost column in the Xcode window. The Project navigator is selected. You can see its icon, a small folder, highlighted at the top of the pane.
The Project navigator displays all the files in your project. Note that ContentView is highlighted.
Next is the editor, where you write your code.
It’s displaying the code from the ContentView file. When you select an item in the Project navigator, its contents appear in the editor.
The preview canvas is to the right of the editor. It shows you what your app would look like running on a real device.
You can control preview options — like device size and light or dark mode — using the buttons along the bottom.
Explore your code
Read through the code. Swift and SwiftUI are designed to read like natural language.
Swift is the programming language you use to write your app’s code.
SwiftUI is a framework that provides views, controls, and layout structures for creating your app’s user interface.
The names of many Swift elements are common English words.
Image, Text, and .imageScale all hint at how they create the interface.
Note
imageScale is in camel case: The words are glued together without spaces and each word after the first is capitalized.
Look for the braces and parentheses in your code.
Parentheses usually have information related to the code immediately before them. Braces are like containers — they usually group multiple lines of code into one chunk.
Experiment
Try double-clicking an opening or closing brace.
Look for indentation in your code.
You use indentation to reflect the code’s organization and make it more readable. However, code without any indentation will still run.
Xcode colors different parts of your code according to their purpose; this is called syntax highlighting. Some things, such as struct, are keywords in Swift, while others, such as Image, are features of SwiftUI.
You can turn off syntax highlighting or select a different color scheme by choosing an option under Editor > Syntax Coloring.
Find the text “Hello, world!” in the code. It’s colored red and surrounded by quotation marks.
Swift calls written language String.
import SwiftUI

struct ContentView: View {
  var body: some View {
    Vstack {
      Image(systemName: "globe")
        .imageScale(.large)
        .foregroundStyle(.tint)
      Text("Hello, world!")
    }
    .padding()
  }
}

#Preview {
  ContentView()
}
Edit code and make mistakes
Change the code in the editor and see how the preview updates in response.
Xcode has features common to other text editors, like copy and paste, undo and redo, and text selection.
Change the text inside the quotation marks to a word or phrase of your choice.
Make sure not to delete the quotation marks themselves.
Note
You won’t see the preview until Xcode finishes downloading the iOS platform.
Now, make a deliberate mistake. Delete the string inside the Text, including the quotation marks.
Notice the error banner in Xcode that popped up on the line of code you edited. When Xcode can’t understand what you wrote in the editor, you’ll see messages like this.
Start to correct the error by typing one quotation mark inside the parentheses. The editor may automatically insert a second one for you; if so, delete the second one.
Sometimes you can cause temporary errors by putting the code into an invalid state as you type. The current error is a good example. Text needs you to supply a string for it to display, but you haven’t finished typing a string.
Click the red icon at the head of the the error banner to expand details for both errors. The new error is “Unterminated string literal.” String literal is the kind of Swift String you’ve been working with — text inside quotation marks.
All languages have rules, including Swift. If you begin a string with a quotation mark but don’t close it with a second one, you’ve broken a rule about string literals. Notice that the closing parenthesis is now red, because Xcode’s best guess is that the closing parenthesis is part of the string.
Add a second quotation mark to fix the error.
The preview on the right now has no visible text — just a globe image. That’s because the text is an empty string, so there’s no text to display.
Put your greeting string back in the Text view before you continue to the next section.
Your code is working again, and you’ve completed the first part of your conversation.
import SwiftUI

struct ContentView: View {
  var body: some View {
    Vstack {
      Image(systemName: "globe")
        .imageScale(.large)
        .foregroundStyle(.tint)
      Text("Knock, knock!")
    }
    .padding()
  }
}

#Preview {
  ContentView()
}
Use the library to add a Text view
In SwiftUI, a view is part of the interface of an app. Text is one example of a view.
Views are distinct from the data they display. Text is the view, and the String inside the parentheses is the data.
Delete the line of code beginning with Image and the two lines below it. Then add a new line below the Text view.
Click the Add button (+) at the top of the project window, which opens the Library. You can also open the Library by choosing View > Show Library.
Use the Library for quick access to SwiftUI components, colors, and images, as well as other items you’ll use frequently when building an app. You can click and drag to position it. To dismiss the Library, press Escape or click anywhere else on the screen.
Select the first icon under the search field to show the list of views.
Type “text” in the field at the top to narrow your search. Then, from the list below, select Text. To insert it into your code, double-click it or press Return.
The new view has a placeholder string in a blue capsule, which is highlighted by default.
Type to replace the selected text with a new message. Remember to include quotation marks.
import SwiftUI

struct ContentView: View {
  var body: some View {
    Vstack {
      Text("Knock, knock!")
      Text("Who's there?")
    }
    .padding()
  }
}

#Preview {
  ContentView()
}