
Chapter 6: Architectural Design for Integrating AI Agents with LLMs
Chapter 6: Architectural Design for Integrating AI Agents with LLMs 관련

The integration of AI agents with LLMs hinges on the architectural design, which is crucial for enhancing decision-making, adaptability, and scalability. The architecture should be carefully crafted to enable seamless interaction between the AI agents and LLMs, ensuring that each component functions optimally.
A modular architecture, where the AI agent acts as an orchestrator, directing the LLM's capabilities, is one approach that supports dynamic task management. This design leverages the LLM’s strengths in natural language processing while allowing the AI agent to manage more complex tasks, such as multi-step reasoning or contextual decision-making in real-time environments.
Alternatively, a hybrid model, combining LLMs with specialized, fine-tuned models, offers flexibility by enabling the AI agent to delegate tasks to the most appropriate model. This approach optimizes performance and enhances efficiency across a broad range of applications, making it particularly effective in diverse and variable operational contexts (Liang et al., 2021).

Training Methodologies and Best Practices
Training AI agents integrated with LLMs requires a methodical approach that balances generalization with task-specific optimization.
Transfer learning is a key technique here, allowing an LLM that has been pre-trained on a large, diverse corpus to be fine-tuned on domain-specific data relevant to the AI agent’s tasks. This method retains the broad knowledge base of the LLM while enabling it to specialize in particular applications, enhancing overall system effectiveness.
Also, reinforcement learning (RL) plays a critical role, especially in scenarios where the AI agent must adapt to changing environments. Through interaction with its environment, the AI agent can continuously improve its decision-making processes, becoming more adept at handling novel challenges.
To ensure reliable performance across different scenarios, rigorous evaluation metrics are essential. These should include both standard benchmarks and task-specific criteria, ensuring that the system's training is robust and comprehensive (Silver et al., 2016).
Introduction to Fine-Tuning a Large Language Model (LLM) and Reinforcement Learning Concepts
This code demonstrates a variety of techniques involving machine learning and natural language processing (NLP), focusing on fine-tuning large language models (LLMs) for specific tasks and implementing reinforcement learning (RL) agents. The code spans several key areas:
- Fine-tuning an LLM: Leveraging pre-trained models like BERT for tasks such as sentiment analysis, using the Hugging Face
transformerslibrary. This involves tokenizing datasets and using training arguments to guide the fine-tuning process. - Reinforcement Learning (RL): Introducing the basics of RL with a simple Q-learning agent, where an agent learns through trial and error by interacting with an environment and updating its knowledge via Q-tables.
- Reward Modeling with OpenAI API: A conceptual method for using OpenAI’s API to dynamically provide reward signals to an RL agent, allowing a language model to evaluate actions.
- Model Evaluation and Logging: Using libraries like
scikit-learnto evaluate model performance through accuracy and F1 scores, and PyTorch’sSummaryWriterfor visualizing the training progress. - Advanced RL Concepts: Implementing more advanced concepts such as policy gradient networks, curriculum learning, and early stopping to enhance model training efficiency.
This holistic approach covers both supervised learning, with sentiment analysis fine-tuning, and reinforcement learning, offering insights into how modern AI systems are built, evaluated, and optimized.
Code Example
Step 1: Importing the Necessary Libraries
Before diving into model fine-tuning and agent implementation, it's essential to set up the necessary libraries and modules. This code includes imports from popular libraries such as Hugging Face's transformers and PyTorch for handling neural networks, scikit-learn for evaluating model performance, and some general-purpose modules like random and pickle.
- Hugging Face Libraries: These allow you to use and fine-tune pre-trained models and tokenizers from the Model Hub.
- PyTorch: This is the core deep learning framework used for operations, including neural network layers and optimizers.
- scikit-learn: Provides metrics like accuracy and F1-score to evaluate model performance.
- OpenAI API: Accessing OpenAI’s language models for various tasks such as reward modeling.
- TensorBoard: Used for visualizing training progress.
Here's the code for importing the necessary libraries:
# Import the random module for random number generation.
import random
# Import necessary modules from transformers library.
from transformers import AutoModelForSequenceClassification, Trainer, TrainingArguments, pipeline, AutoTokenizer
# Import load_dataset for loading datasets.
from datasets import load_dataset
# Import metrics for evaluating model performance.
from sklearn.metrics import accuracy_score, f1_score
# Import SummaryWriter for logging training progress.
from torch.utils.tensorboard import SummaryWriter
# Import pickle for saving and loading trained models.
import pickle
# Import openai for using OpenAI's API (requires an API key).
import openai
# Import PyTorch for deep learning operations.
import torch
# Import neural network module from PyTorch.
import torch.nn as nn
# Import optimizer module from PyTorch (not used directly in this example).
import torch.optim as optim
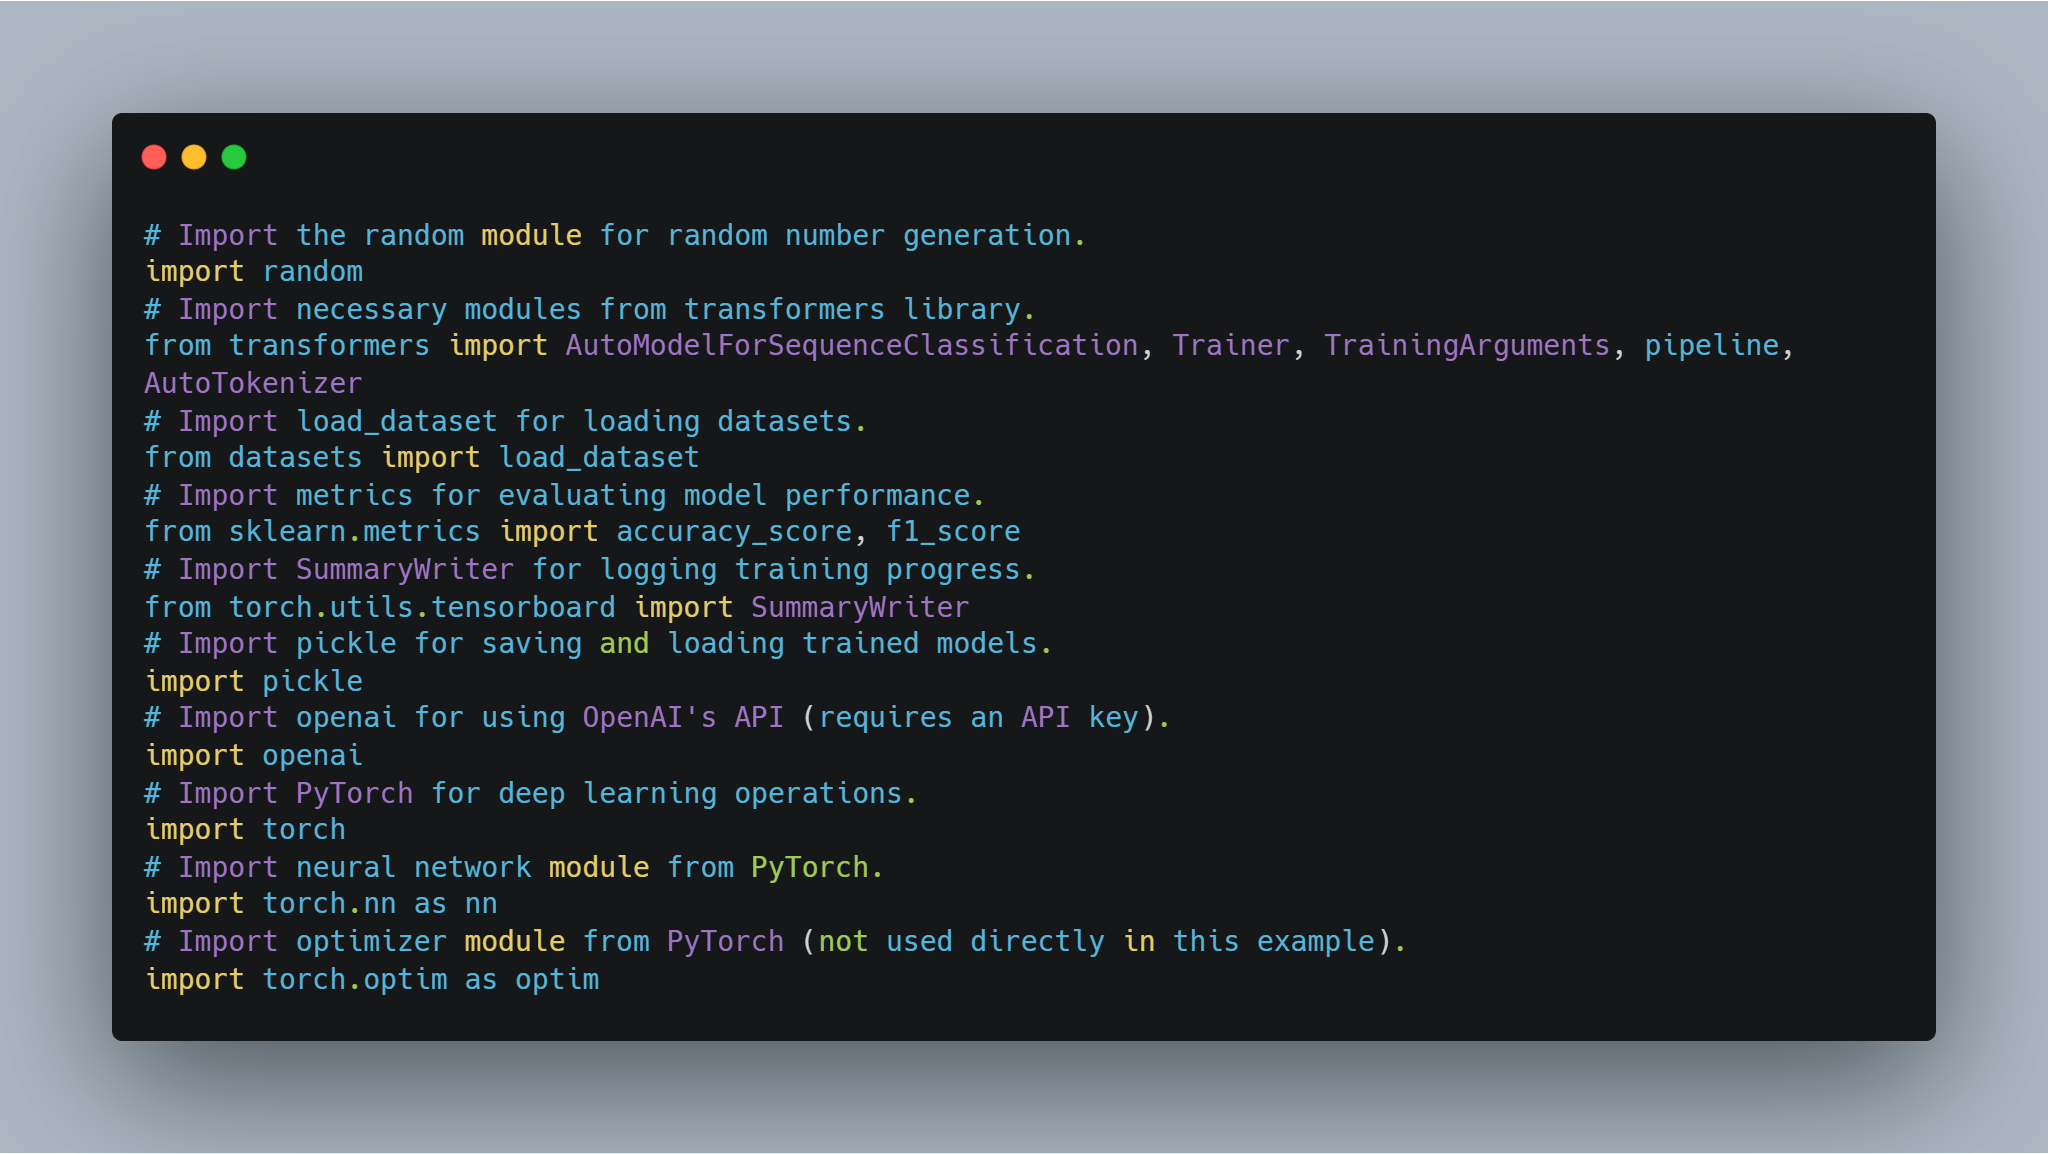
random, transformers, datasets, sklearn.metrics, torch.utils.tensorboard, pickle, openai, and torch. Each import statement is preceded by a comment explaining its purpose.Each of these imports plays a crucial role in different parts of the code, from model training and evaluation to logging results and interacting with external APIs.
Step 2: Fine-tuning a Language Model for Sentiment Analysis
Fine-tuning a pre-trained model for a specific task such as sentiment analysis involves loading a pre-trained model, adjusting it for the number of output labels (positive/negative in this case), and using a suitable dataset.
In this example, we use the AutoModelForSequenceClassification from the transformers library, with the IMDB dataset. This pre-trained model can be fine-tuned on a smaller portion of the dataset to save computation time. The model is then trained using a custom set of training arguments, which includes the number of epochs and batch size.
Below is the code for loading and fine-tuning the model:
# Specify the pre-trained model name from Hugging Face Model Hub.
model_name = "bert-base-uncased"
# Load the pre-trained model with specified number of output classes.
model = AutoModelForSequenceClassification.from_pretrained(model_name, num_labels=2)
# Load a tokenizer for the model.
tokenizer = AutoTokenizer.from_pretrained(model_name)

# Load the IMDB dataset from Hugging Face Datasets, using only 10% for training.
dataset = load_dataset("imdb", split="train[:10%]")

# Tokenize the dataset
def tokenize_function(examples):
    return tokenizer(examples["text"], padding="max_length", truncation=True)

# Map the dataset to tokenized inputs
tokenized_dataset = dataset.map(tokenize_function, batched=True)

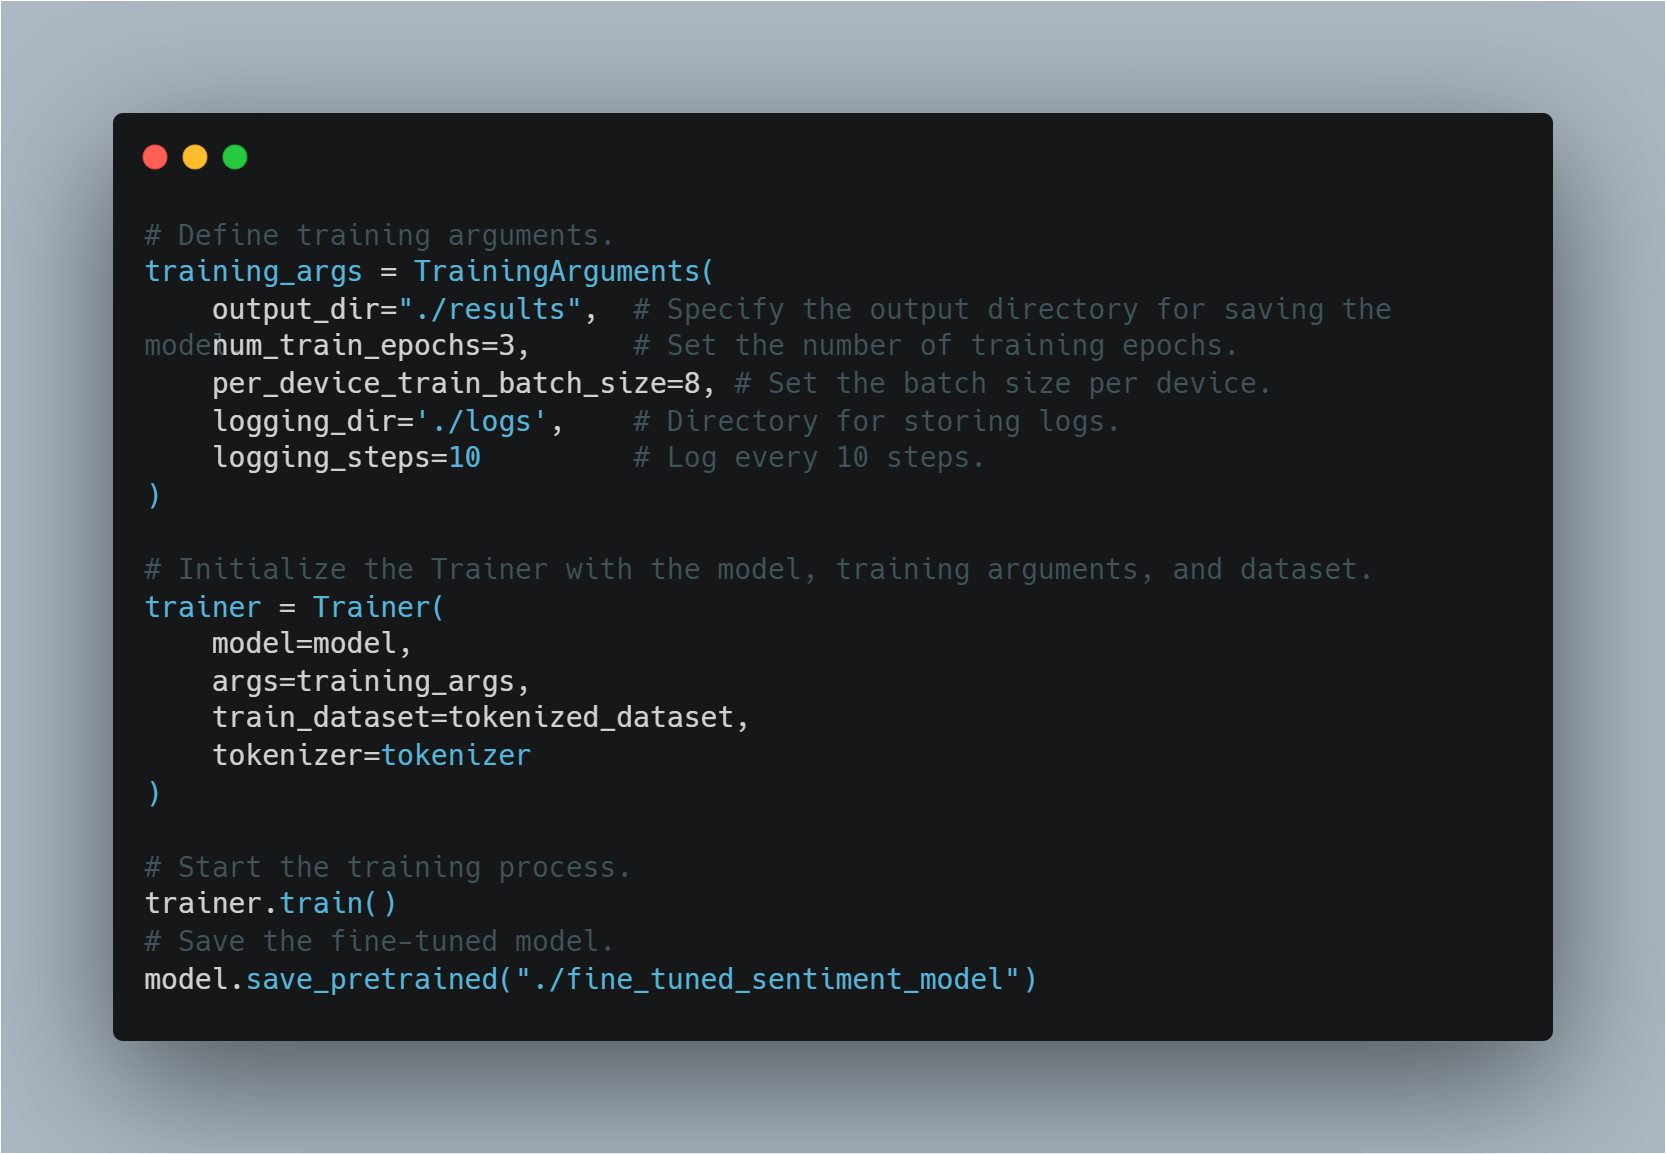
Here, the model is loaded using a BERT-based architecture and the dataset is prepared for training. Next, we define the training arguments and initialize the Trainer.
# Define training arguments.
training_args = TrainingArguments(
    output_dir="./results",  # Specify the output directory for saving the model.
    num_train_epochs=3,      # Set the number of training epochs.
    per_device_train_batch_size=8, # Set the batch size per device.
    logging_dir='./logs',    # Directory for storing logs.
    logging_steps=10         # Log every 10 steps.
)

# Initialize the Trainer with the model, training arguments, and dataset.
trainer = Trainer(
    model=model,
    args=training_args,
    train_dataset=tokenized_dataset,
    tokenizer=tokenizer
)

# Start the training process.
trainer.train()
# Save the fine-tuned model.
model.save_pretrained("./fine_tuned_sentiment_model")
Step 3: Implementing a Simple Q-Learning Agent
Q-learning is a reinforcement learning technique where an agent learns to take actions in a way that maximizes the cumulative reward.
In this example, we define a basic Q-learning agent that stores state-action pairs in a Q-table. The agent can either explore randomly or exploit the best known action based on the Q-table. The Q-table is updated after each action using a learning rate and a discount factor to weigh future rewards.
Below is the code that implements this Q-learning agent:
# Define the Q-learning agent class.
class QLearningAgent:
    def __init__(self, actions, epsilon=0.1, alpha=0.2, gamma=0.9):
        # Initialize the Q-table.
        self.q_table = {}
        # Store the possible actions.
        self.actions = actions
        # Set the exploration rate.
        self.epsilon = epsilon
        # Set the learning rate.
        self.alpha = alpha
        # Set the discount factor.
        self.gamma = gamma

    # Define the get_action method to select an action based on the current state.
    def get_action(self, state):
        if random.uniform(0, 1) < self.epsilon:
            # Explore randomly.
            return random.choice(self.actions)
        else:
            # Exploit the best action.
            state_actions = self.q_table.get(state, {a: 0.0 for a in self.actions})
            return max(state_actions, key=state_actions.get)
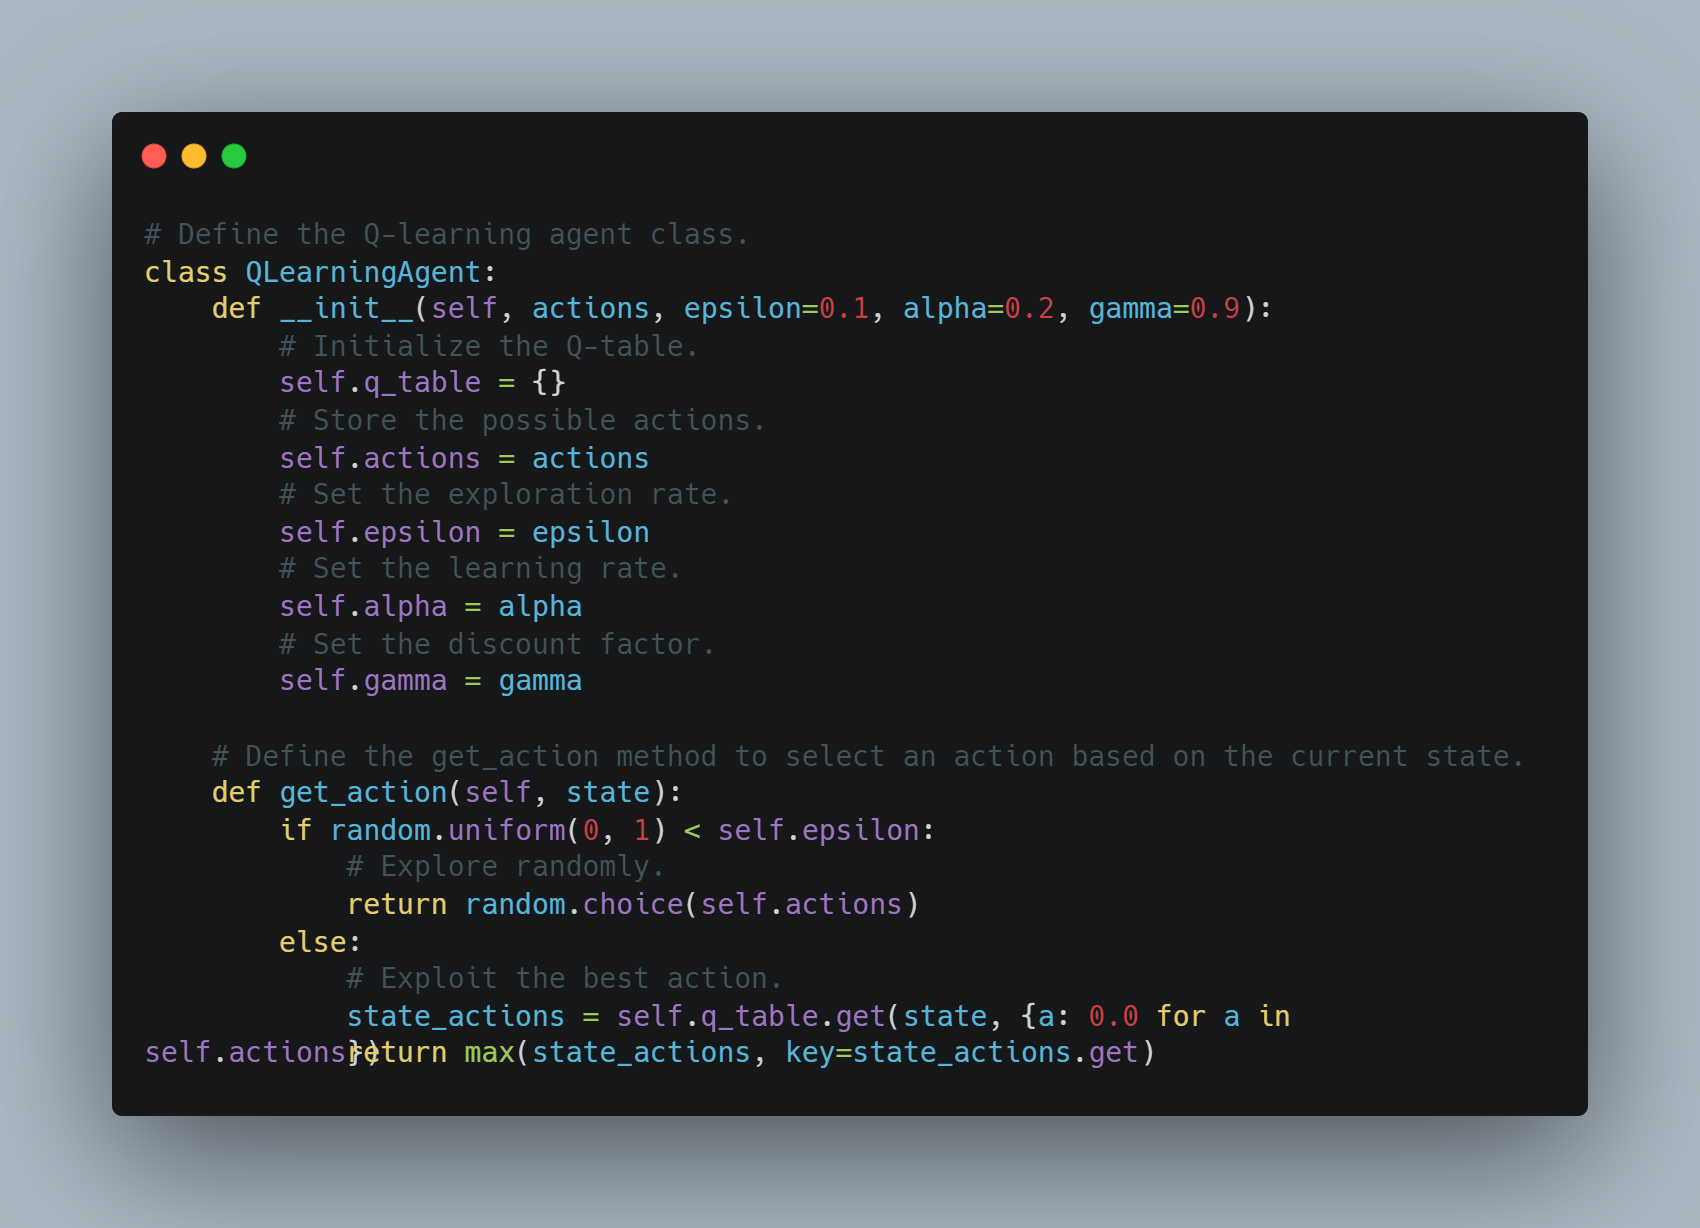
__init__ method for initializing the Q-table, actions, epsilon, alpha, and gamma parameters, and a get_action method for selecting actions based on the current state, using either random exploration or exploitation of the best action.The agent selects actions based on either exploration or exploitation and updates the Q-values after each step.
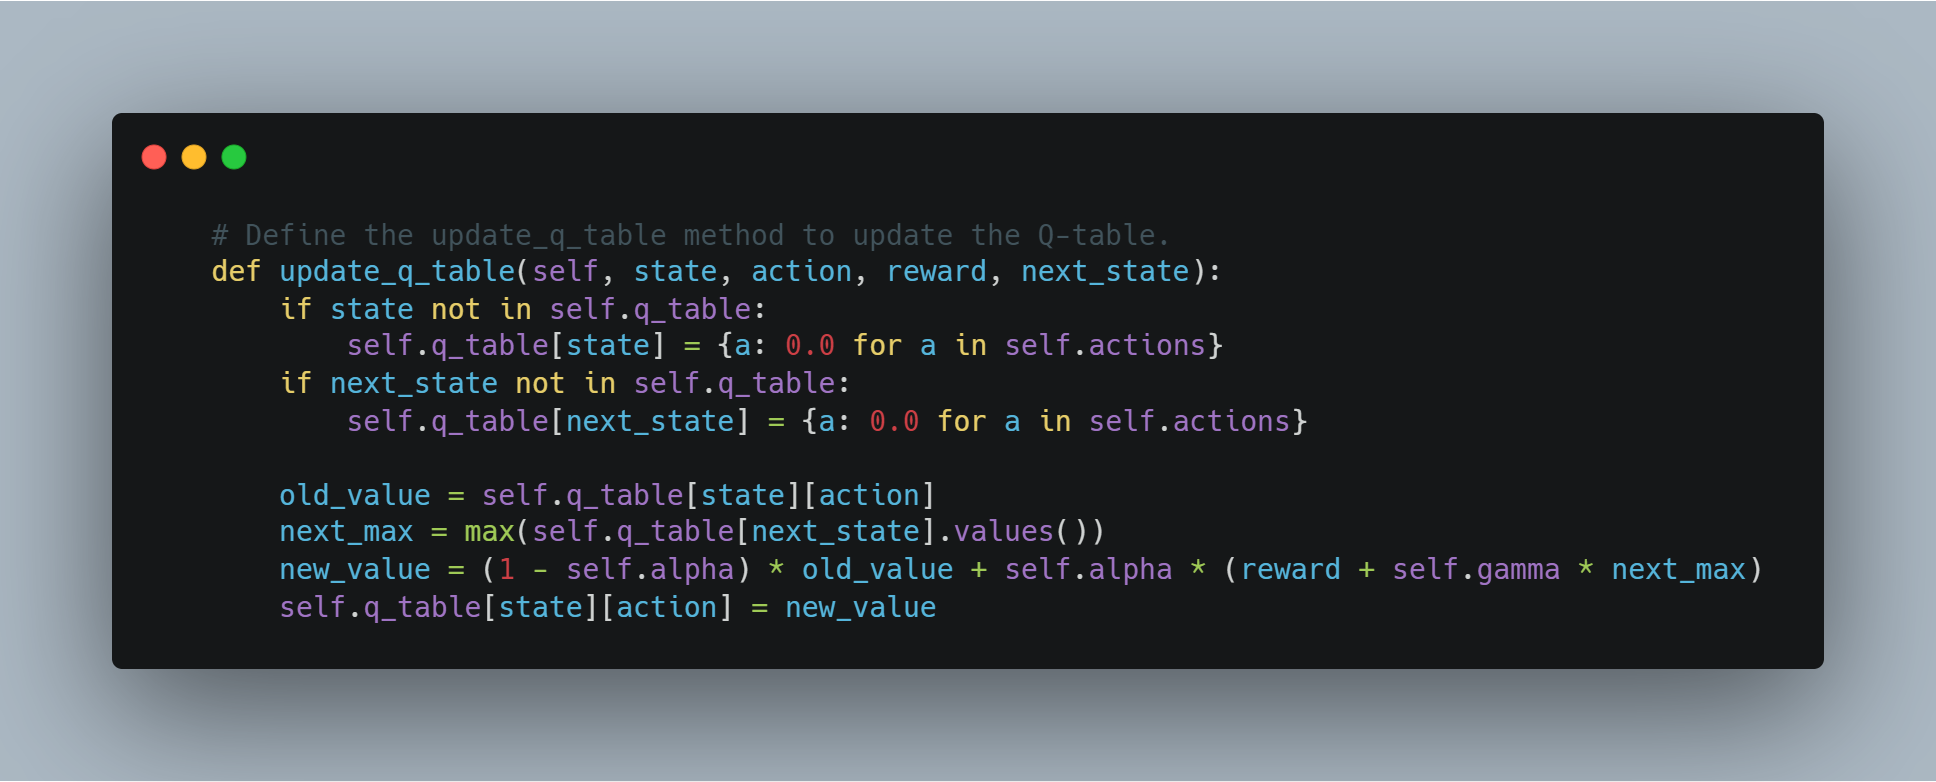
    # Define the update_q_table method to update the Q-table.
    def update_q_table(self, state, action, reward, next_state):
        if state not in self.q_table:
            self.q_table[state] = {a: 0.0 for a in self.actions}
        if next_state not in self.q_table:
            self.q_table[next_state] = {a: 0.0 for a in self.actions}

        old_value = self.q_table[state][action]
        next_max = max(self.q_table[next_state].values())
        new_value = (1 - self.alpha) * old_value + self.alpha * (reward + self.gamma * next_max)
        self.q_table[state][action] = new_value
Step 4: Using OpenAI's API for Reward Modeling
In some scenarios, instead of defining a manual reward function, we can use a powerful language model like OpenAI’s GPT to evaluate the quality of actions taken by the agent.
In this example, the get_reward function sends a state, action, and next state to OpenAI’s API to receive a reward score, allowing us to leverage large language models to understand complex reward structures.
# Define the get_reward function to get a reward signal from OpenAI's API.
def get_reward(state, action, next_state):
    openai.api_key = "your-openai-api-key"  # Replace with your actual OpenAI API key.

    prompt = f"State: {state}\nAction: {action}\nNext State: {next_state}\nHow good was this action (1-10)?"
    response = openai.Completion.create(
        engine="text-davinci-003",
        prompt=prompt,
        temperature=0.7,
        max_tokens=1
    )
    return int(response.choices[0].text.strip())
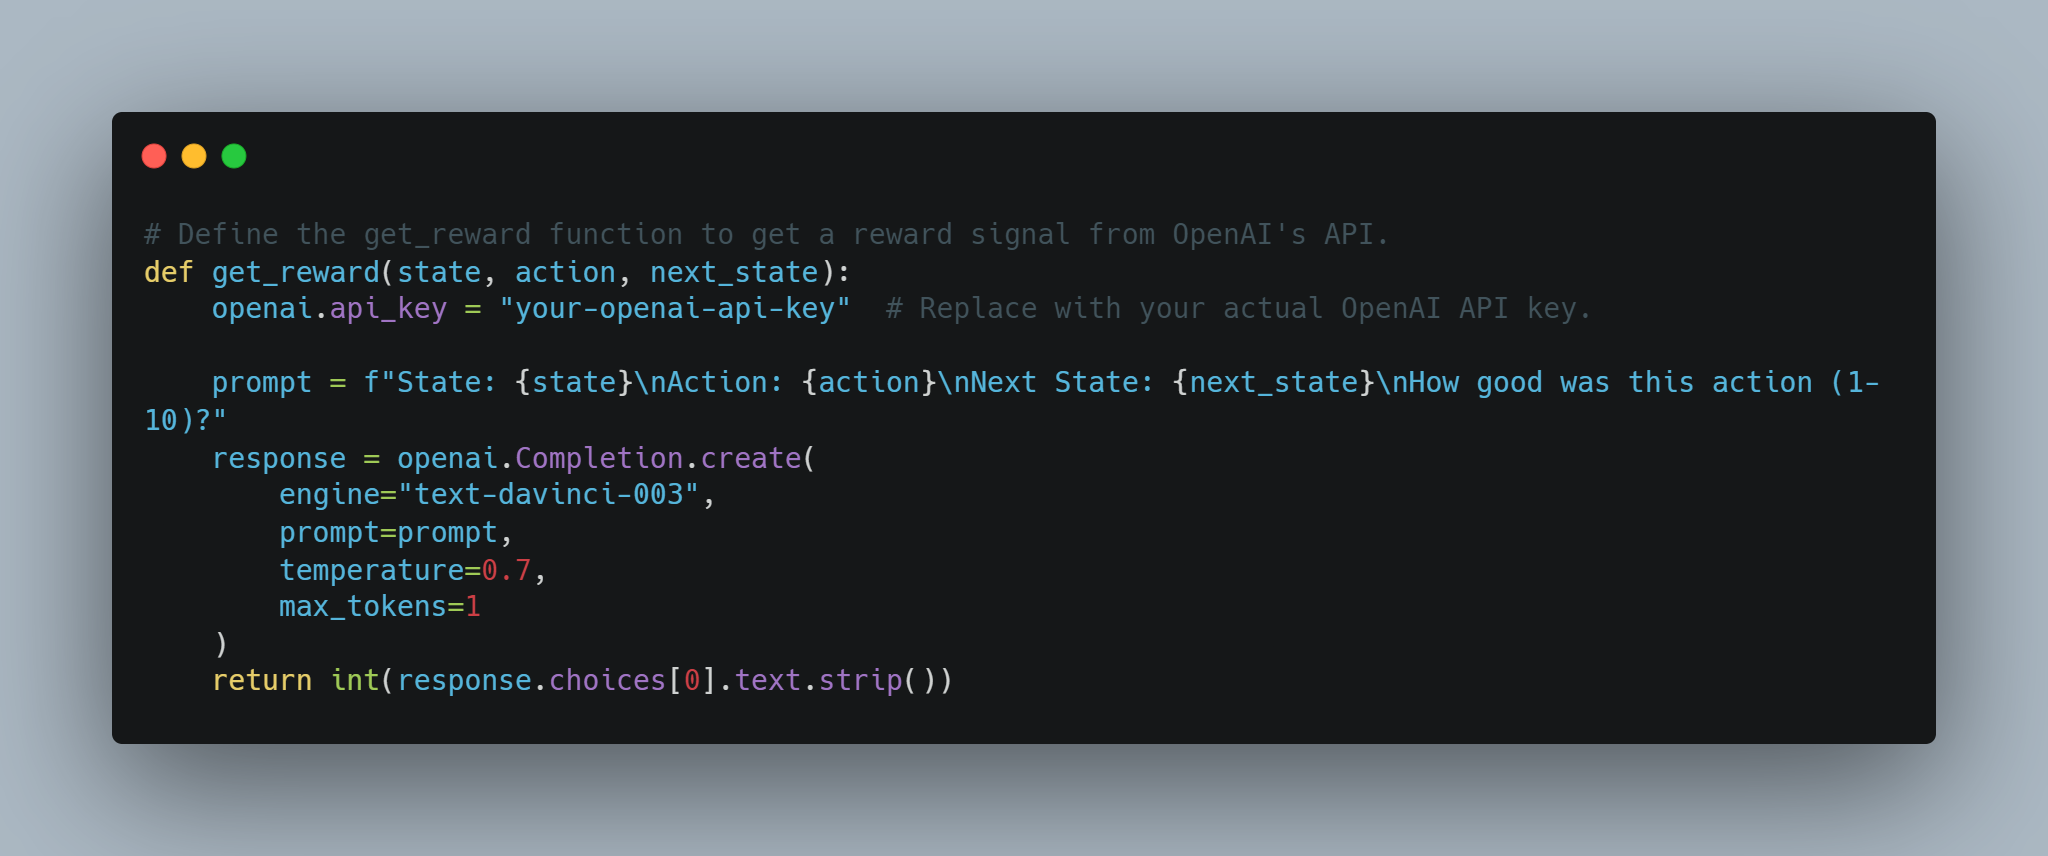
This allows for a conceptual approach where the reward system is determined dynamically using OpenAI's API, which could be useful for complex tasks where rewards are hard to define.
Step 5: Evaluating Model Performance
Once a machine learning model is trained, it’s essential to evaluate its performance using standard metrics like accuracy and F1-score.
This section calculates both using true and predicted labels. Accuracy provides an overall measure of correctness, while the F1-score balances precision and recall, especially useful in imbalanced datasets.
Here is the code for evaluating the model's performance:
# Define the true labels for evaluation.
true_labels = [0, 1, 1, 0, 1]
# Define the predicted labels for evaluation.
predicted_labels = [0, 0, 1, 0, 1]

# Calculate the accuracy score.
accuracy = accuracy_score(true_labels, predicted_labels)
# Calculate the F1-score.
f1 = f1_score(true_labels, predicted_labels)

# Print the accuracy score.
print(f"Accuracy: {accuracy:.2f}")
# Print the F1-score.
print(f"F1-Score: {f1:.2f}")
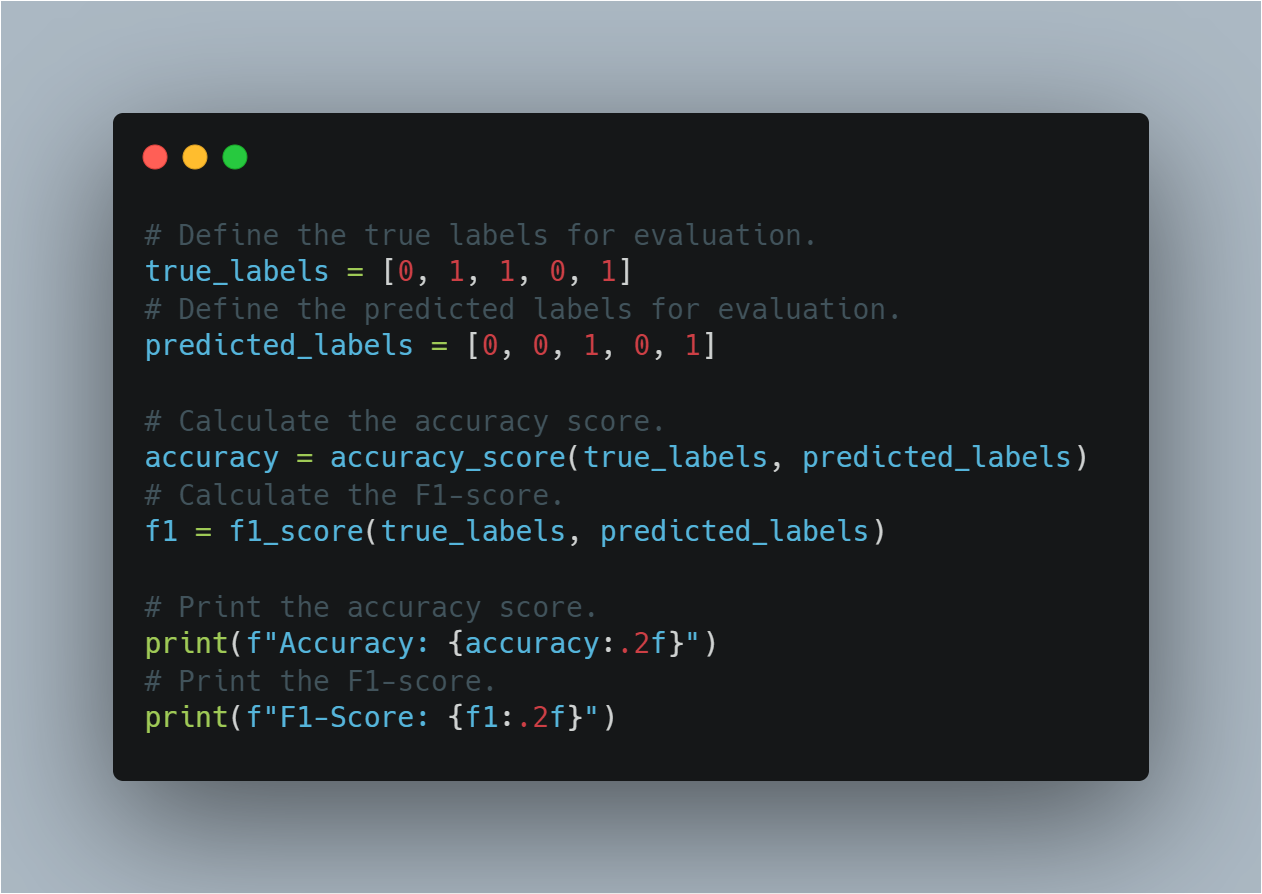
This section helps in assessing how well the model has generalized to unseen data by using well-established evaluation metrics.
Step 6: Basic Policy Gradient Agent (Using PyTorch)
Policy gradient methods in reinforcement learning directly optimize the policy by maximizing the expected reward.
This section demonstrates a simple implementation of a policy network using PyTorch, which can be used for decision-making in RL. The policy network uses a linear layer to output probabilities for different actions, and softmax is applied to ensure these outputs form a valid probability distribution.
Here is the conceptual code for defining a basic policy gradient agent:
# Define the policy network class.
class PolicyNetwork(nn.Module):
    # Initialize the policy network.
    def __init__(self, input_size, output_size):
        super(PolicyNetwork, self).__init__()
        # Define a linear layer.
        self.linear = nn.Linear(input_size, output_size)

    # Define the forward pass of the network.
    def forward(self, x):
        # Apply softmax to the output of the linear layer.
        return torch.softmax(self.linear(x), dim=1)
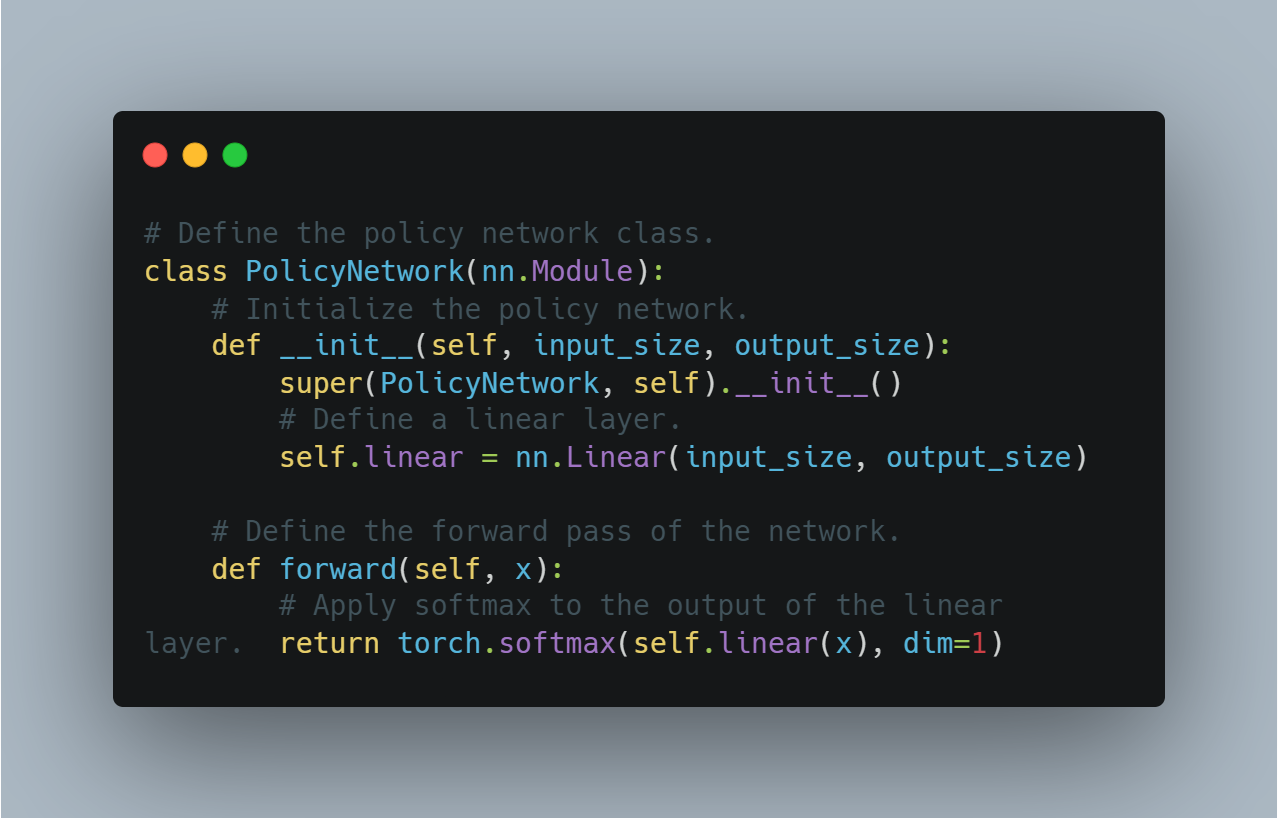
PolicyNetwork extends nn.Module, initializes a linear layer, and defines a forward pass applying a softmax function to the output.This serves as a foundational step for implementing more advanced reinforcement learning algorithms that use policy optimization.
Step 7: Visualizing Training Progress with TensorBoard
Visualizing training metrics, such as loss and accuracy, is vital for understanding how a model’s performance evolves over time. TensorBoard, a popular tool for this, can be used to log metrics and visualize them in real time.
In this section, we create a SummaryWriter instance and log random values to simulate the process of tracking loss and accuracy during training.
Here's how you can log and visualize training progress using TensorBoard:
# Create a SummaryWriter instance.
writer = SummaryWriter()

# Example training loop for TensorBoard visualization:
num_epochs = 10  # Define the number of epochs.
for epoch in range(num_epochs):
    # Simulate random loss and accuracy values.
    loss = random.random()
    accuracy = random.random()
    # Log the loss and accuracy to TensorBoard.
    writer.add_scalar("Loss/train", loss, epoch)
    writer.add_scalar("Accuracy/train", accuracy, epoch)

# Close the SummaryWriter.
writer.close()
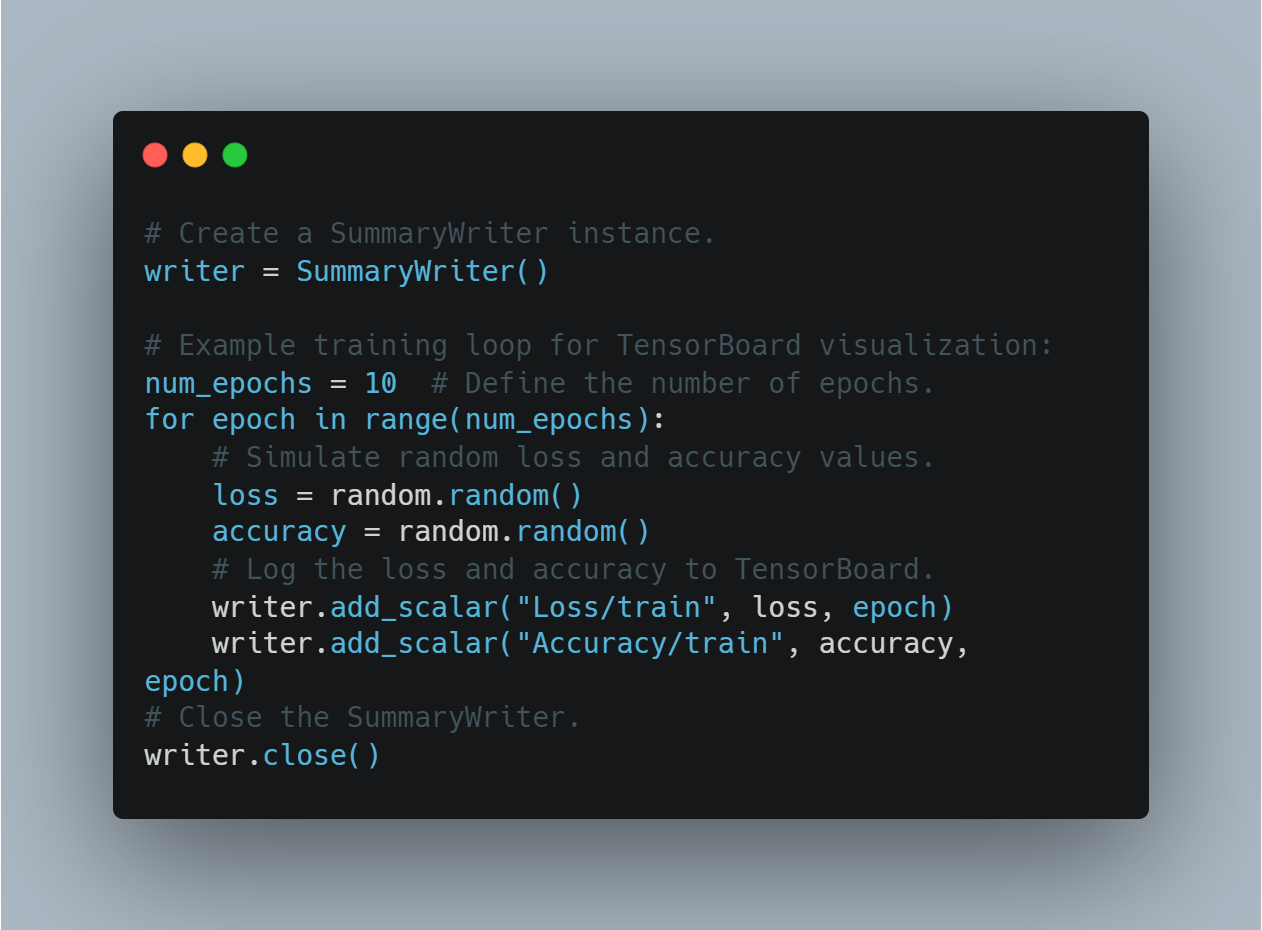
This allows users to monitor model training and make real-time adjustments based on visual feedback.
Step 8: Saving and Loading Trained Agent Checkpoints
After training an agent, it is crucial to save its learned state (for example, Q-values or model weights) so that it can be reused or evaluated later.
This section shows how to save a trained agent using Python's pickle module and how to reload it from disk.
Here is the code for saving and loading a trained Q-learning agent:
# Create an instance of the Q-learning agent.
agent = QLearningAgent(actions=["up", "down", "left", "right"])
# Train the agent (not shown here).

# Saving the agent.
with open("trained_agent.pkl", "wb") as f:
    pickle.dump(agent, f)

# Loading the agent.
with open("trained_agent.pkl", "rb") as f:
    loaded_agent = pickle.load(f)
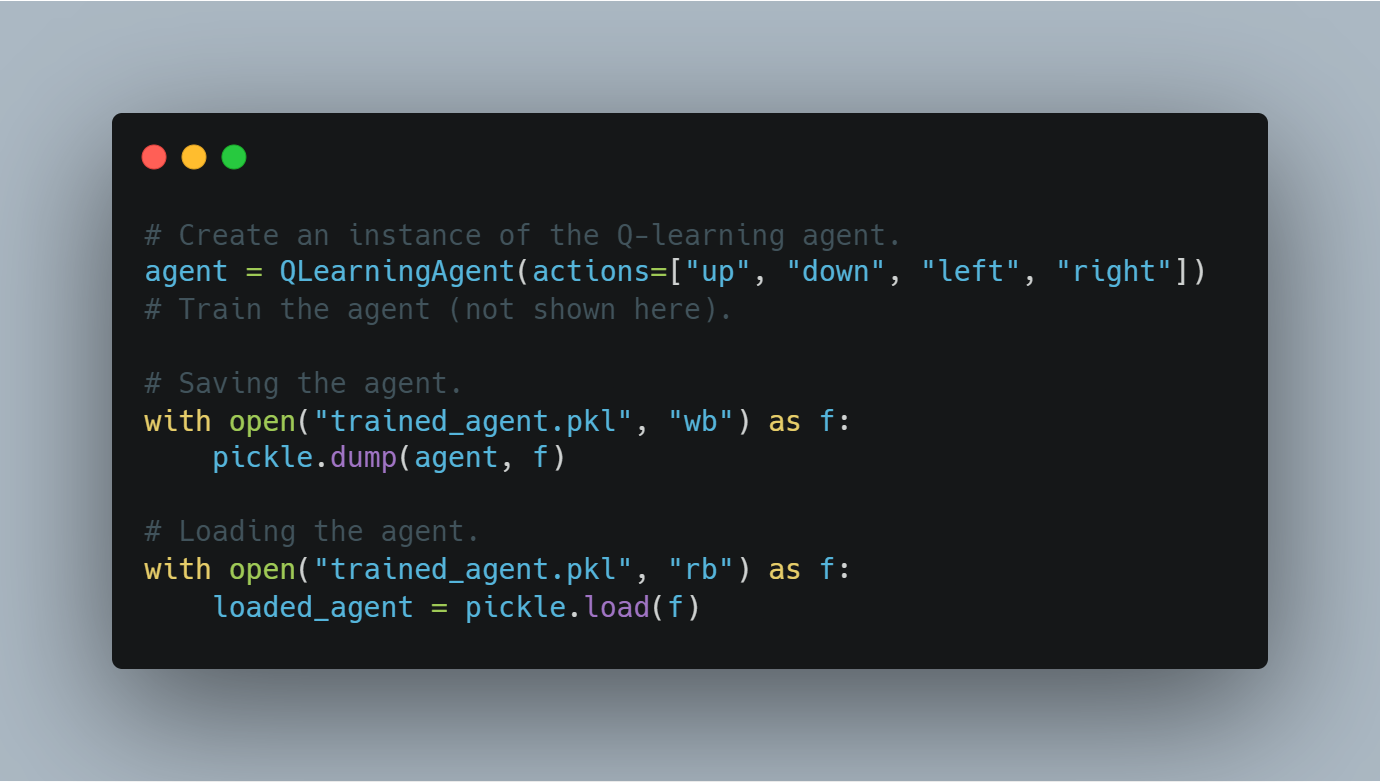
This process of checkpointing ensures that training progress is not lost and models can be reused in future experiments.
Step 9: Curriculum Learning
Curriculum learning involves gradually increasing the difficulty of tasks presented to the model, starting with easier examples and moving toward more challenging ones. This can help improve model performance and stability during training.
Here's an example of using curriculum learning in a training loop:
# Set the initial task difficulty.
initial_task_difficulty = 0.1

# Example training loop with curriculum learning:
for epoch in range(num_epochs):
    # Gradually increase the task difficulty.
    task_difficulty = min(initial_task_difficulty + epoch * 0.01, 1.0)
    # Generate training data with adjusted difficulty.
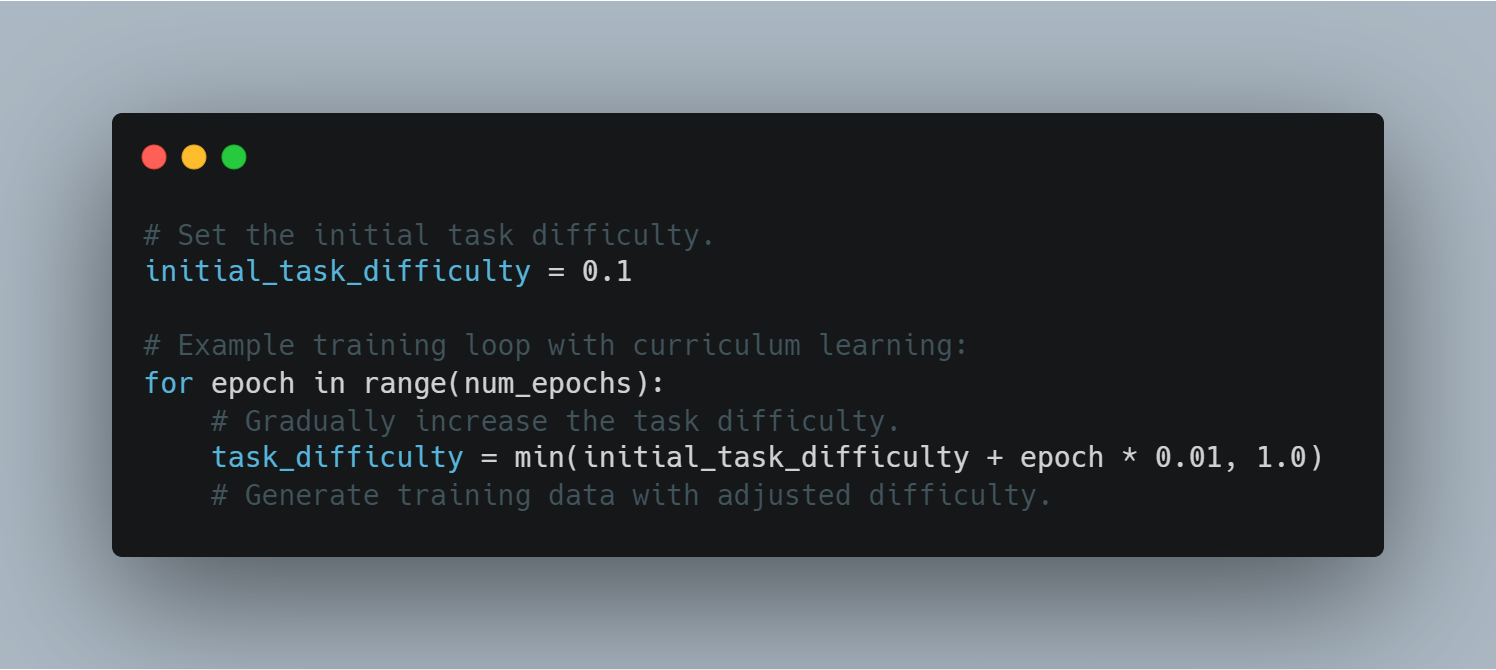
By controlling task difficulty, the agent can progressively handle more complex challenges, leading to improved learning efficiency.
Step 10: Implementing Early Stopping
Early stopping is a technique to prevent overfitting during training by halting the process if the validation loss does not improve after a certain number of epochs (patience).
This section shows how to implement early stopping in a training loop, using validation loss as the key indicator.
Here's the code for implementing early stopping:
# Initialize the best validation loss to infinity.
best_validation_loss = float("inf")
# Set the patience value (number of epochs without improvement).
patience = 5
# Initialize the counter for epochs without improvement.
epochs_without_improvement = 0

# Example training loop with early stopping:
for epoch in range(num_epochs):
    # Simulate random validation loss.
    validation_loss = random.random()

    if validation_loss < best_validation_loss:
        best_validation_loss = validation_loss
        epochs_without_improvement = 0
    else:
        epochs_without_improvement += 1

    if epochs_without_improvement >= patience:
        print("Early stopping triggered!")
        break
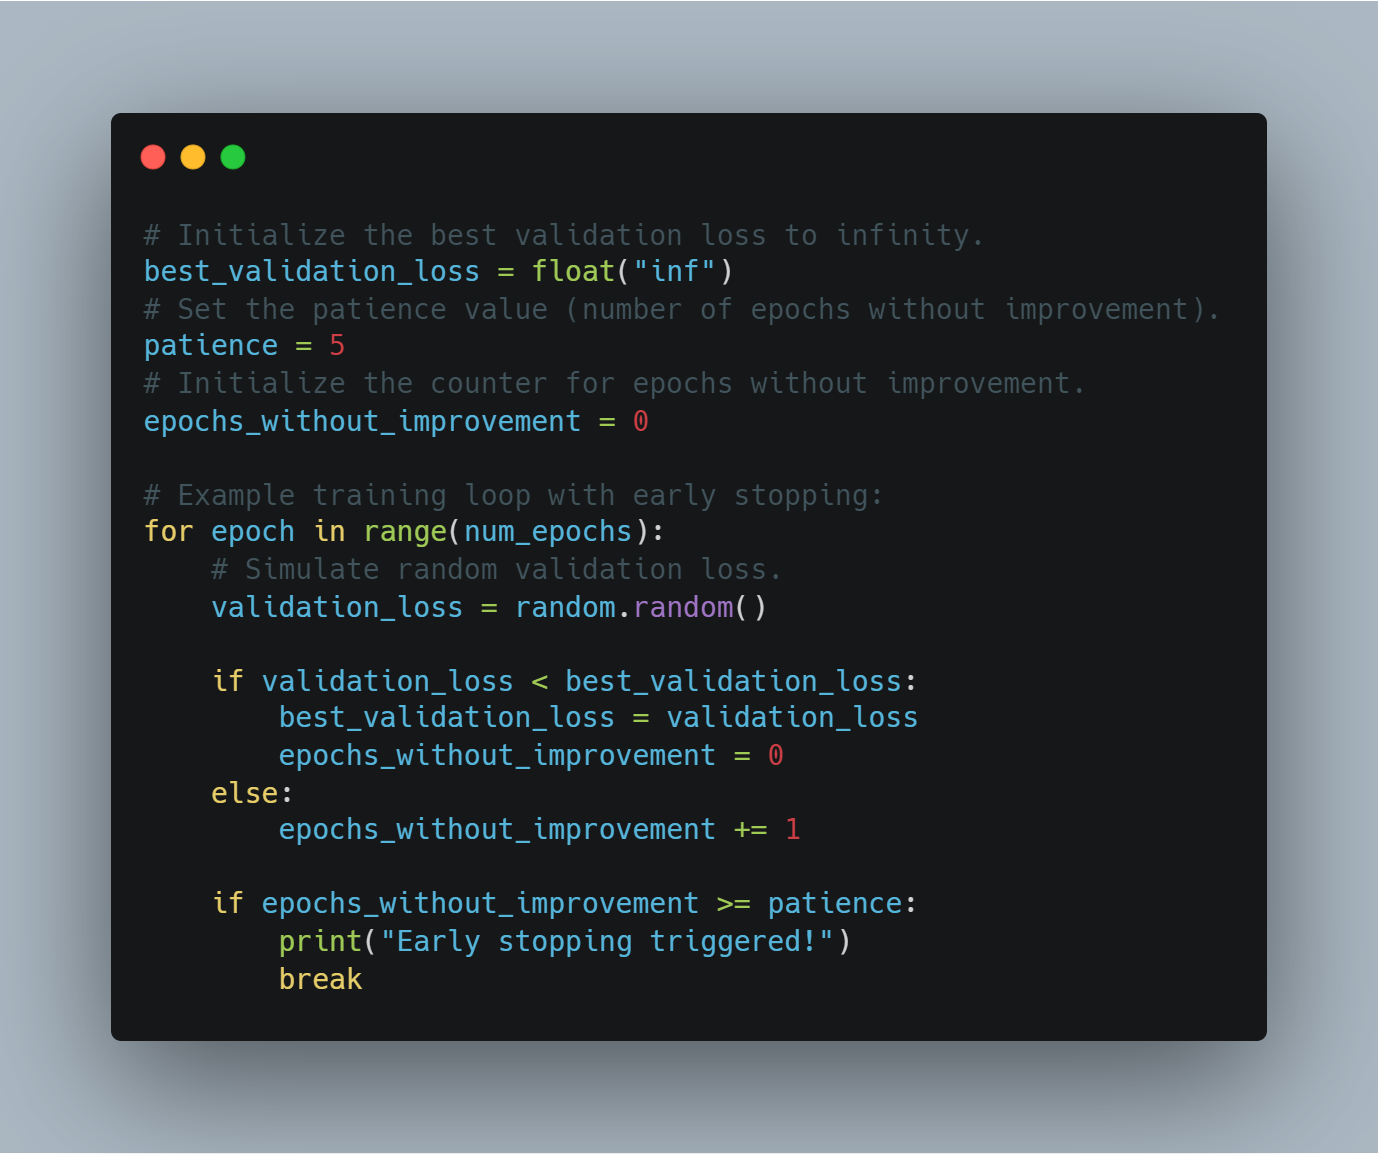
Early stopping improves model generalization by preventing unnecessary training once the model starts overfitting.
Step 11: Using a Pre-trained LLM for Zero-Shot Task Transfer
In zero-shot task transfer, a pre-trained model is applied to a task it wasn’t specifically fine-tuned for.
Using Hugging Face’s pipeline, this section demonstrates how to apply a pre-trained BART model for summarization without additional training, illustrating the concept of transfer learning.
Here’s the code for using a pre-trained LLM for summarization:
# Load a pre-trained summarization pipeline.
summarizer = pipeline("summarization", model="facebook/bart-large-cnn")
# Define the text to summarize.
text = "This is an example text about AI agents and LLMs."
# Generate the summary.
summary = summarizer(text)[0]["summary_text"]
# Print the summary.
print(f"Summary: {summary}")
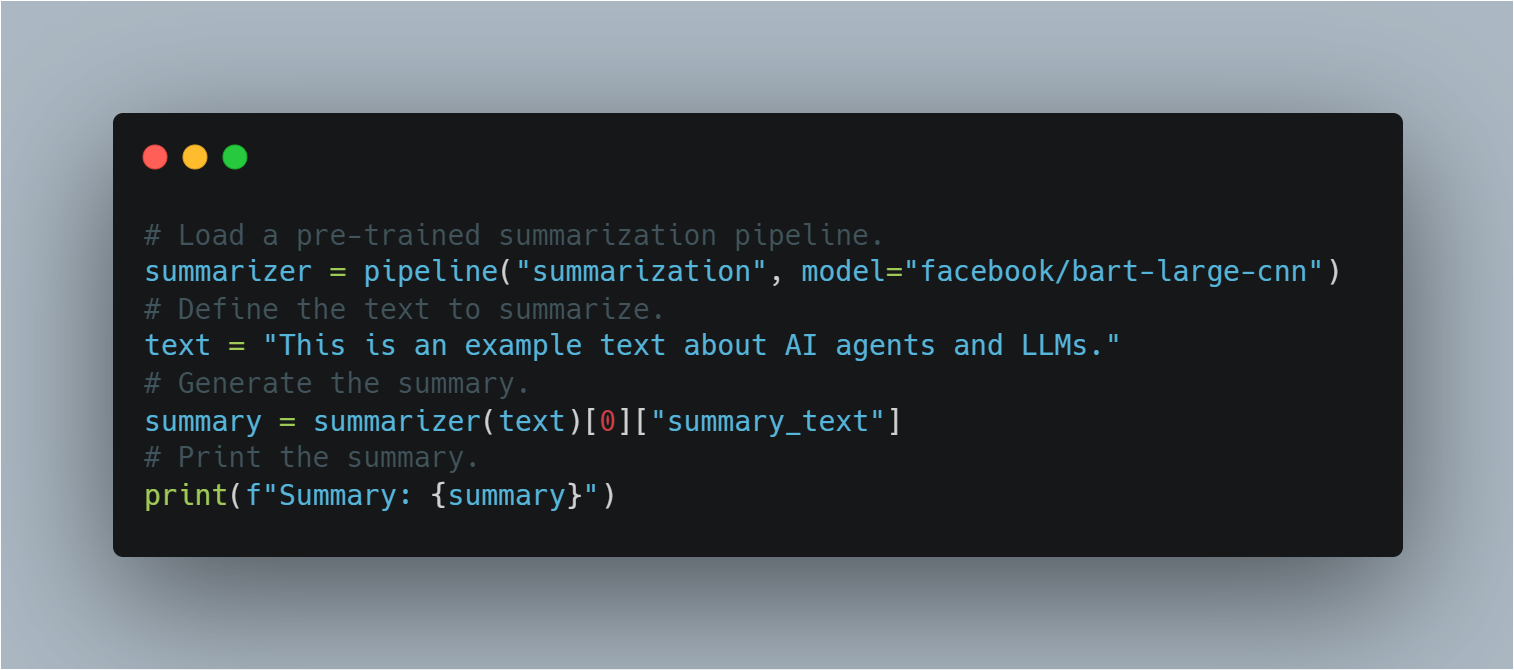
This illustrates the flexibility of LLMs in performing diverse tasks without the need for further training, leveraging their pre-existing knowledge.
The Full Code Example
# Import the random module for random number generation.
import random
# Import necessary modules from transformers library.
from transformers import AutoModelForSequenceClassification, Trainer, TrainingArguments, pipeline, AutoTokenizer
# Import load_dataset for loading datasets.
from datasets import load_dataset
# Import metrics for evaluating model performance.
from sklearn.metrics import accuracy_score, f1_score
# Import SummaryWriter for logging training progress.
from torch.utils.tensorboard import SummaryWriter
# Import pickle for saving and loading trained models.
import pickle
# Import openai for using OpenAI's API (requires an API key).
import openai
# Import PyTorch for deep learning operations.
import torch
# Import neural network module from PyTorch.
import torch.nn as nn
# Import optimizer module from PyTorch (not used directly in this example).
import torch.optim as optim

# --------------------------------------------------
# 1. Fine-tuning an LLM for Sentiment Analysis
# --------------------------------------------------
# Specify the pre-trained model name from Hugging Face Model Hub.
model_name = "bert-base-uncased"
# Load the pre-trained model with specified number of output classes.
model = AutoModelForSequenceClassification.from_pretrained(model_name, num_labels=2)
# Load a tokenizer for the model.
tokenizer = AutoTokenizer.from_pretrained(model_name)

# Load the IMDB dataset from Hugging Face Datasets, using only 10% for training.
dataset = load_dataset("imdb", split="train[:10%]")

# Tokenize the dataset
def tokenize_function(examples):
    return tokenizer(examples["text"], padding="max_length", truncation=True)

# Map the dataset to tokenized inputs
tokenized_dataset = dataset.map(tokenize_function, batched=True)

# Define training arguments.
training_args = TrainingArguments(
    output_dir="./results",  # Specify the output directory for saving the model.
    num_train_epochs=3,      # Set the number of training epochs.
    per_device_train_batch_size=8, # Set the batch size per device.
    logging_dir='./logs',    # Directory for storing logs.
    logging_steps=10         # Log every 10 steps.
)

# Initialize the Trainer with the model, training arguments, and dataset.
trainer = Trainer(
    model=model,
    args=training_args,
    train_dataset=tokenized_dataset,
    tokenizer=tokenizer
)

# Start the training process.
trainer.train()
# Save the fine-tuned model.
model.save_pretrained("./fine_tuned_sentiment_model")

# --------------------------------------------------
# 2. Implementing a Simple Q-Learning Agent
# --------------------------------------------------
# Define the Q-learning agent class.
class QLearningAgent:
    # Initialize the agent with actions, epsilon (exploration rate), alpha (learning rate), and gamma (discount factor).
    def __init__(self, actions, epsilon=0.1, alpha=0.2, gamma=0.9):
        # Initialize the Q-table.
        self.q_table = {}
        # Store the possible actions.
        self.actions = actions
        # Set the exploration rate.
        self.epsilon = epsilon
        # Set the learning rate.
        self.alpha = alpha
        # Set the discount factor.
        self.gamma = gamma

    # Define the get_action method to select an action based on the current state.
    def get_action(self, state):
        # Explore randomly with probability epsilon.
        if random.uniform(0, 1) < self.epsilon:
            # Return a random action.
            return random.choice(self.actions)
        else:
            # Exploit the best action based on the Q-table.
            state_actions = self.q_table.get(state, {a: 0.0 for a in self.actions})
            return max(state_actions, key=state_actions.get)

    # Define the update_q_table method to update the Q-table after taking an action.
    def update_q_table(self, state, action, reward, next_state):
        # If the state is not in the Q-table, add it.
        if state not in self.q_table:
            # Initialize the Q-values for the new state.
            self.q_table[state] = {a: 0.0 for a in self.actions}
        # If the next state is not in the Q-table, add it.
        if next_state not in self.q_table:
            # Initialize the Q-values for the new next state.
            self.q_table[next_state] = {a: 0.0 for a in self.actions}

        # Get the old Q-value for the state-action pair.
        old_value = self.q_table[state][action]
        # Get the maximum Q-value for the next state.
        next_max = max(self.q_table[next_state].values())
        # Calculate the updated Q-value.
        new_value = (1 - self.alpha) * old_value + self.alpha * (reward + self.gamma * next_max)
        # Update the Q-table with the new Q-value.
        self.q_table[state][action] = new_value

# --------------------------------------------------
# 3. Using OpenAI's API for Reward Modeling (Conceptual)
# --------------------------------------------------
# Define the get_reward function to get a reward signal from OpenAI's API.
def get_reward(state, action, next_state):
    # Ensure OpenAI API key is set correctly.
    openai.api_key = "your-openai-api-key"  # Replace with your actual OpenAI API key.

    # Construct the prompt for the API call.
    prompt = f"State: {state}\nAction: {action}\nNext State: {next_state}\nHow good was this action (1-10)?"
    # Make the API call to OpenAI's Completion endpoint.
    response = openai.Completion.create(
        engine="text-davinci-003", # Specify the engine to use.
        prompt=prompt, # Pass the constructed prompt.
        temperature=0.7, # Set the temperature parameter.
        max_tokens=1 # Set the maximum number of tokens to generate.
    )
    # Extract and return the reward value from the API response.
    return int(response.choices[0].text.strip())

# --------------------------------------------------
# 4. Evaluating Model Performance
# --------------------------------------------------
# Define the true labels for evaluation.
true_labels = [0, 1, 1, 0, 1]
# Define the predicted labels for evaluation.
predicted_labels = [0, 0, 1, 0, 1]

# Calculate the accuracy score.
accuracy = accuracy_score(true_labels, predicted_labels)
# Calculate the F1-score.
f1 = f1_score(true_labels, predicted_labels)

# Print the accuracy score.
print(f"Accuracy: {accuracy:.2f}")
# Print the F1-score.
print(f"F1-Score: {f1:.2f}")

# --------------------------------------------------
# 5. Basic Policy Gradient Agent (using PyTorch) - Conceptual
# --------------------------------------------------
# Define the policy network class.
class PolicyNetwork(nn.Module):
    # Initialize the policy network.
    def __init__(self, input_size, output_size):
        # Initialize the parent class.
        super(PolicyNetwork, self).__init__()
        # Define a linear layer.
        self.linear = nn.Linear(input_size, output_size)

    # Define the forward pass of the network.
    def forward(self, x):
        # Apply softmax to the output of the linear layer.
        return torch.softmax(self.linear(x), dim=1)

# --------------------------------------------------
# 6. Visualizing Training Progress with TensorBoard
# --------------------------------------------------
# Create a SummaryWriter instance.
writer = SummaryWriter()

# Example training loop for TensorBoard visualization:
# num_epochs = 10  # Define the number of epochs.
# for epoch in range(num_epochs):
#     # ... (Your training loop here)
#     loss = random.random()  # Example: Random loss value.
#     accuracy = random.random()  # Example: Random accuracy value.
#     # Log the loss to TensorBoard.
#     writer.add_scalar("Loss/train", loss, epoch)
#     # Log the accuracy to TensorBoard.
#     writer.add_scalar("Accuracy/train", accuracy, epoch)
#     # ... (Log other metrics)
# # Close the SummaryWriter.
# writer.close()

# --------------------------------------------------
# 7. Saving and Loading Trained Agent Checkpoints
# --------------------------------------------------
# Example:
# Create an instance of the Q-learning agent.
# agent = QLearningAgent(actions=["up", "down", "left", "right"])
# # ... (Train your agent)

# # Saving the agent
# # Open a file in binary write mode.
# with open("trained_agent.pkl", "wb") as f:
#     # Save the agent to the file.
#     pickle.dump(agent, f)

# # Loading the agent
# # Open the file in binary read mode.
# with open("trained_agent.pkl", "rb") as f:
#     # Load the agent from the file.
#     loaded_agent = pickle.load(f)

# --------------------------------------------------
# 8. Curriculum Learning
# --------------------------------------------------
# Set the initial task difficulty.
initial_task_difficulty = 0.1

# Example training loop with curriculum learning:
# for epoch in range(num_epochs):
#   # Gradually increase the task difficulty.
#   task_difficulty = min(initial_task_difficulty + epoch * 0.01, 1.0)
#   # ... (Generate training data with adjusted difficulty)

# --------------------------------------------------
# 9. Implementing Early Stopping
# --------------------------------------------------
# Initialize the best validation loss to infinity.
best_validation_loss = float("inf")
# Set the patience value (number of epochs without improvement).
patience = 5
# Initialize the counter for epochs without improvement.
epochs_without_improvement = 0

# Example training loop with early stopping:
# for epoch in range(num_epochs):
#   # ... (Training and validation steps)
#   # Calculate the validation loss.
#   validation_loss = random.random()  # Example: Random validation loss.

#   # If the validation loss improves.
#   if validation_loss < best_validation_loss:
#     # Update the best validation loss.
#     best_validation_loss = validation_loss
#     # Reset the counter.
#     epochs_without_improvement = 0
#   else:
#     # Increment the counter.
#     epochs_without_improvement += 1

#   # If no improvement for 'patience' epochs.
#   if epochs_without_improvement >= patience:
#     # Print a message.
#     print("Early stopping triggered!")
#     # Stop the training.
#     break

# --------------------------------------------------
# 10. Using a Pre-trained LLM for Zero-Shot Task Transfer
# --------------------------------------------------
# Load a pre-trained summarization pipeline.
summarizer = pipeline("summarization", model="facebook/bart-large-cnn")
# Define the text to summarize.
text = "This is an example text about AI agents and LLMs."
# Generate the summary.
summary = summarizer(text)[0]["summary_text"]
# Print the summary.
print(f"Summary: {summary}")

Challenges in Deployment and Scaling
Deploying and scaling integrated AI agents with LLMs presents significant technical and operational challenges. One of the primary challenges is the computational cost, particularly as LLMs grow in size and complexity.
Addressing this issue involves resource-efficient strategies such as model pruning, quantization, and distributed computing. These can help reduce the computational burden without sacrificing performance.
Maintaining reliability and robustness in real-world applications is also crucial, necessitating ongoing monitoring, regular updates, and the development of fail-safe mechanisms to manage unexpected inputs or system failures.
As these systems are deployed across various industries, adherence to ethical standards—including fairness, transparency, and accountability—becomes increasingly important. These considerations are central to the system’s acceptance and long-term success, impacting public trust and the ethical implications of AI-driven decisions in diverse societal contexts (Bender et al., 2021).
The technical implementation of AI agents integrated with LLMs involves careful architectural design, rigorous training methodologies, and thoughtful consideration of deployment challenges.
The effectiveness and reliability of these systems in real-world environments depend on addressing both technical and ethical concerns, ensuring that AI technologies function smoothly and responsibly across various applications.
