
How to install Xcode and create a playground
How to install Xcode and create a playground 관련

Xcode is Apple’s programming application for developers. It’s free from the Mac App Store, and it's required to do development for Apple’s platforms. So, your first action is to click here to install Xcode from the Mac App Store – it’s quite a big download, so start downloading it now and carry on reading.
While that's downloading, I can explain a couple of the absolute basics to you:
- iOS is the name of the operating system that runs on all iPhones and iPads. It’s responsible for all the basic operations of the phone, such as making phone calls, drawing on the screen, and running apps.
- macOS is the name for Apple’s desktop operating system, which is the technological grandparent of iOS, tvOS, and even watchOS.
- watchOS is the name for Apple’s tiniest operating system, and is responsible for running native apps and also delivering notifications from the phone.
- tvOS is a spin off of iOS designed to run on televisions connected to Apple TV devices.
- Swift is Apple’s modern programming language that lets you write apps for iOS, macOS, and other platforms. It contains the functionality for building programs, but doesn’t handle anything like user interfaces, audio or networking.
- UIKit is Apple’s native user interface toolkit. It contains things like buttons, text boxes, navigation controls and more, and you drive it using Swift.
- AppKit is Apple’s native user interface toolkit for macOS. Like UIKit it contains things like buttons, text boxes, and more, although focused on macOS rather than iOS.
- WatchKit was Apple’s native user interface toolkit for watchOS before SwiftUI was introduced. While UIKit and AppKit have much in common, WatchKit is significantly different – and significantly simpler.
- SwiftUI is a cross-platform toolkit that lets us build apps for iOS, macOS, tvOS, and watchOS.
- Cocoa Touch is the name commonly used for Apple's vast collection of frameworks for iOS. It includes UIKit to do user interfaces, but most people would say it also includes SpriteKit for making 2D games, SceneKit for making 3D games, MapKit for maps, Core Graphics for drawing, Core Animation for animating things, and much more.
- Cocoa is the name used for Apple’s framework collection on macOS. Strictly speaking it’s made up of AppKit for user interface, Foundation for basic functionality, and Core Data for object graphs, but like Cocoa Touch it’s often used to mean “all of macOS development.”
- NeXTSTEP is an operating system created by a company that Steve Jobs founded called NeXT. It was bought by Apple, at which point Jobs was placed back in control of the company, and put NeXTSTEP technology right into the core of Apple's development platform.
- Simulator is a tool that comes with Xcode that looks and works almost exactly like a real iPhone, iPad, Apple TV, or Apple Watch. It lets you test apps very quickly without having to use a real device.
- Playgrounds are miniature Swift testing environments that let you type code and see the results immediately. You don’t build real apps with them, but they are great for learning. We’ll be using playgrounds in this introduction.
- Crashes are when your code goes disastrously wrong and your app cannot recover. If a user is running your app it will just disappear and they’ll be back on the home screen. If you're running in Xcode, you’ll see a crash report.
- Taylor Swift has nothing to do with the Swift programming language. This is a shame, as you might imagine, but I'll try to make up for this shortfall by using her songs in this tutorial. Deal with it.
That’s it for the basics – if Xcode still hasn't finished downloading then why not watch some Taylor Swift videos while you wait? The examples in this tutorial will certainly make a lot more sense…
Got Xcode installed? OK! Let’s do this…
Introduction to Swift playgrounds
When you launch Xcode, you’ll see the Welcome to Xcode window where you can create a new project or open one of your recent projects. We don’t want a project for now, because we’ll be using a playground – little mini projects that let us run code quickly. You can make a new playground by going to the File menu and choosing [New] > Playground.
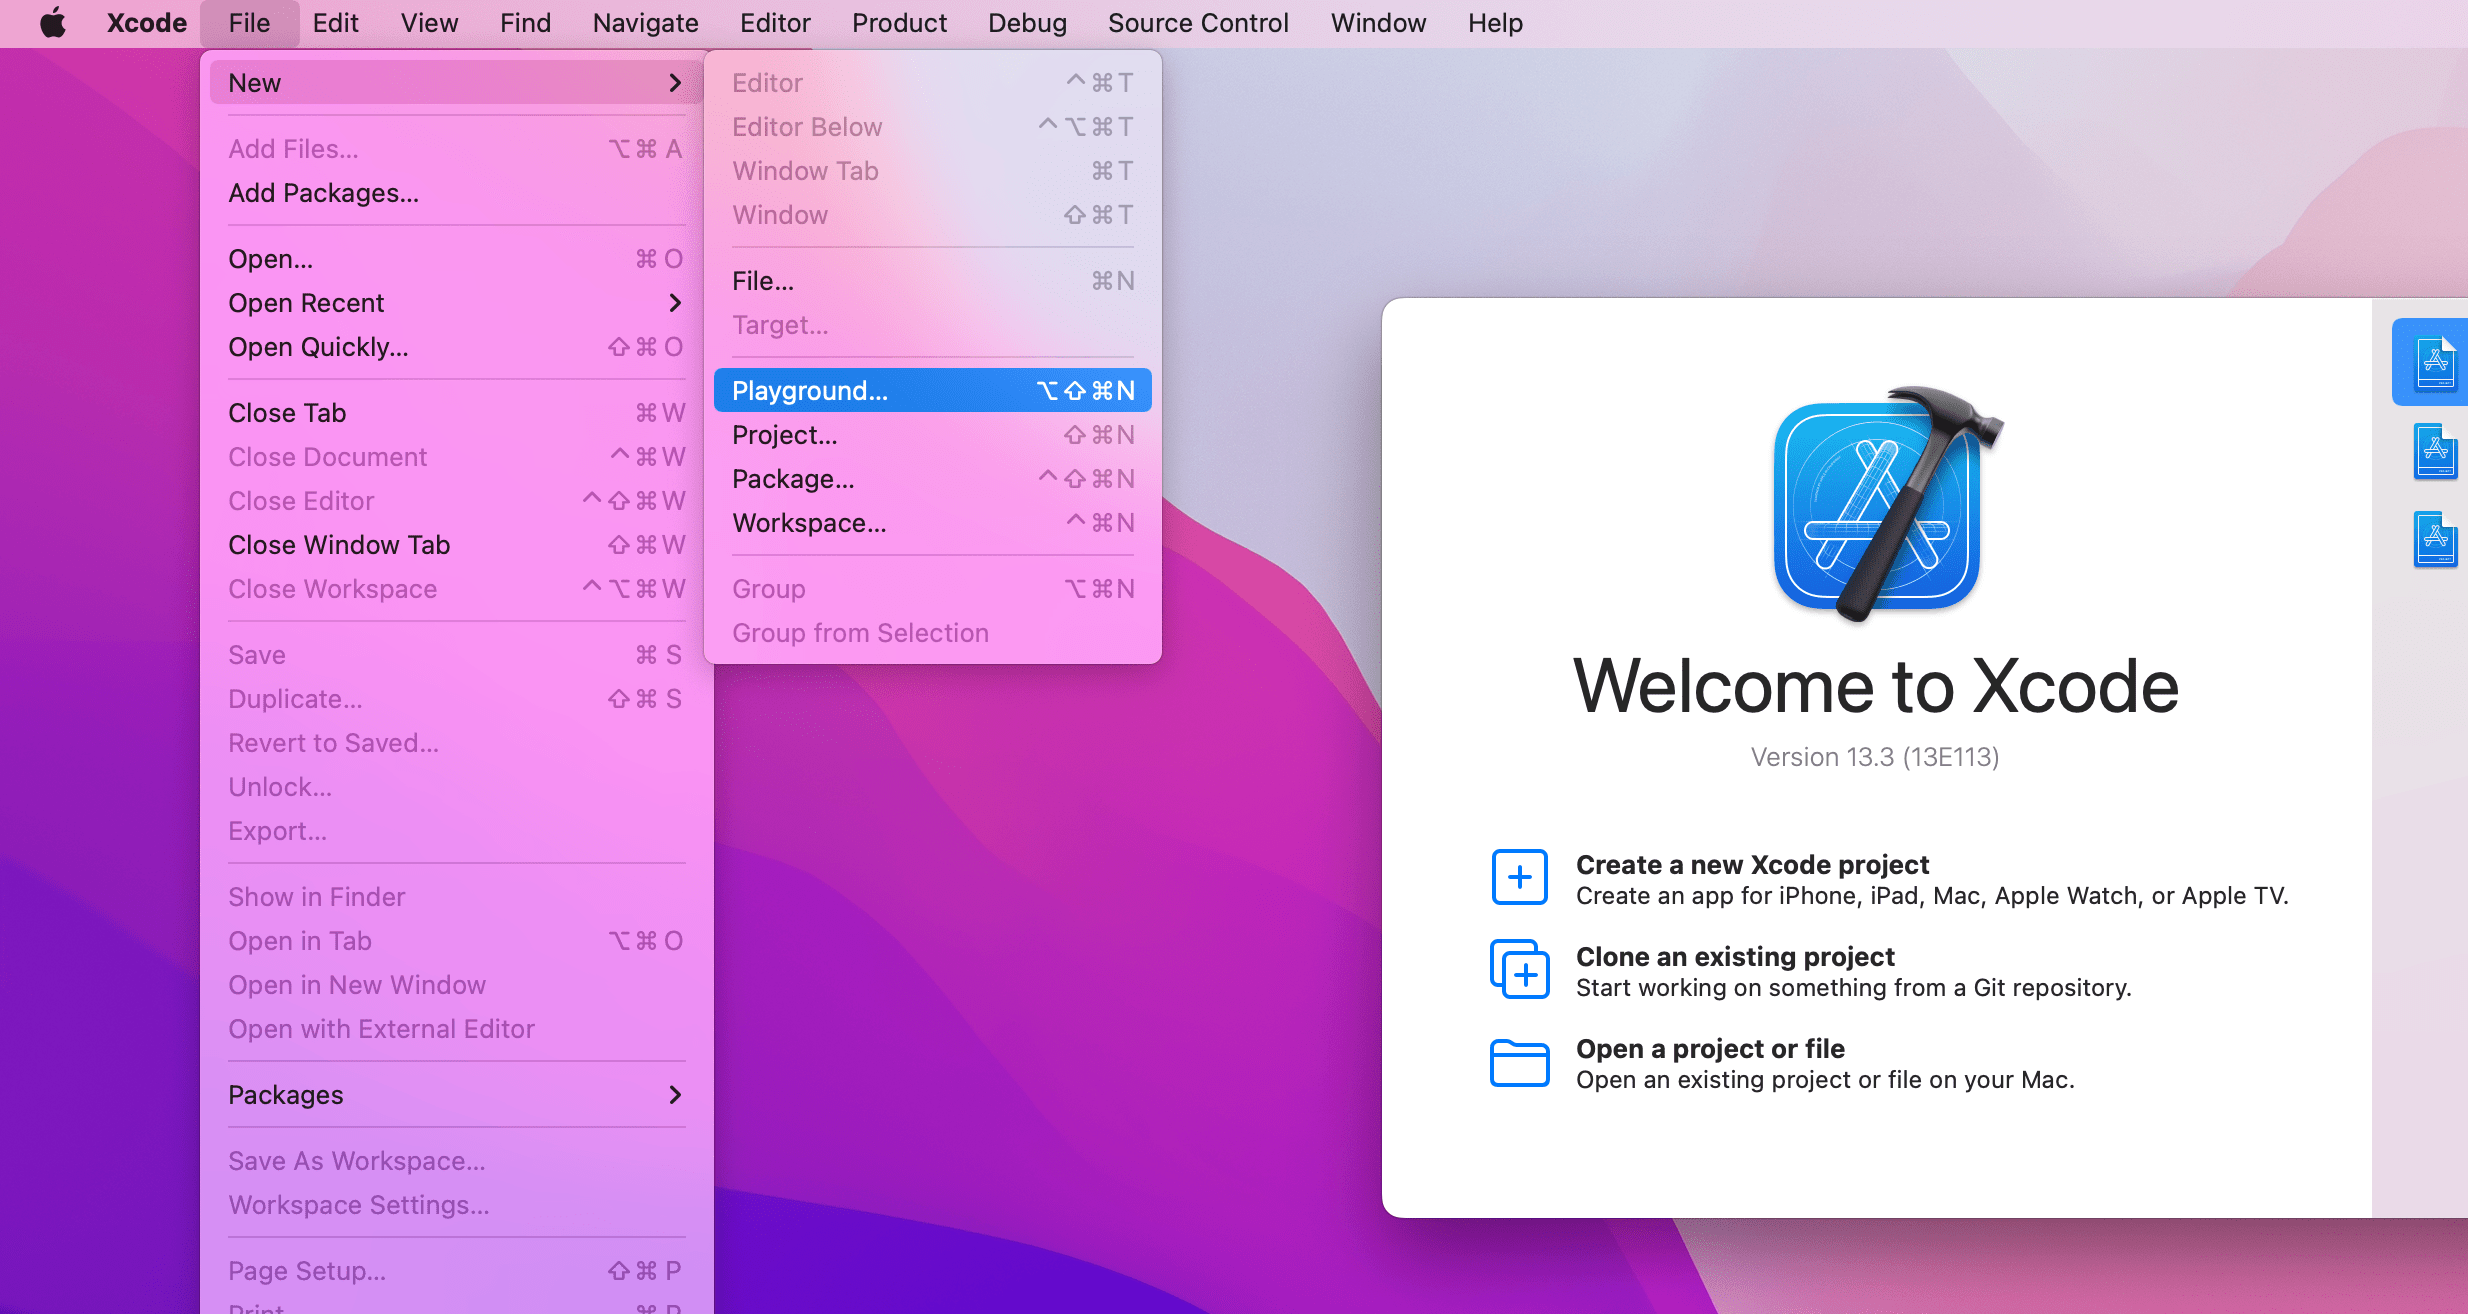
[File] > [New] > [Playground].Xcode will ask you whether you want to create a playground for iOS or macOS, but it doesn’t matter here – this introduction is almost exclusively about the Swift language, with no user interface components. For the avoidance of problems, leave “iOS” selected for the platform. You’ll see a list of playground templates you can choose from, but we’re going to start small here so please choose Blank.
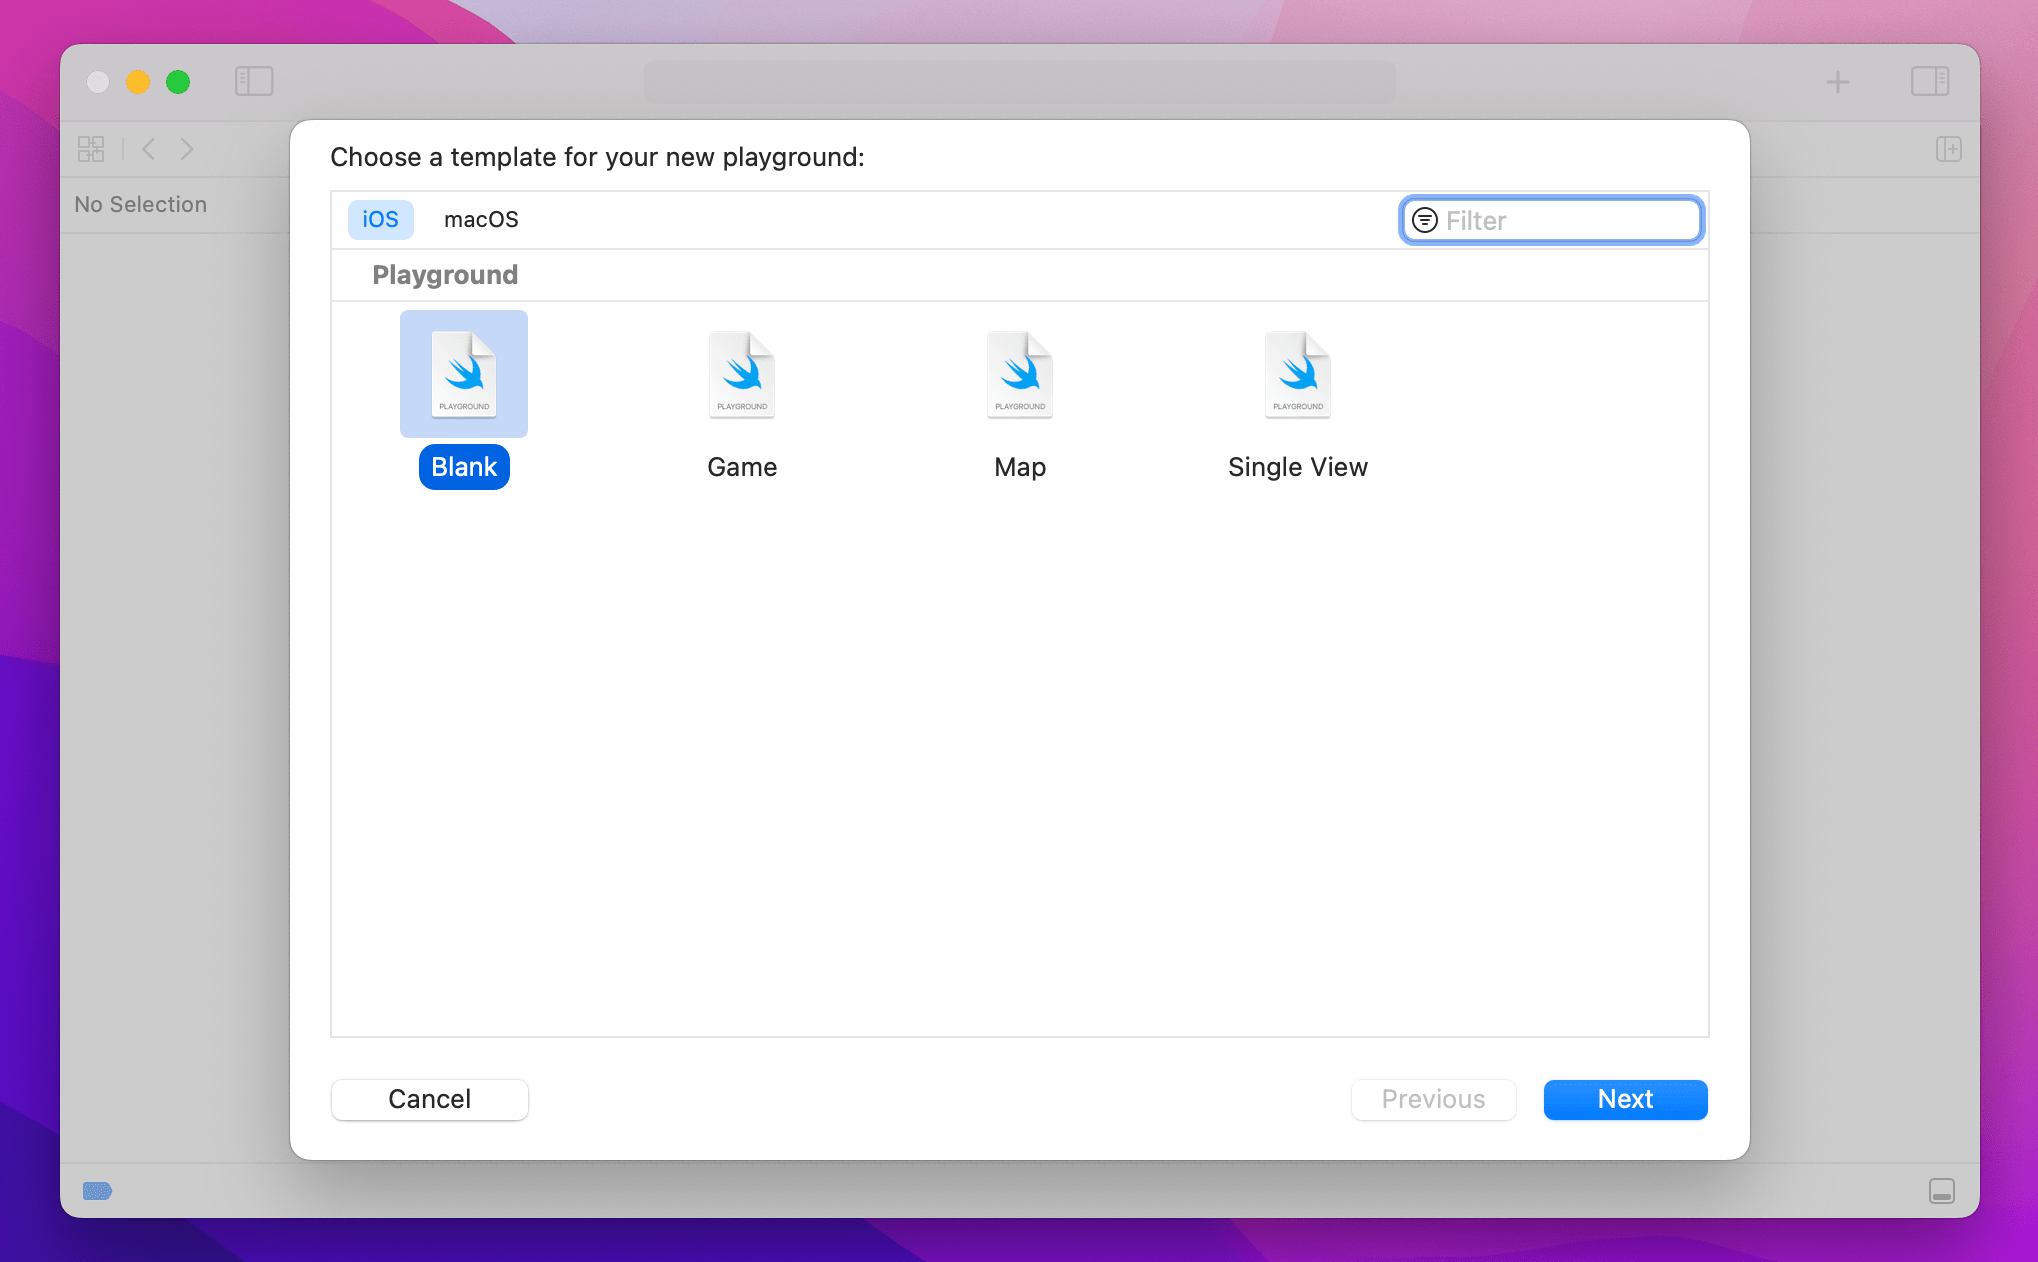
Finally, Xcode will ask you to name your playground – the default name of "MyPlayground" is fine, so go ahead and click Create.
What you'll see is a window split in two. On the left you'll see this:
import UIKit

var greeting = "Hello, playground"
And on the right, once Xcode has built and run the code, you’'ll see this: "Hello, playground". Note that build and running the code takes 10 seconds or so the first time, but is fast otherwise – Xcode has to launch a mini simulator behind the scenes.
This split is important, because it divides code and results. The code is in the left pane, and you will edit this to do your own Swift work as we go. The results are in the right pane, and it shows you what your Swift code has done. In this case, it’s telling us that we successfully set the value "Hello, playground."

Playgrounds run whatever code you write, one line at a time, and show the updated results in the side bar. To the left of each line of code you’ll see a blue bar, and if you hover over various lines there you’ll see you can press a play button to run the code up to that point.
Playgrounds are a great way to try some code and see the results quickly. They are extremely powerful too, as you’ll see over the next hour or so. Let’s get started writing Swift!
