
Properties
Properties 관련

Structs and classes (collectively: "types") can have their own variables and constants, and these are called properties. These let you attach values to your types to represent them uniquely, but because types can also have methods you can have them behave according to their own data.
Let's take a look at an example now:
struct Person {
    var clothes: String
    var shoes: String

    func describe() {
        print("I like wearing \(clothes) with \(shoes)")
    }
}

let taylor = Person(clothes: "T-shirts", shoes: "sneakers")
let other = Person(clothes: "short skirts", shoes: "high heels")
taylor.describe()
other.describe()
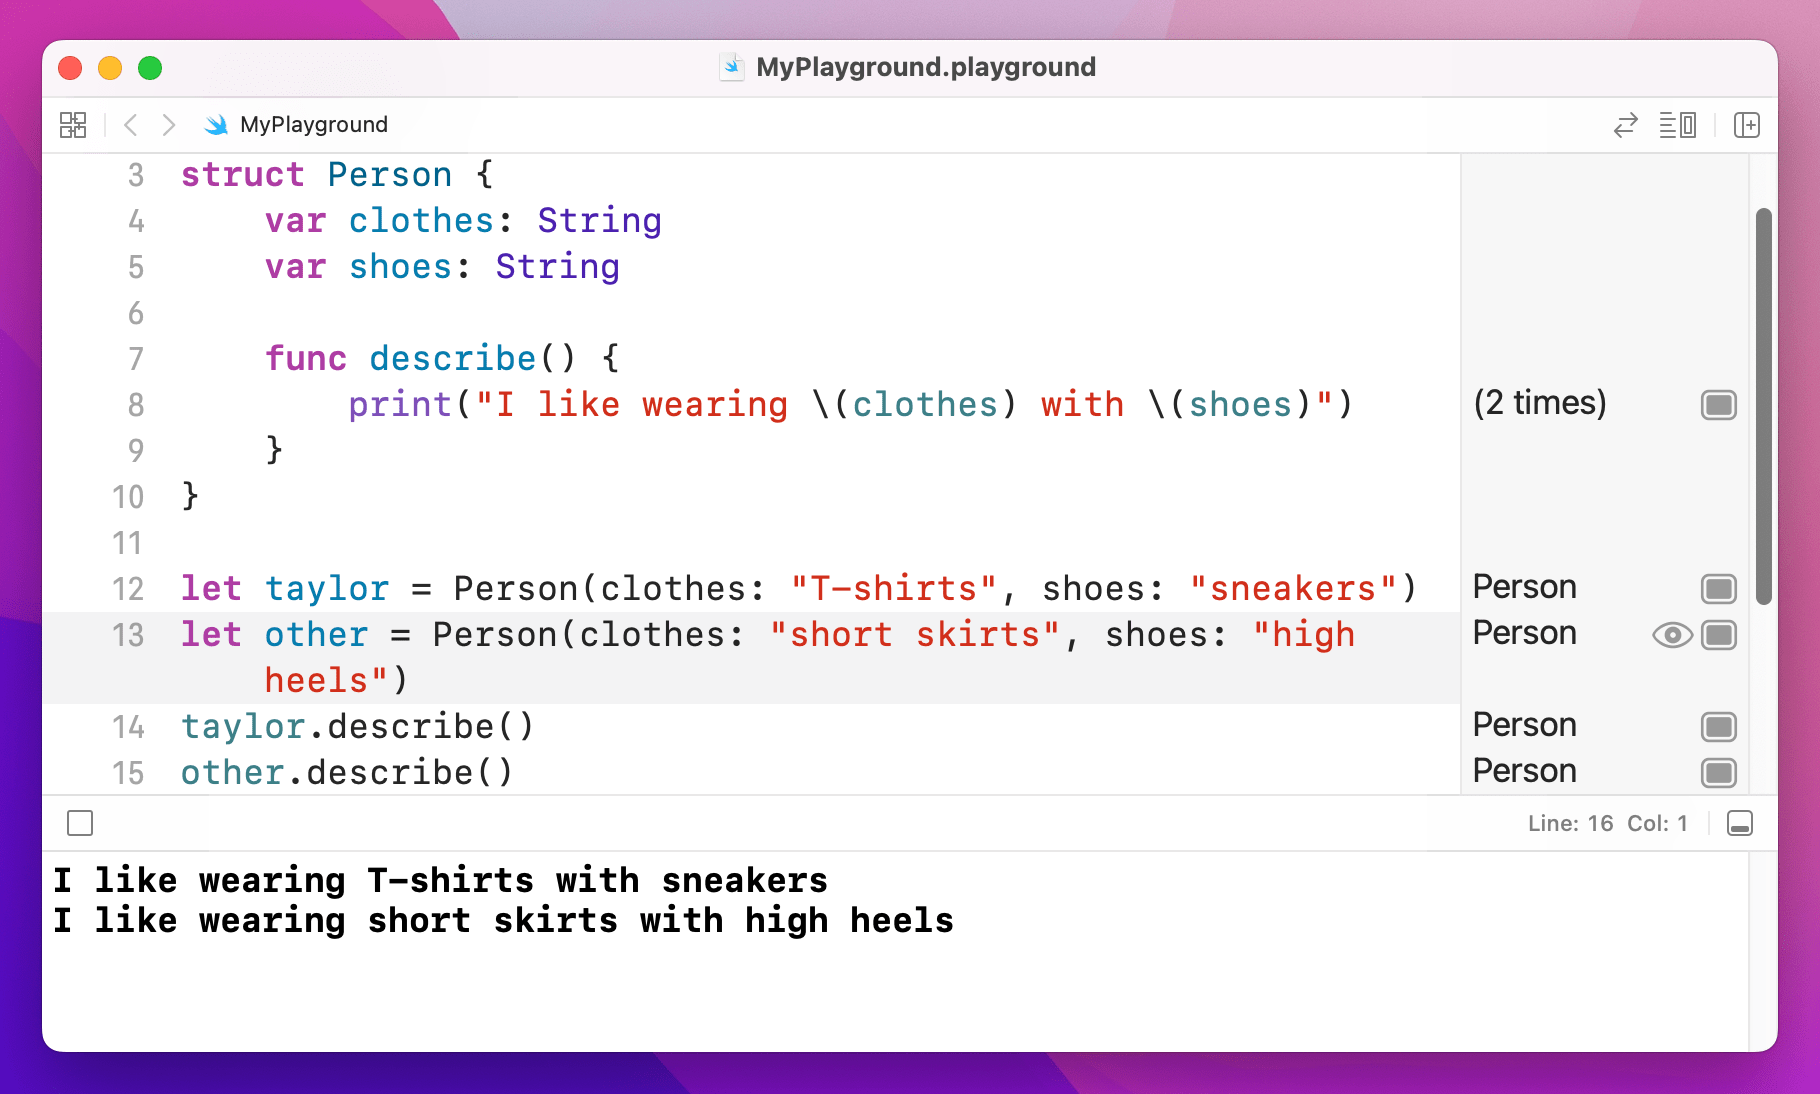
describe automatically uses object's property values.As you can see, when you use a property inside a method it will automatically use the value that belongs to the same object.
Property observers
Swift lets you add code to be run when a property is about to be changed or has been changed. This is frequently a good way to have a user interface update when a value changes, for example.
There are two kinds of property observer: willSet and didSet, and they are called before or after a property is changed. In willSet Swift provides your code with a special value called newValue that contains what the new property value is going to be, and in didSet you are given oldValue to represent the previous value.
Let's attach two property observers to the clothes property of a Person struct:
struct Person {
    var clothes: String {
        willSet {
            updateUI(msg: "I'm changing from \(clothes) to \(newValue)")
        }

        didSet {
            updateUI(msg: "I just changed from \(oldValue) to \(clothes)")
        }
    }
}

func updateUI(msg: String) {
    print(msg)
}

var taylor = Person(clothes: "T-shirts")
taylor.clothes = "short skirts"
That will print out the messages "I'm changing from T-shirts to short skirts" and "I just changed from T-shirts to short skirts."
Computed properties
It's possible to make properties that are actually code behind the scenes. We already used the uppercased() method of strings, for example, but there’s also a property called capitalized that gets calculated as needed, rather than every string always storing a capitalized version of itself.
To make a computed property, place an open brace after your property then use either get or set to make an action happen at the appropriate time. For example, if we wanted to add a ageInDogYears property that automatically returned a person's age multiplied by seven, we'd do this:
struct Person {
    var age: Int

    var ageInDogYears: Int {
        get {
            return age * 7
        }
    }
}

var fan = Person(age: 25)
print(fan.ageInDogYears)
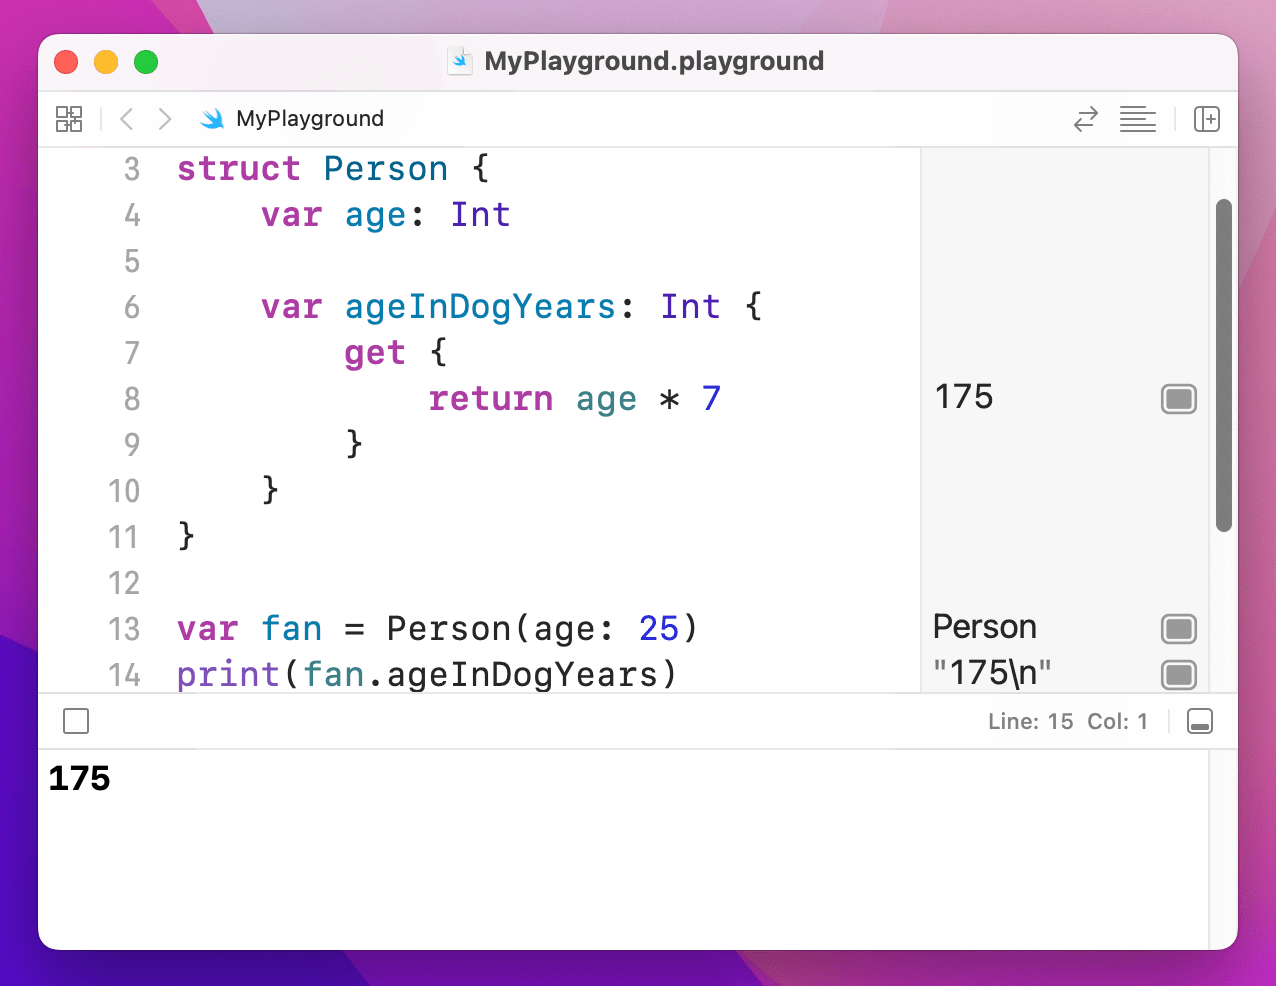
ageInDogYears is computed using the get code, printing 175.Note
If you intend to use them only for reading data you can just remove the get part entirely, like this:
var ageInDogYears: Int {
    return age * 7
}
