
How to add sections to a list
About 2 min
How to add sections to a list 관련

SwiftUI by Example
Back to Home
How to add sections to a list | SwiftUI by Example
How to add sections to a list
Updated for Xcode 15
New in iOS 15
SwiftUI's list view has built-in support for sections and section headers, just like UITableView in UIKit. To add a section around some cells, start by placing a Section around it, optionally also adding a header and footer.
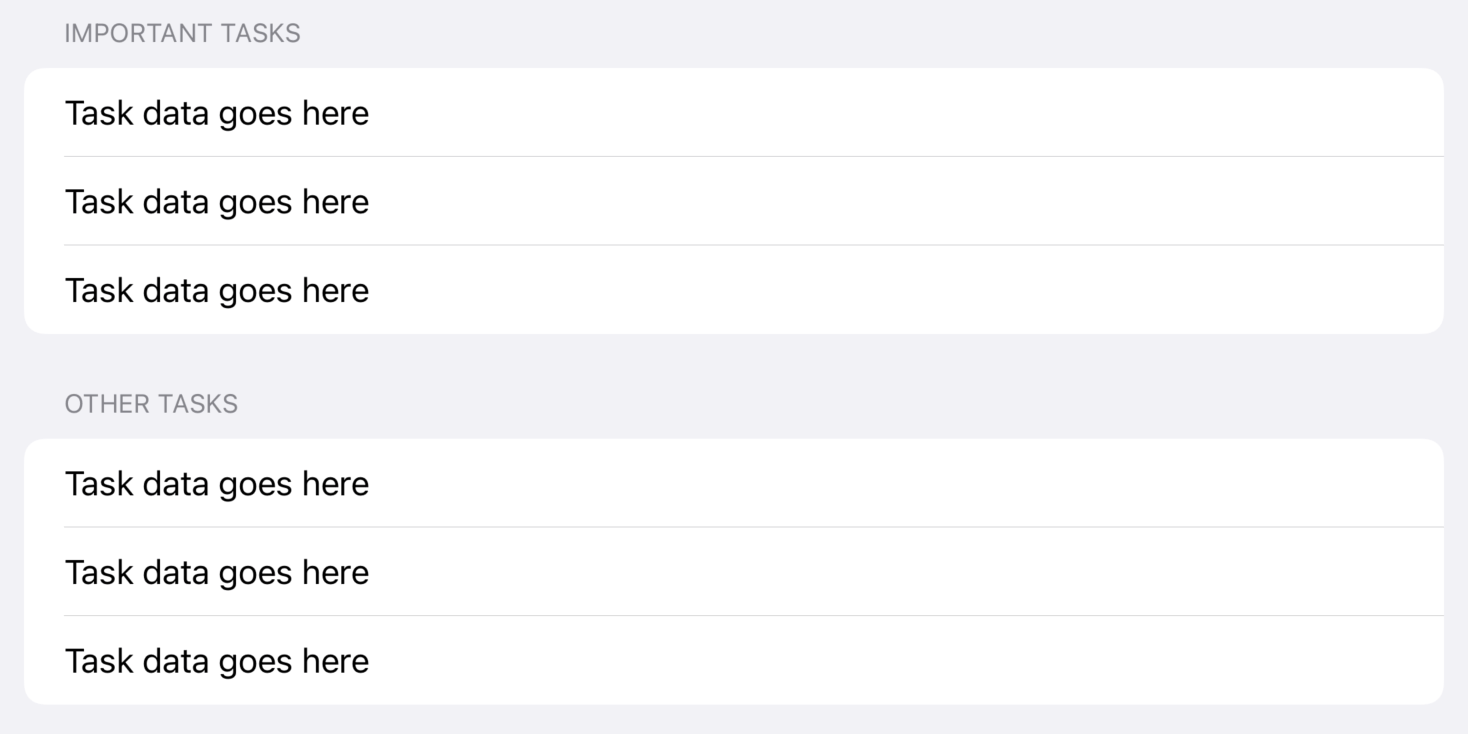
As an example, we could create a row that holds task data for a reminders app, then create a list view that has two sections: one for important tasks and one for less important tasks.
Here's how that looks:
struct TaskRow: View {
    var body: some View {
        Text("Task data goes here")
    }
}

struct ContentView: View {
    var body: some View {
        List {
            Section(header: Text("Important tasks")) {
                TaskRow()
                TaskRow()
                TaskRow()
            }

            Section(header: Text("Other tasks")) {
                TaskRow()
                TaskRow()
                TaskRow()
            }
        }
    }
}
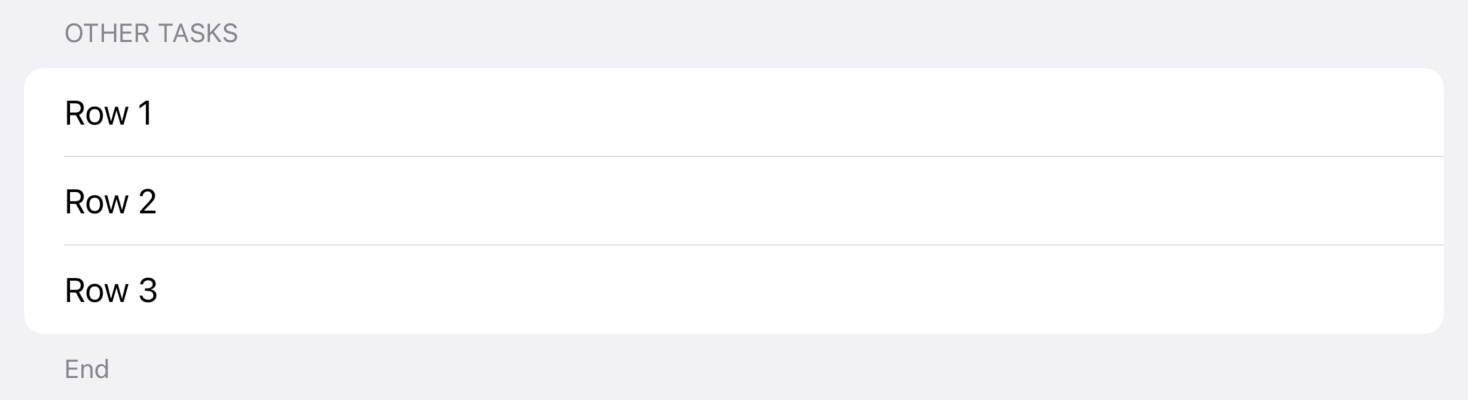
You can also add footer text to sections, like this:
List {
    Section(header: Text("Other tasks"), footer: Text("End")) {
        Text("Row 1")
        Text("Row 2")
        Text("Row 3")
    }
}
By default your section headers will match the default iOS style, but you can request larger, bolder section text using the headerProminence() modifier and specifying .increased, like this:
List {
    Section(header: Text("Header")) {
        Text("Row")
    }
    .headerProminence(.increased)
}
.listStyle(.insetGrouped)

Similar solutions…
Breaking forms into sections | SwiftUI by Example
Breaking forms into sections
Building a menu using List | SwiftUI by Example
Building a menu using List
How to add custom swipe action buttons to a List row | SwiftUI by Example
How to add custom swipe action buttons to a List row
How to add a badge to TabView items and List rows | SwiftUI by Example
How to add a badge to TabView items and List rows
Composing views to create a list row | SwiftUI by Example
Composing views to create a list row
