
Building a menu using List
Building a menu using List 관련

We're going to start simple, and work our way up. Along the way you'll start to see some of the things that SwiftUI makes easy, and some of the things that are a bit harder.
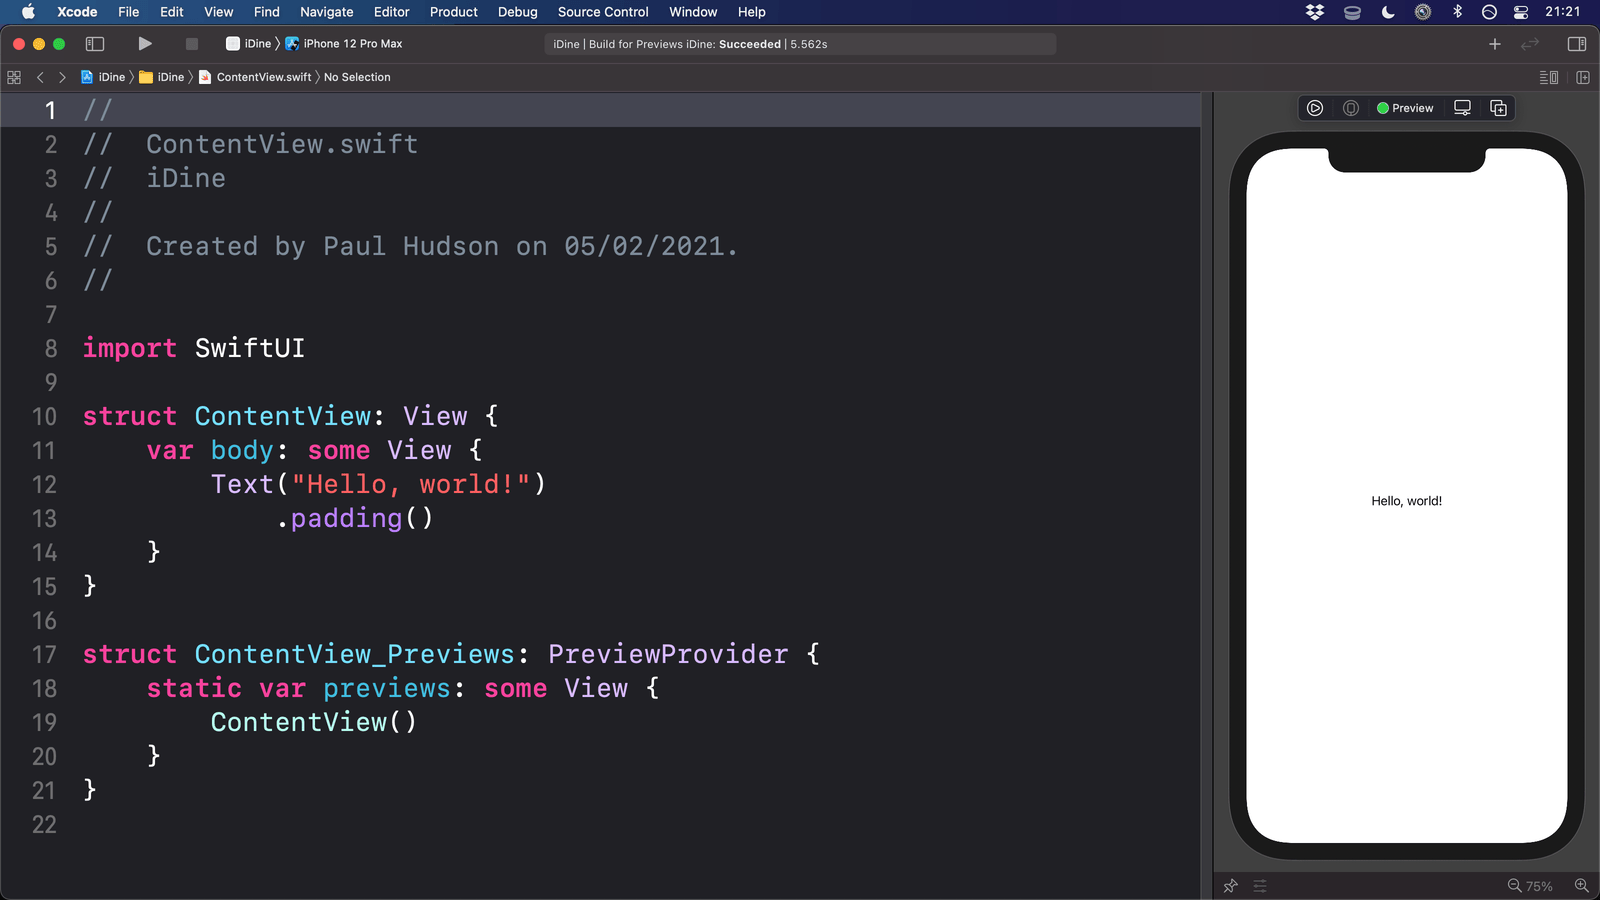
In ContentView.swift is a basic struct representing the only screen in our app: ContentView. It looks like this:
struct ContentView: View {
    var body: some View {
        VStack {
            Image(systemName: "globe")
                .imageScale(.large)
                .foregroundStyle(.accentColor)
            Text("Hello, world!")
        }
        .padding()
    }
}
That isn't much code, but it already tells us a lot:
- Views are structs in SwiftUI.
- All views must conform to the
Viewprotocol. - That protocol requires a computed property called
bodythat contains the actual layout for the view. - It returns
some View, which is a Swift feature called opaque return types – it means “one specific sort of view, but we don't really care which one.” - Inside our content view is a small amount of UI: an image showing a globe icon and some text saying “Hello, world”, both wrapped up in a
VStackto make them vertically aligned. We'll be looking at these views in more detail as we progress. - There's are some method calls in place:
.imageScale(),.foregroundStyle(), andpadding(). In SwiftUI we call these modifiers because they modify the way the text view looks or acts.
You should also see a preview pane on the right of Xcode. This updates as you type, which makes it a great way to see your changes as you work. If you don't see the preview pane on the right, go to the Editor menu and choose Canvas.
In the event that Xcode's preview area stops – which will happen quite often – you can press Opt+Cmd+P to make it resume showing your layouts.
This is really important so I'm repeating it: pressing Cmd+Opt+P will make your SwiftUI preview update.
In our app this screen will show us a list of items from a menu, so we're going to use a List view instead of Xcode's default template code.
So, replace the current text view with this:
List {
    Text("Hello World")
    Text("Hello World")
    Text("Hello World")
}
When the preview updates you'll now see the equivalent of UIKit's UITableView with three pieces of text, all saying “Hello World”. This is a static list view – we're sending in three pieces of fixed data, so it interprets them as three rows in the table.
In our app the menu will contain a list of items that can be ordered, and tapping one of them will show a new screen with details about that order item. This works just like in UIKit: we wrap our table in a navigation control.
In SwiftUI this navigation control is a NavigationStack, which combines the display styling of UINavigationBar and the view controller stack behavior of UINavigationController. To bring one in, just add NavigationStack around your list, like this:
NavigationStack {
    List {
        Text("Hello World")
        Text("Hello World")
        Text("Hello World")
    }
}
When the preview updates you'll see things look the same, but that's only because we haven't given it a title yet.
Earlier I mentioned the padding() modifier briefly, saying modifiers got that name because they modify the way views look or act. SwiftUI has many modifiers – hundreds, easily – and each one lets you customize the behavior of a view in one very specific way.
Yes, modifiers look like regular Swift methods, but they are more complex because they actually change what they apply to. In simple terms, if you have some text and apply the padding() modifier, you don't just get some text back that happens to have some space around it – you actually get a different type back.
In this case, we want to apply a navigationTitle() modifier to our list view, which accepts some sort of text to show in the navigation bar. So, we'd write this:
NavigationStack {
    List {
        Text("Hello World")
        Text("Hello World")
        Text("Hello World")
    }
    .navigationTitle("Menu")
}
Yes, the modifier is attached to the list rather than the navigation stack – think of how we'd set the title of a UIViewController rather than try to set the title of a UINavigationController.
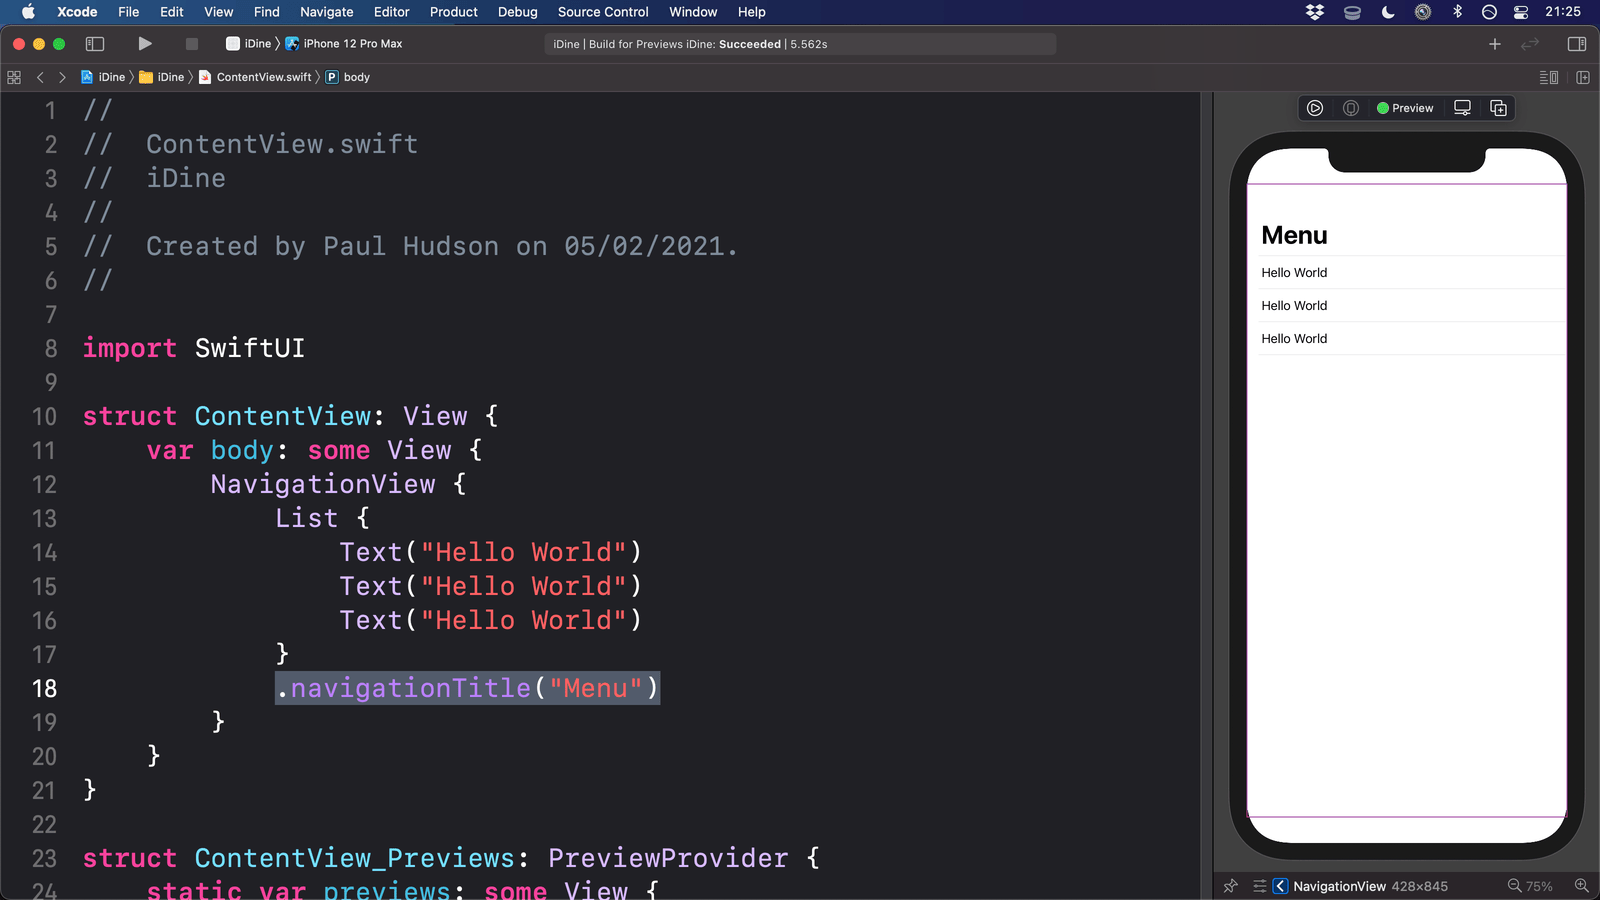
If you try running the app now you'll see that it all works exactly as we would expect – the table scrolls around, the navigation bar shrinks as you scroll, and so on. One of the great things that SwiftUI does is give us modern system behavior by default, so we get large navigation bar titles as standard.
Static text works fine when you have fixed table cells, but in our case we have lots of menu items to load across a number of sections – breakfast, mains, dessert, and drinks. What we really want to do is load our menu data from JSON, then use that for our list items, and that's actually not too hard to accomplish.
First we need to load our data. The Helper.swift file you already imported contains code for loading Codable JSON from the app bundle, which is perfect for loading our menu.json file. So, add this property to the ContentView struct now:
let menu = Bundle.main.decode([MenuSection].self, from: "menu.json")
Next we need to make our list go over the sections in our menu. This is done by using a ForEach block, which loops over items in an array and repeats whatever is inside:
List {
    ForEach(menu) {
        Text("Hello World")
        Text("Hello World")
        Text("Hello World")
    }
}
The opening braces after List and ForEach actually signify the start of a closure, and in the case of ForEach SwiftUI will pass into the closure each section from the array so that we can configure it.
So, we need to accept that section by modifying the code to this:
ForEach(menu) { section in
That almost works, but there's one last thing we need to do. SwiftUI needs to know how to identify every cell in our table – it needs to know exactly which is which, so it can add and remove things for us if we ask. When we had a static list this wasn't a problem because it could see there were three, but now we have a dynamic list we need to tell it something about each section that makes it unique.
If you open Menu.swift you'll see structs that define MenuSection and MenuItem, and both of them have id properties that contain a UUID – a universally unique identifier. This is perfect for our use, because every menu item in every section has a unique identifier so SwiftUI can know which is which.
We can tell SwiftUI to use those identifiers by making the two types conform to Identifiable. This protocol has only one requirement, which is that conforming types must have a property called id that can identify them uniquely. We already have that, so just adding Identifiable to those two types is enough:
struct MenuSection: Codable, Identifiable {
And:
struct MenuItem: Codable, Equatable, Identifiable {
If you run the code now you'll see twelve rows containing “Hello World” – something you might not have expected.
What's changed is that we now have a dynamic list, and our ForEach will execute the body of its closure – three text views – once for every item in our menu sections. We have four sections, and each one has been given three text views, so we end up with 12 in total.
To fix this, we're going to ask for one text view per section, and give it the name of our section to display:
List {
    ForEach(menu) { section in
        Text(section.name)
    }
}
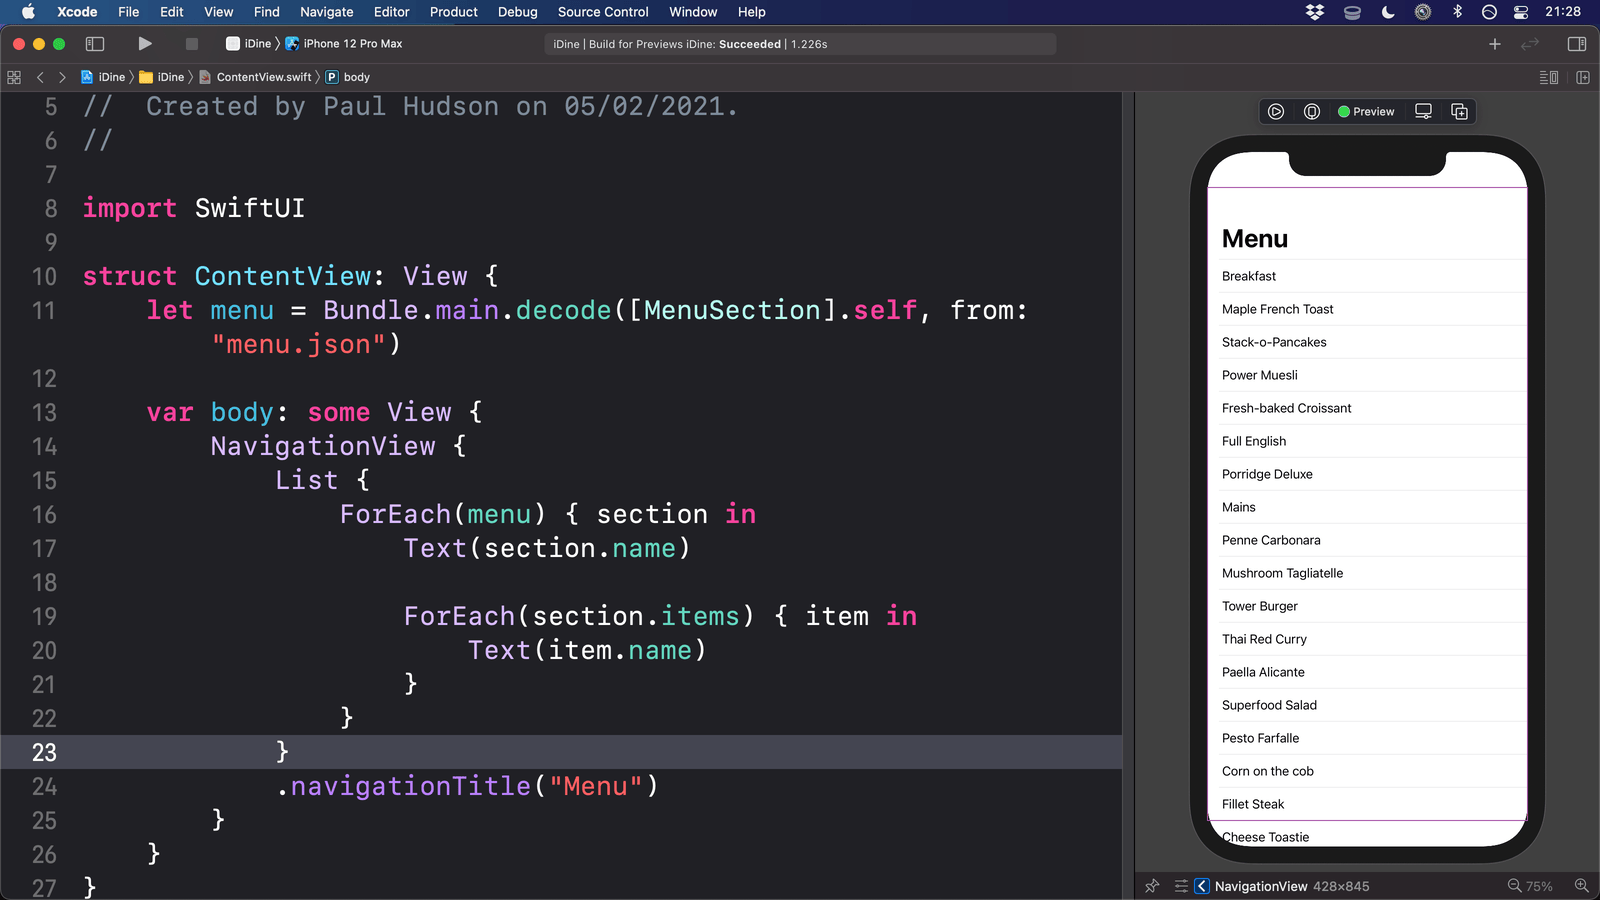
Next let's add the items inside each section. This is another ForEach inside the section ForEach, like this:
List {
    ForEach(menu) { section in
        Text(section.name)

        ForEach(section.items) { item in
            Text(item.name)
        }
    }
}
Now you'll see lots of table rows, with some containing section names (“Breakfast”, “Mains”, etc) and some containing menu item names (“Full English”, “Superfood Salad”, etc).
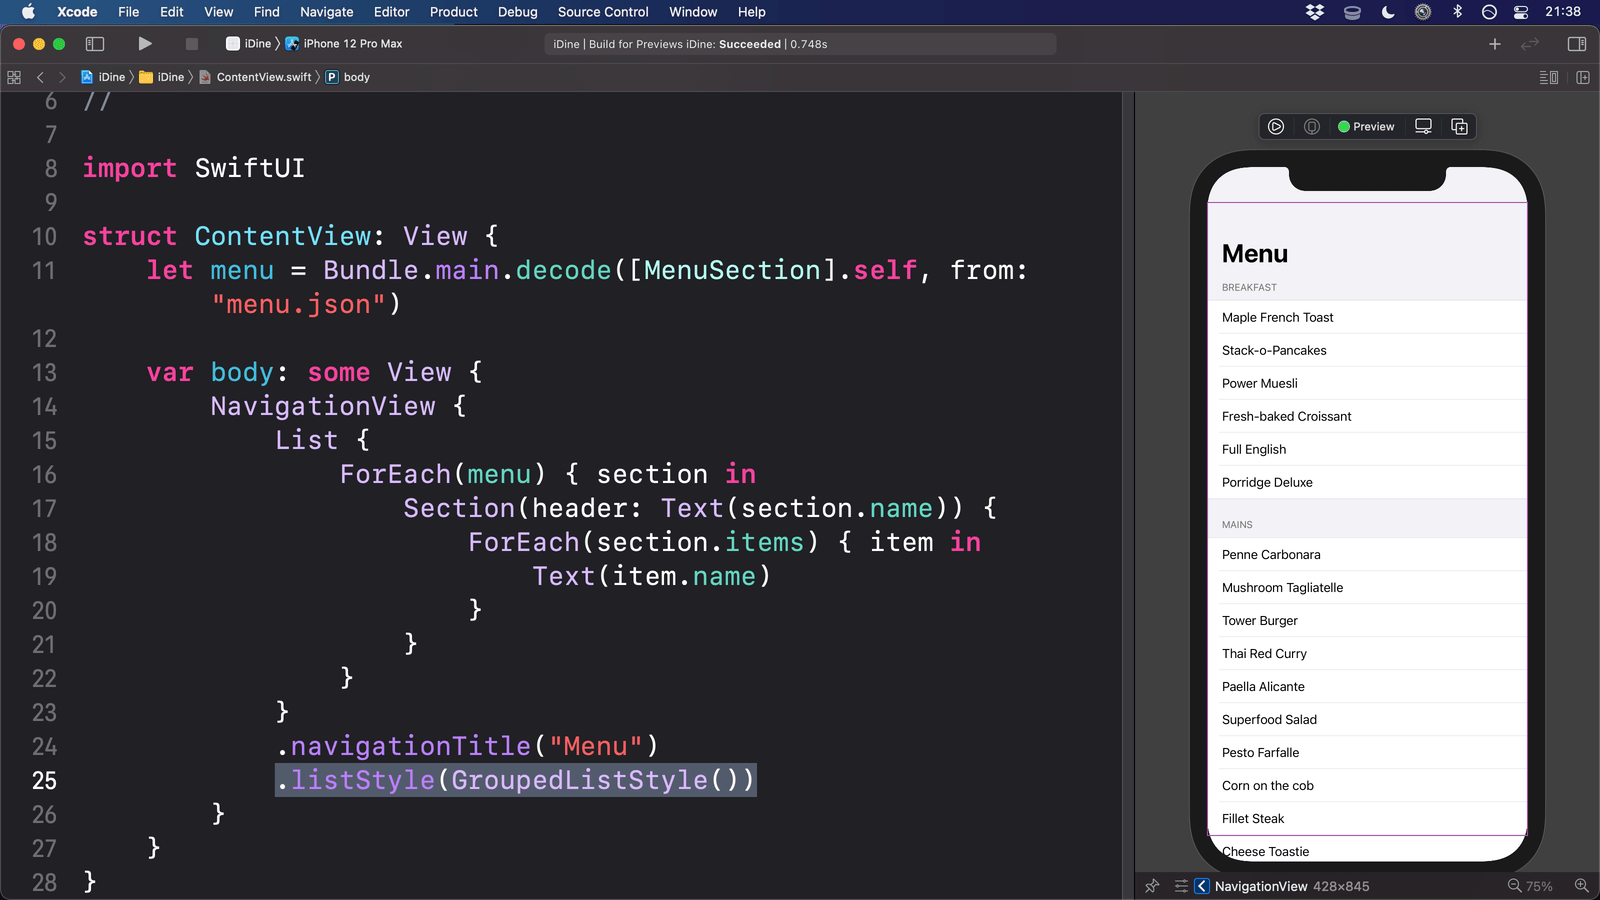
While this works, it's not ideal – it doesn't create any visual structure in our table, so we're going to break it up. The standard UIKit way of doing this is with table view sections, and SwiftUI gives us the Section view just for that. We can replace Text(section.name) with a Section using the section name for its title, which will be used as the text at the start of the section. The inner ForEach – the one containing our menu items – is then inside the section, so SwiftUI will understand how we've grouped things together.
The end result looks like this:
List {
    ForEach(menu) { section in
        Section(section.name) {
            ForEach(section.items) { item in
                Text(item.name)
            }
        }
    }
}
By default SwiftUI's lists use the “inset grouped” style of UITableView, but we can change that by adding another modifier after navigationTitle():
.listStyle(.grouped)
Similar solutions…
