Building a complete project
Building a complete project 관련
Updated for Xcode 15
This is a complete, free SwiftUI tutorial designed to take you through lots of its functionality in a single project. It's aimed at people who have existing programming experience with UIKit, but most things are explained in detail so newcomers ought to be able to follow along.
Important
This was written for iOS 16.1, so you'll need at least Xcode 14.1 to follow along. This is available as a free download from the Mac App Store if you don't already have it.
The project we'll be making is called iDine, and is a restaurant app that lists items in a menu and helps folks place orders. I've designed the project specifically so that it covers as many different techniques as possible to give you a good grounding in how things work in SwiftUI. Of course, we're also building a real project at the same time – it's going to be busy!
Note
If you'd like to see my completed version of this project, you can find it here on GitHub: twostraws/iDine.
To get started, please create a new iOS project in Xcode called “iDine”, choosing the App template. You should also select SwiftUI for the Interface, but please leave all the checkboxes unchecked.
Xcode's project creation window, configured to create a SwiftUI app.
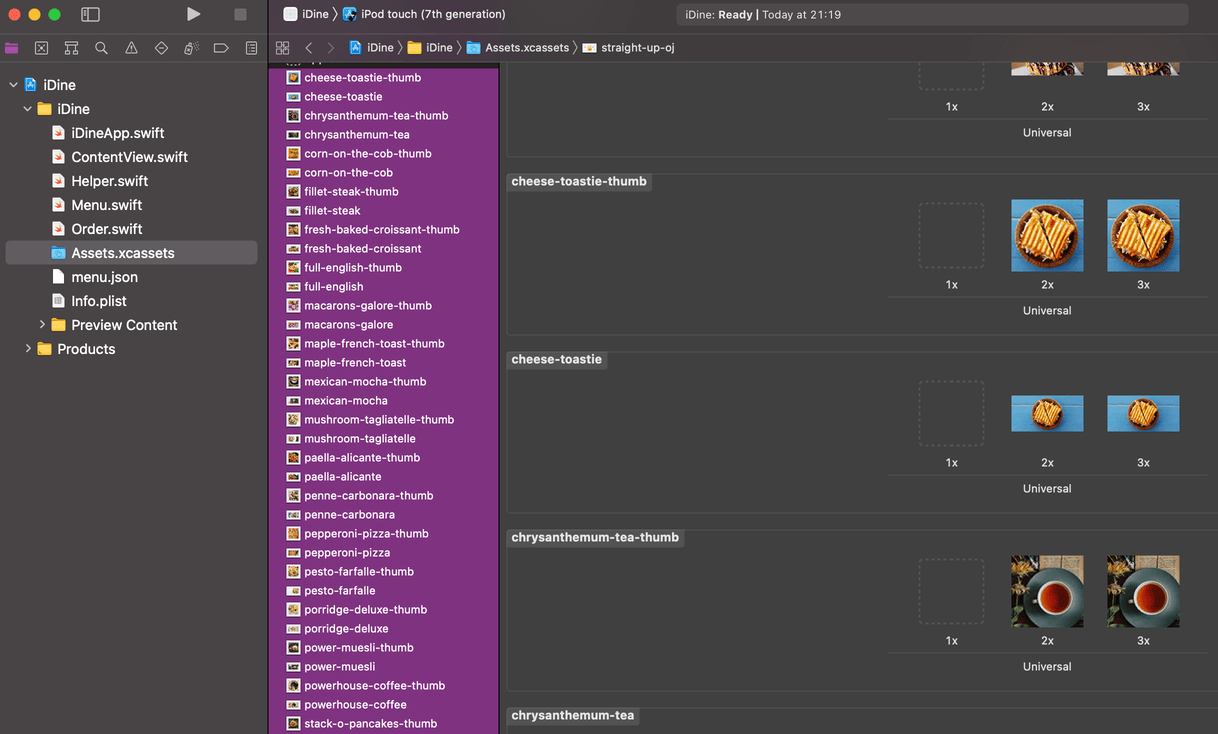
There are quite a few assets provided for this project that you need to copy in before you start. These are all in the assets for this project, which you can download here.
Please copy them into your project like this:
- Drag
Helper.swiftinto your project navigator. This contains a helper extension that makes it easier to decodeCodabledata from a bundle. This is not related to SwiftUI, so we won't be covering it here. - You should also drag
Order.swiftandMenu.swiftinto the project navigator. These are custom types that store the data we're using in the app. - And drag menu.json into your project navigator too – this describes all the menu items our restaurant offers, and will be decoded into instances of
MenuSectionandMenuItem. - Drag the contents of the Images directory into your asset catalog, so we have all the pictures we need.

OK, that's it – we're ready to go!
Tips
At the end of each chapter I've added a “Further reading” section that suggests links to other chapters in this book. You don't need to read them in order to follow along; they are there to provide extra information and detail if you want to understand the bigger picture more thoroughly.
