
Bindings and forms
Bindings and forms 관련

Update for Xcode 15
So far we've let users browse the menu, add items to an order, then see their total order. What we haven't done is create a mechanism to confirm that order, so that's our next job.
While this won't actually send anything off to a server somewhere, I do at least want to use this opportunity to show off one of SwiftUI's most impressive features: forms.
Forms are containers like stacks, but they are specifically designed for things like settings screens and user input – anywhere the user might want to make several choices in one place. Forms do a few interesting things as you'll see, and along the way I'll be showing you how to use common UI controls like pickers, text fields, segmented controls, and more.
Now I know what you're thinking: surely text fields are easy? Well, they aren't hard, but they also don't work like you're used to in UIKit.
To get things up and running let's create a new CheckoutView struct that we'll present when Place Order is pressed. Press Cmd+N to add a new SwiftUI View called “CheckoutView”, then give it the same @EnvironmentObject property the other views have:
@EnvironmentObject var order: Order
Make sure to also provide that in the preview for the view:
struct CheckoutView_Previews: PreviewProvider {
    static var previews: some View {
        CheckoutView().environmentObject(Order())
    }
}
That's the easy stuff out of the way, so let's try something new: let's show a picker with various payment options, allowing users to choose cash, credit card, or iDine Points.
This requires two new properties. First, we need a property that lists all possible values we want to show in our picker – add this now:
let paymentTypes = ["Cash", "Credit Card", "iDine Points"]
Second, we need a property where SwiftUI can store the value that's selected in the picker. You see, when our UI changes SwiftUI wants to know about it so that it can update our view – maybe some views that were hidden are now shown, for example. Rather than us asking to watch changes by hand, we instead bind our picker to a property on our struct, so that when the picker changes SwiftUI automatically changes the property too. And, just like environment objects, this will cause SwiftUI to re-invoke our body property so any changes are visible.
We already used @EnvironmentObject for working with data that comes from an external source. Here, though, this data is just for our view, and will be a simple value rather than a dedicated class that conforms to ObservableObject.
SwiftUI gives us a different property wrapper for these simple local values: @State. It works similarly to @EnvironmentObject in that if the object changes it automatically refreshes our UI, but it's designed for simple local values like integers and strings – if you want to use classes like Order you need to use something else instead.
Important
If you want to use simple values that are used only by the current view you should use @State for your property wrapper. Apple also recommends you mark those properties as private to reiterate that they aren't designed for external access.
Add this property to CheckoutView now:
@State private var paymentType = "Cash"
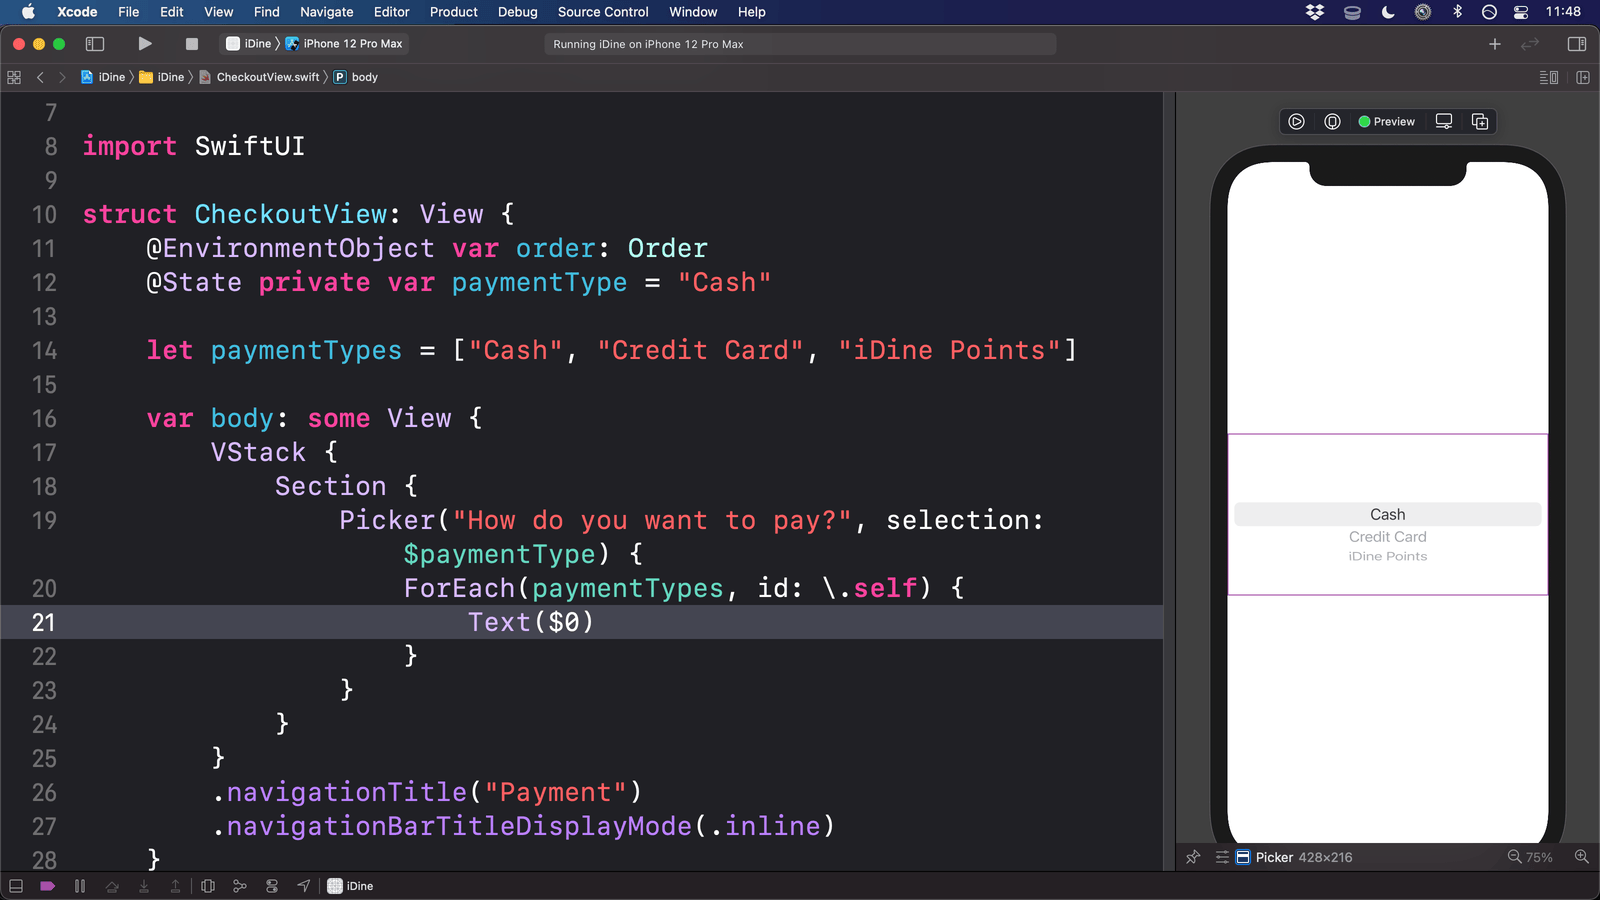
Now let's fill in the body property with a picker. This is all new, so I'll give you the code first then go over what it does:
VStack {
    Section {
        Picker("How do you want to pay?", selection: $paymentType) {
            ForEach(paymentTypes, id: \.self) {
                Text($0)
            }
        }
    }
}
.navigationTitle("Payment")
.navigationBarTitleDisplayMode(.inline)
Let's break that down:
- We have a vertical stack containing one section.
- That section contains a picker, which uses
$paymentTypefor its selection. - It has a label that won't be visible yet, but that will change in a moment.
- Inside the picker we loop over all the payment types and add them as an option.
- The screen has the title “Payment” in small text rather than a large title.
Of course, the real question is: why $paymentType and not paymentType?
Further reading