
How to create static labels with a Text view
How to create static labels with a Text view 관련

Updated for Xcode 15
Updated in iOS 16
Text views show static text on the screen, and are equivalent to UILabel in UIKit. At their most basic they look like this:
Text("Hello World")

Inside the preview window for your content view you're likely to see “Automatic preview updating paused” – go ahead and press [Resume] to have Swift start building your code and show you a live preview of how it looks.
Tips
You can press Opt+Cmd+P to resume these previews at any time.
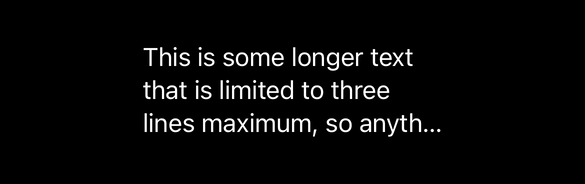
By default text views wrap across as many lines as they need, but if you'd rather limit the number of lines they can use you should add the lineLimit modifier, like this:
Text("This is some longer text that is limited to three lines maximum, so anything more than that will cause the text to clip.")
    .lineLimit(3)
    .frame(width: 200)
You can also provide line limit ranges rather than a specific value – you might want to allow any range between 3 and 6, for example:
Text("This is some longer text that is limited to a specific range of lines, so anything more than six lines will cause the text to clip.")
    .lineLimit(3...6)
    .frame(width: 200)
If you need an exact line limit – meaning “this text should have exactly two lines of height, not more and not less”, you should use the reservesSpace parameter like this:
Text("This is always two lines")
    .lineLimit(2, reservesSpace: true)
That doesn't mean the text will somehow be stretched across two lines, only that the text view will be sized to be two lines in height no matter what its contents. This approach is particularly helpful when you need an exact number of lines – in grids and other layouts where you want nice and even spacing, for example.
If you place a line limit on some text then provide it with a string that's too long to fit in the available space, SwiftUI will truncate the text so that it ends with “...”.
You can adjust the way SwiftUI truncates your text: the default is to remove text from the end and show an ellipsis there instead, but you can also place the ellipsis in the middle or beginning depending on how important the various parts of your string are.
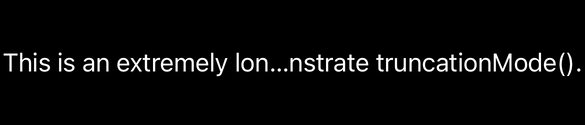
For example, this truncates your text in the middle:
Text("This is an extremely long string of text that will never fit even the widest of iOS devices even if the user has their Dynamic Type setting as small as is possible, so in theory it should definitely demonstrate truncationMode().")
    .lineLimit(1)
    .truncationMode(.middle)
Regardless of how you truncate the text, what you'll see is that your text view sits neatly centered in the main view. This is the default behavior of SwiftUI: unless it's told to position views somewhere else, it positions them relative to the center of the screen.
Similar solutions…
