Operators
Operators 관련
Operators are those little symbols you learned in your very first math classes: + to add, - to subtract, * to multiply, / to divide, = to assign value, and so on. They all exist in Swift, along with a few extras.
Let's try a few basics - please type this into your playground:
var a = 10
a = a + 1
a = a - 1
a = a * a
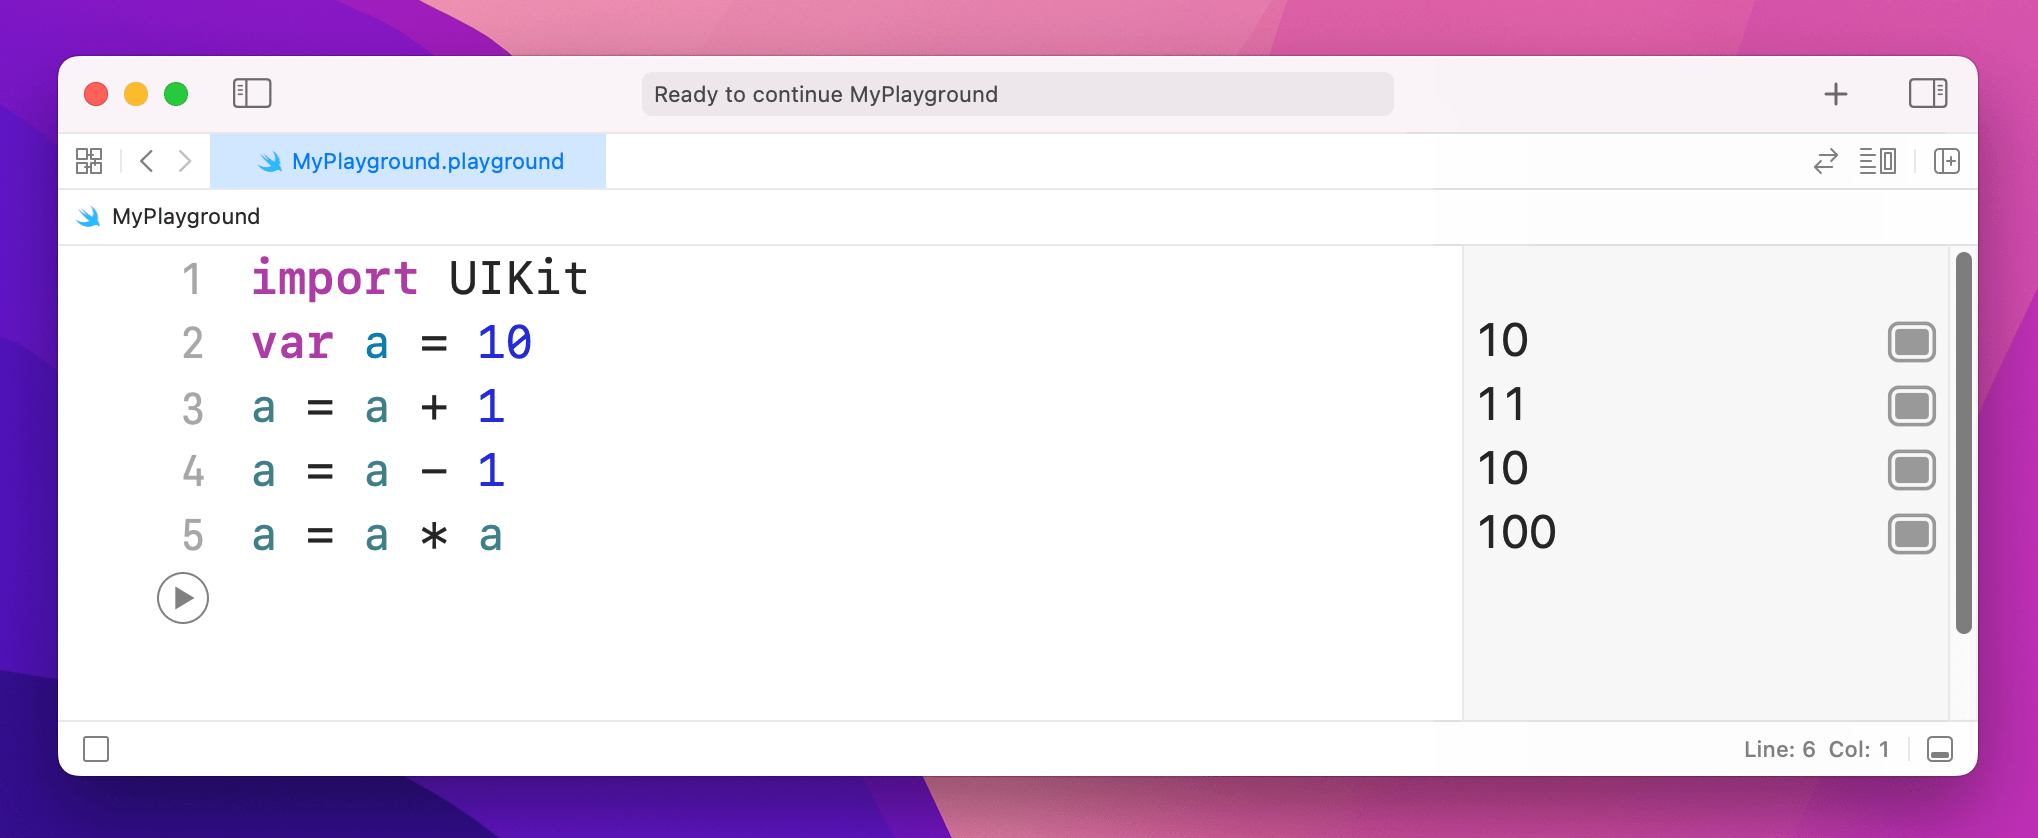
In the results pane, you'll see 10, 11, 10 and 100 respectively. Now try this:
var b = 10
b += 10
b -= 10
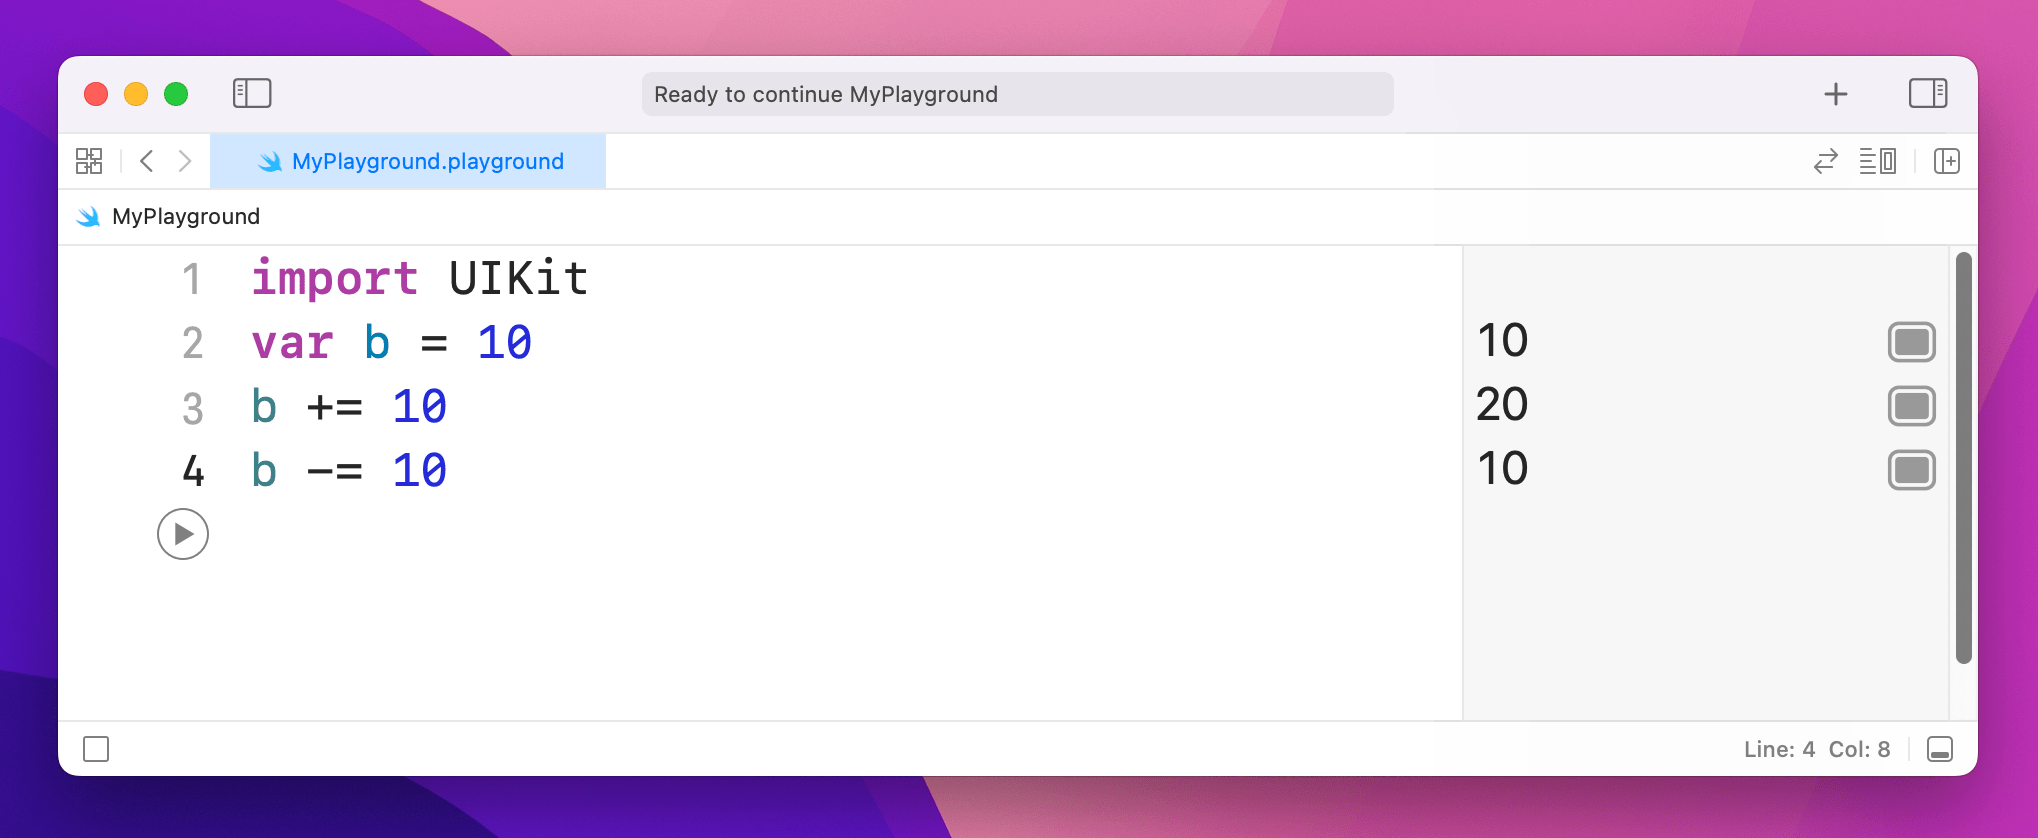
+= is an operator that means "add then assign to." In our case it means "take the current value of b, add 10 to it, then put the result back into b." As you might imagine, -= does the same but subtracts rather than adds. So, that code will show 10, 20, 10 in the results pane.
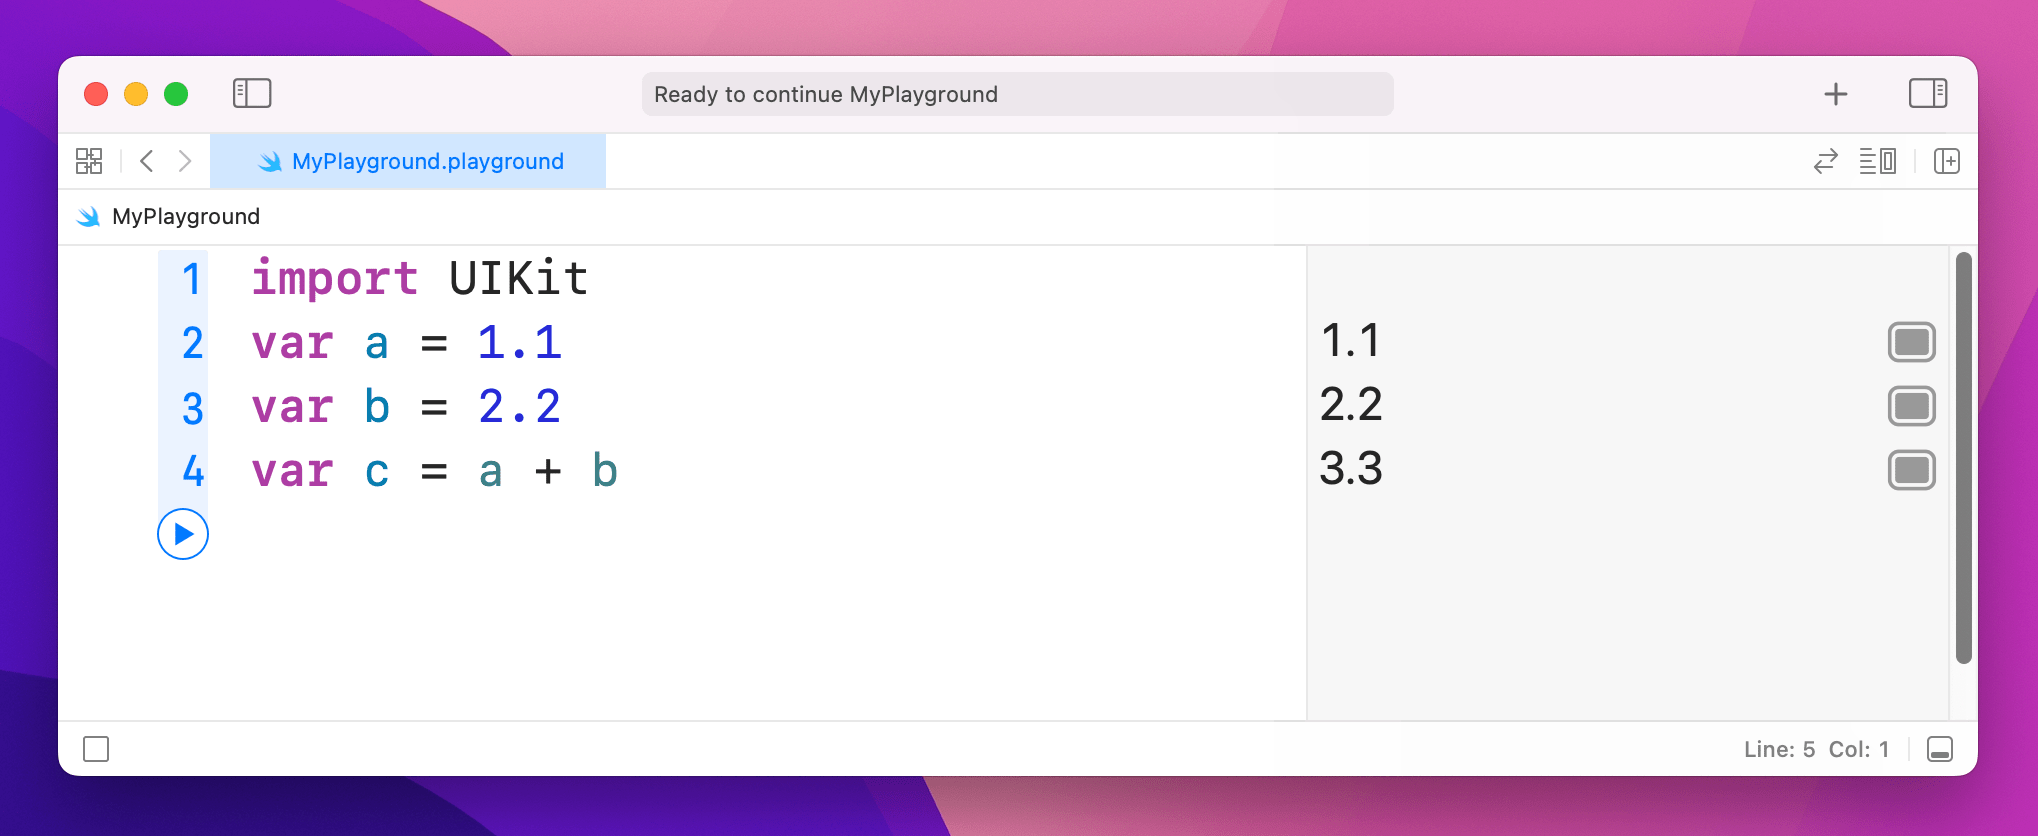
Some of these operators apply to other data types. As you might imagine, you can add two doubles together like this:
var a = 1.1
var b = 2.2
var c = a + b
When it comes to strings, + will join them together. For example:
var name1 = "Tim McGraw"
var name2 = "Romeo"
var both = name1 + " and " + name2
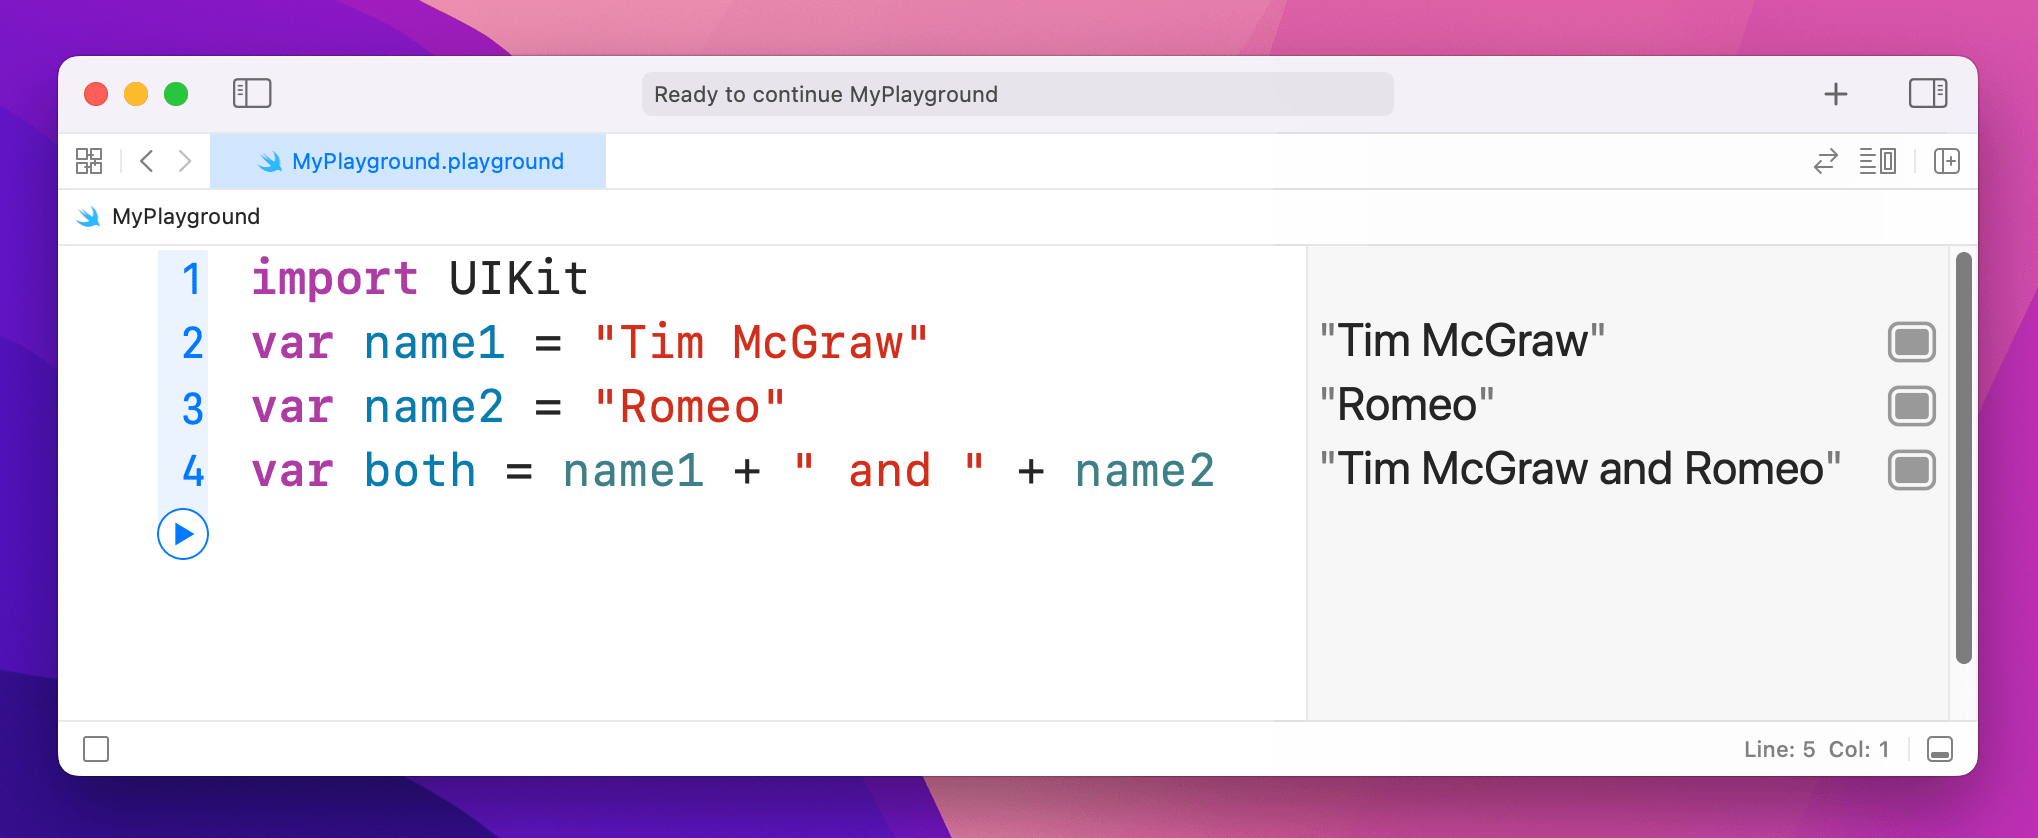
That will write "Tim McGraw and Romeo" into the results pane.
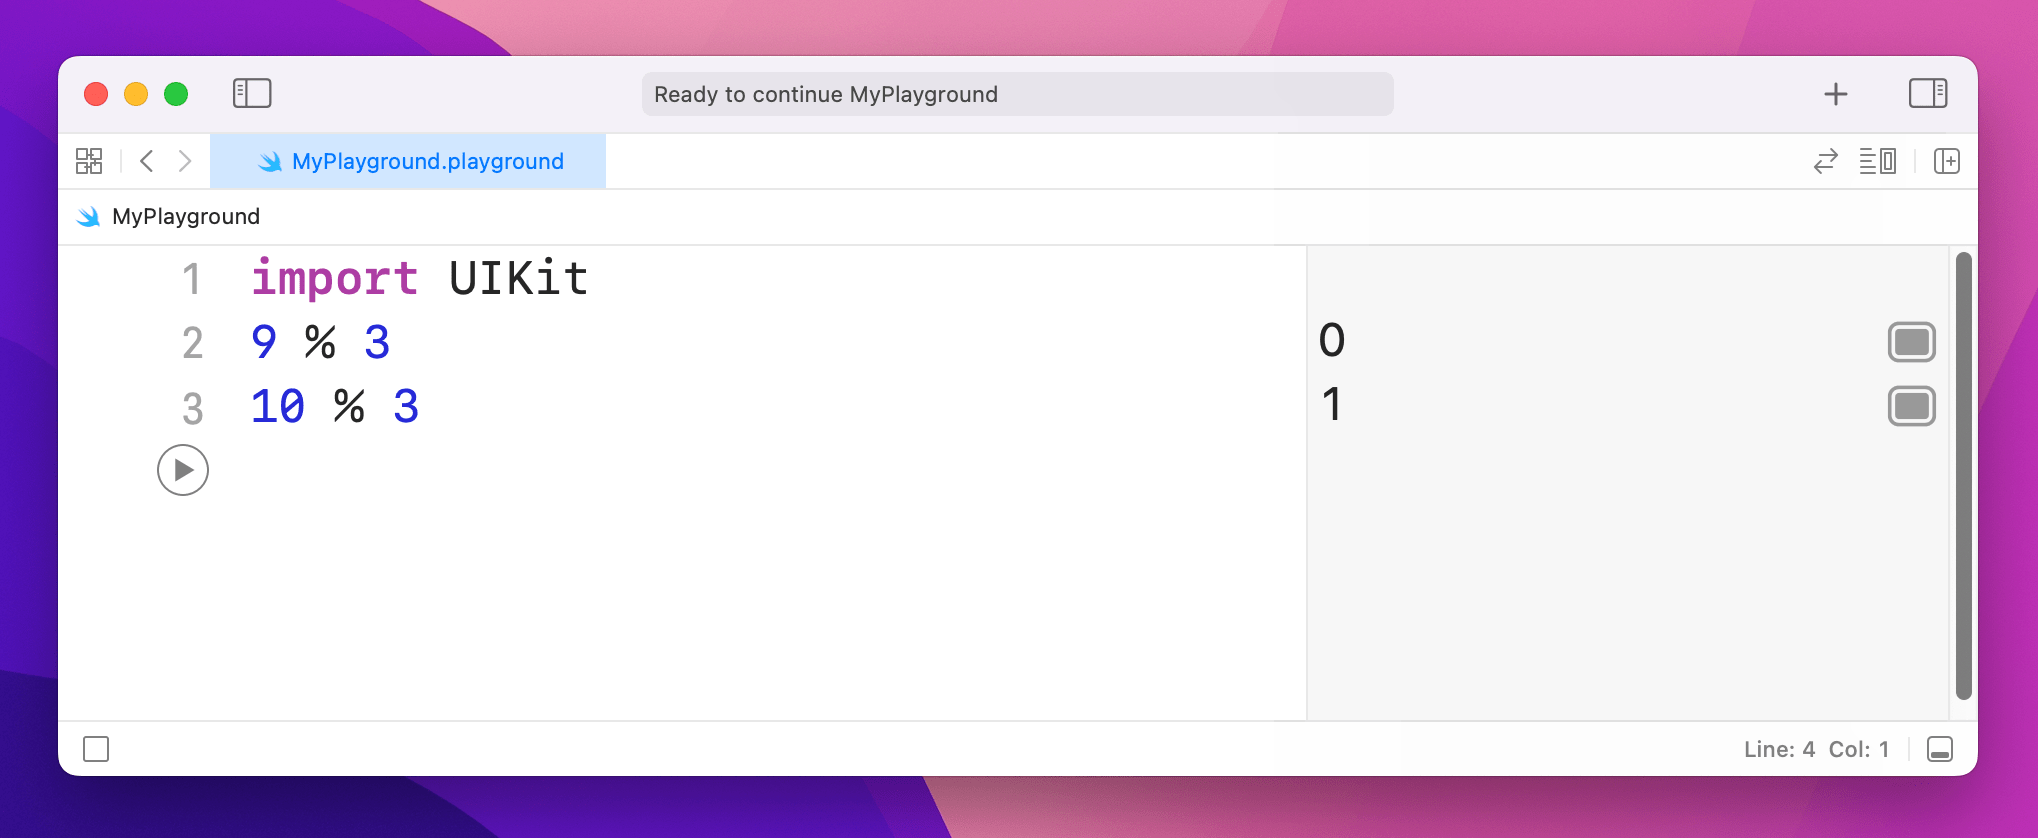
One more common operator you’ll see is called modulus, and is written using a percent symbol: %. It means “divide the left hand number evenly by the right, and return the remainder.” So, 9 % 3 returns 0 because 3 divides evenly into 9, whereas 10 % 3 returns 1, because 10 divides by 3 three times, with remainder 1.
Note
If you bought Hacking with Swift and are using the exclusive guide book accompaniment to the course, you’ll find the modulus operator useful later on.
Comparison operators
Swift has a set of operators that perform comparisons on values. For example:
var a = 1.1
var b = 2.2
var c = a + b

c > 3
c >= 3
c > 4
c < 4
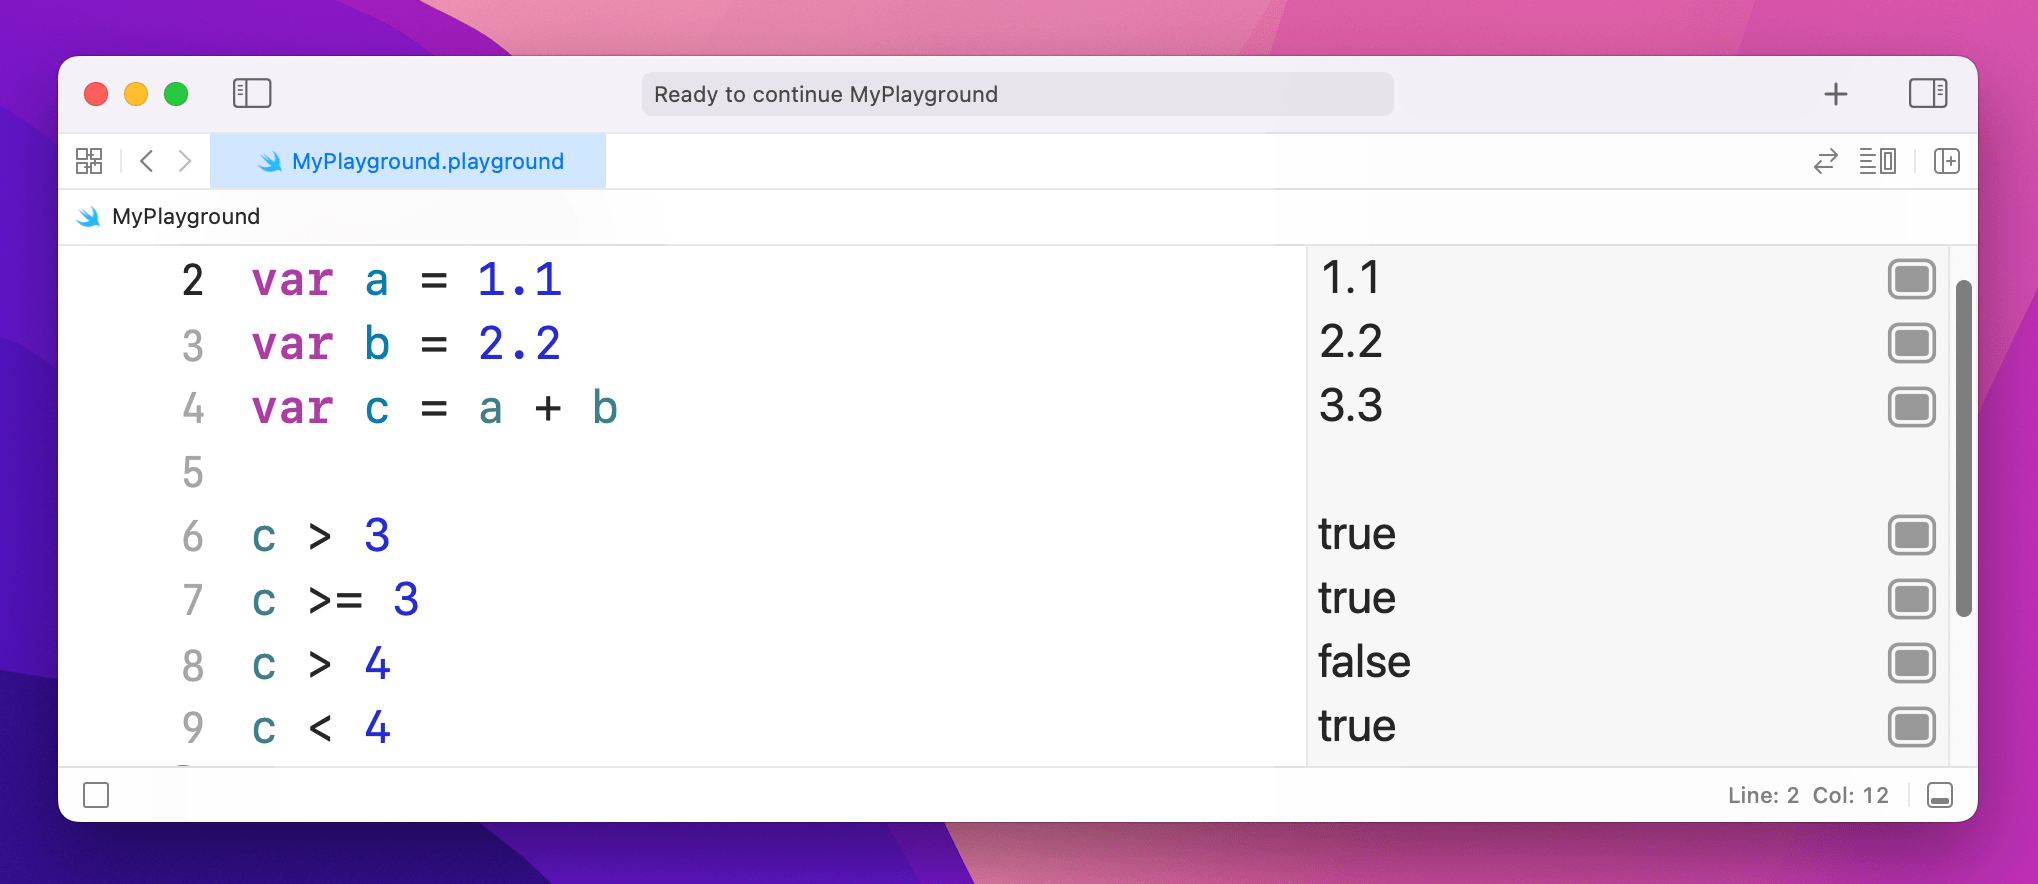
That shows off greater than (>), greater than or equal (>=), and less than (<). In the results window you'll see true, true, false, true - these are Booleans, because the answer to each of these statements can only ever be true or false.
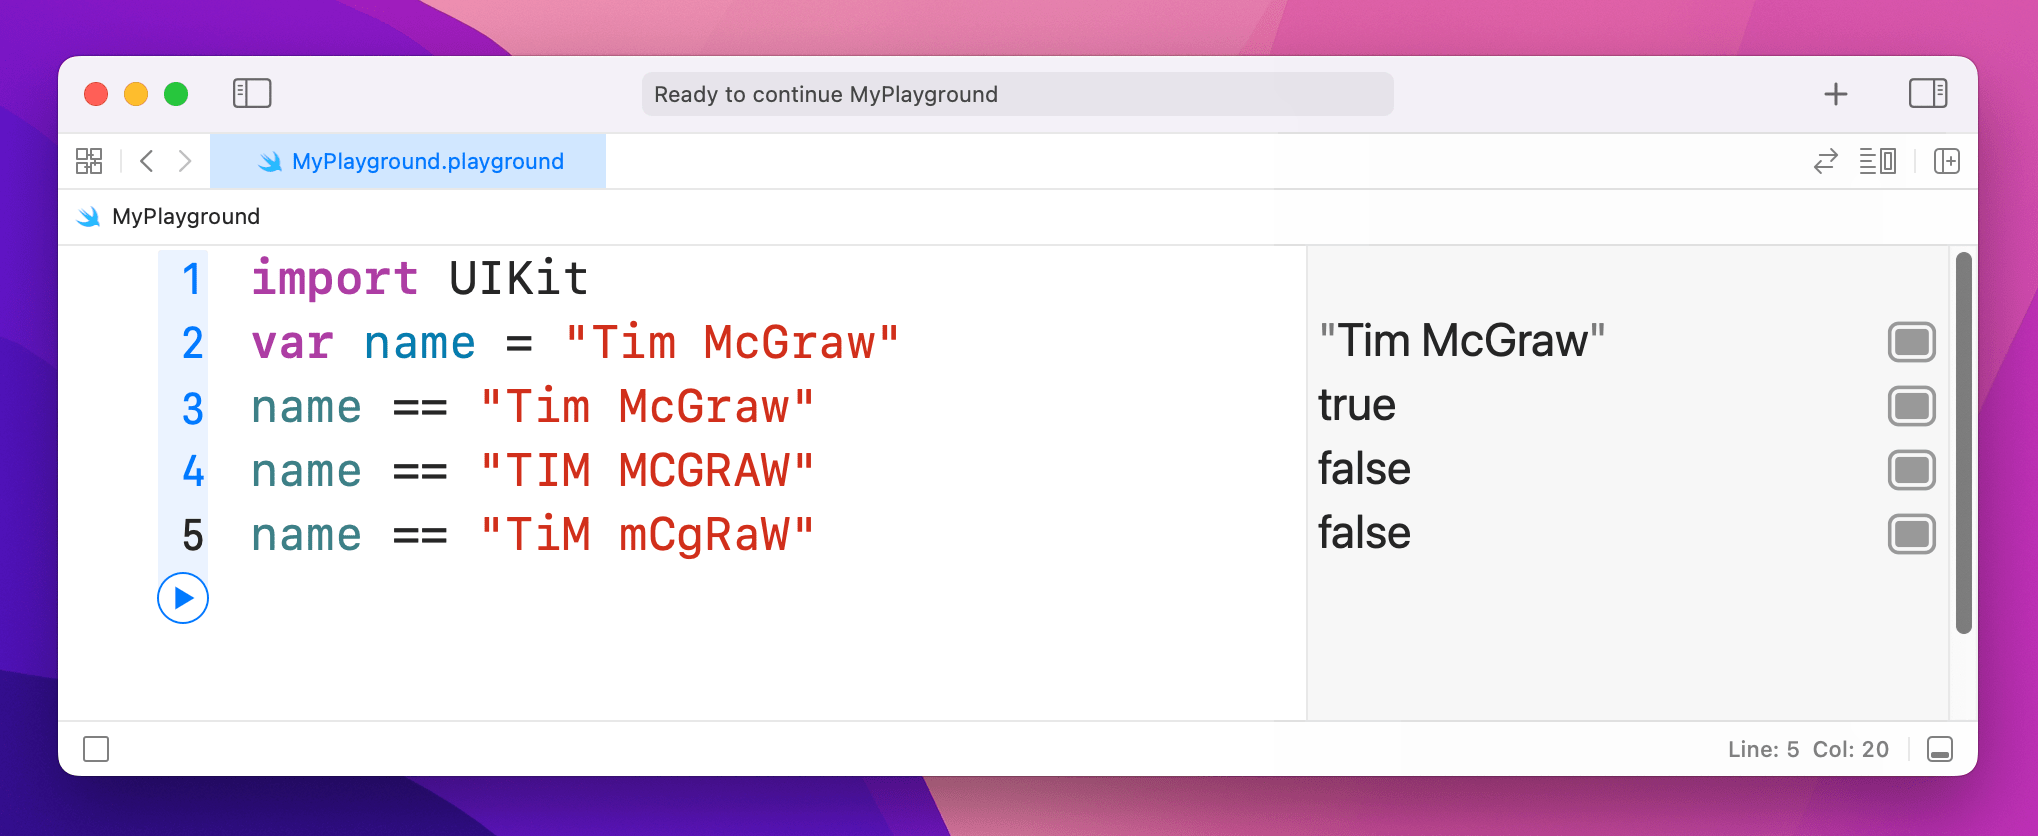
If you want to check for equality, you can't use = because it already has a meaning: it's used to give a variable a value. So, Swift has an alternative in the form of ==, meaning "is equal to." For example:
var name = "Tim McGraw"
name == "Tim McGraw"
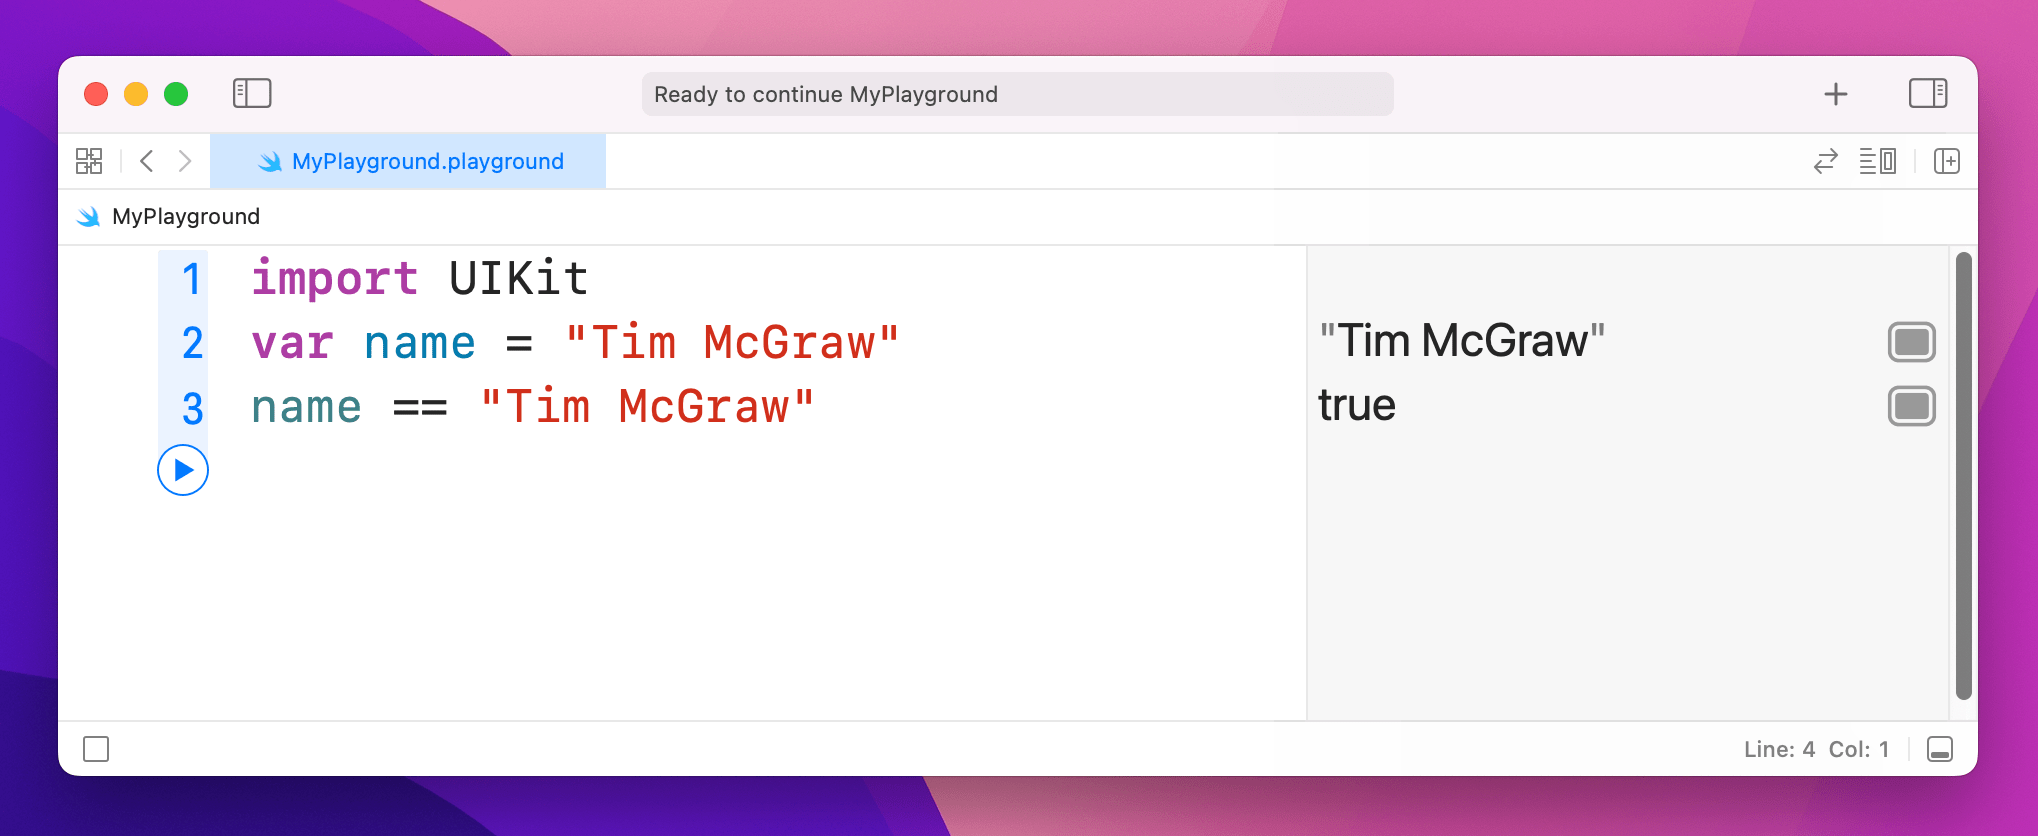
That will show "true" in the results pane. Now, one thing that might catch you out is that in Swift strings are case-sensitive, which means "Tim McGraw", "TIM MCGRAW" and "TiM mCgRaW" are all considered different. If you use == to compare two strings, you need to make sure they have the same letter case.
There's one more operator I want to introduce you to, and it's called the "not" operator: !. Yes, it's just an exclamation mark. This makes your statement mean the opposite of what it did. For example:
var stayOutTooLate = true
stayOutTooLate
!stayOutTooLate
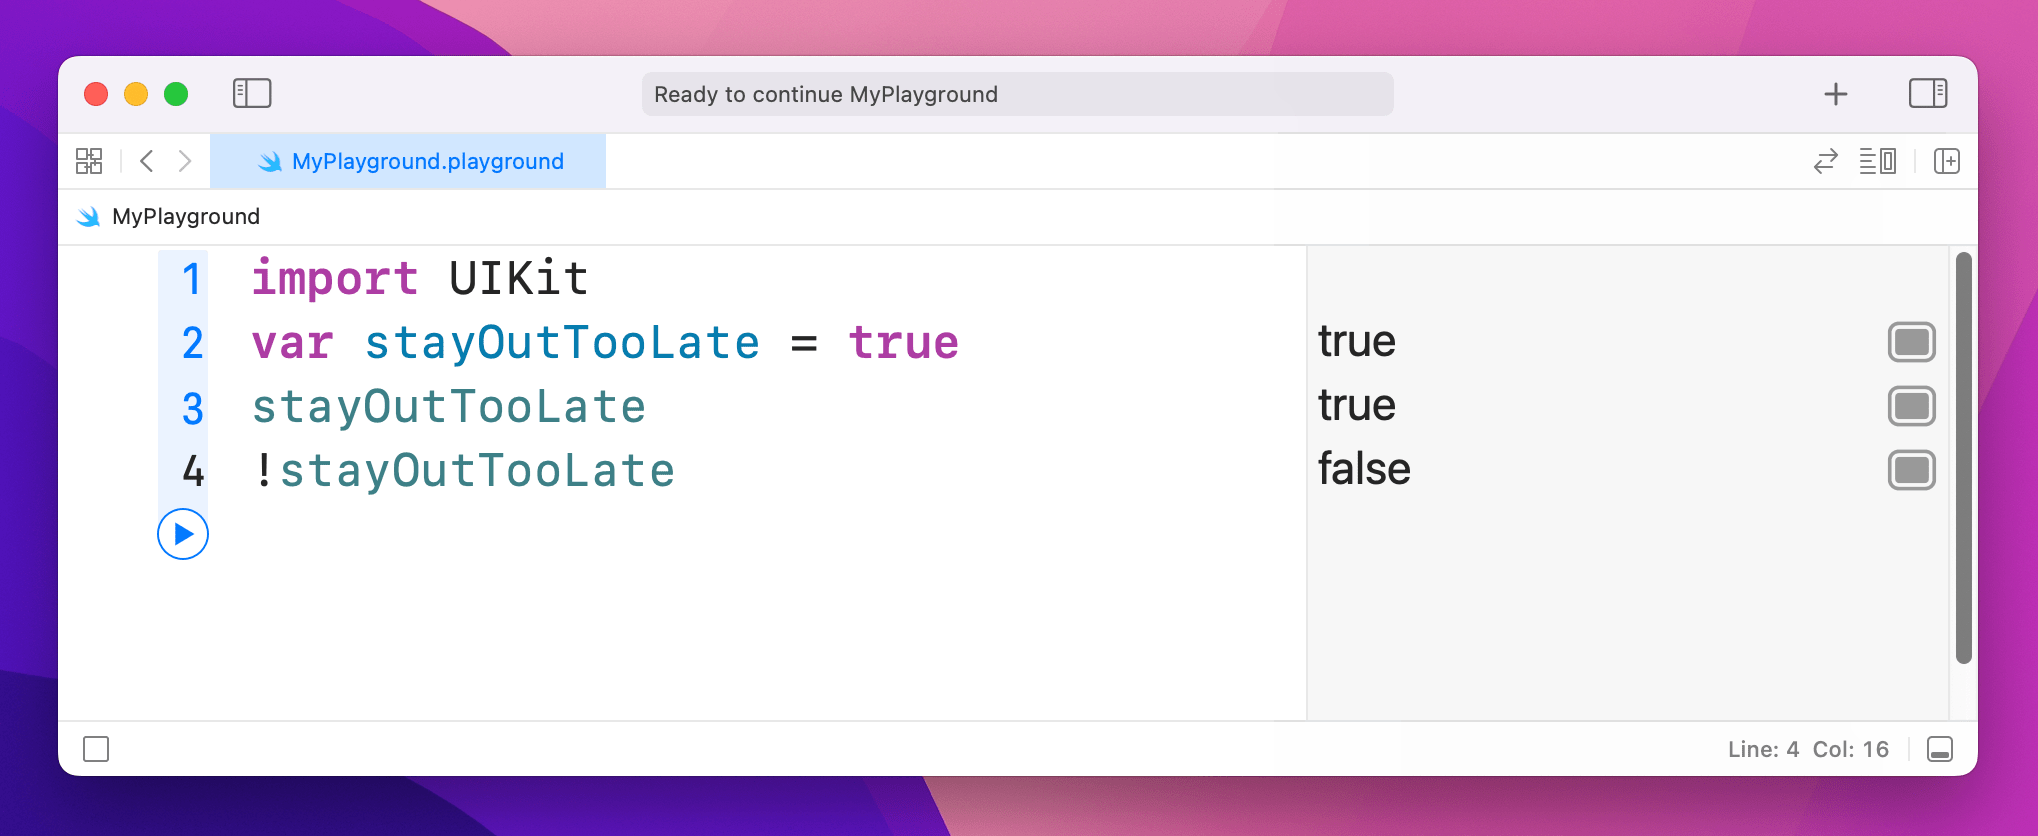
That will print out true, true, false - with the last value there because it flipped the previous true.
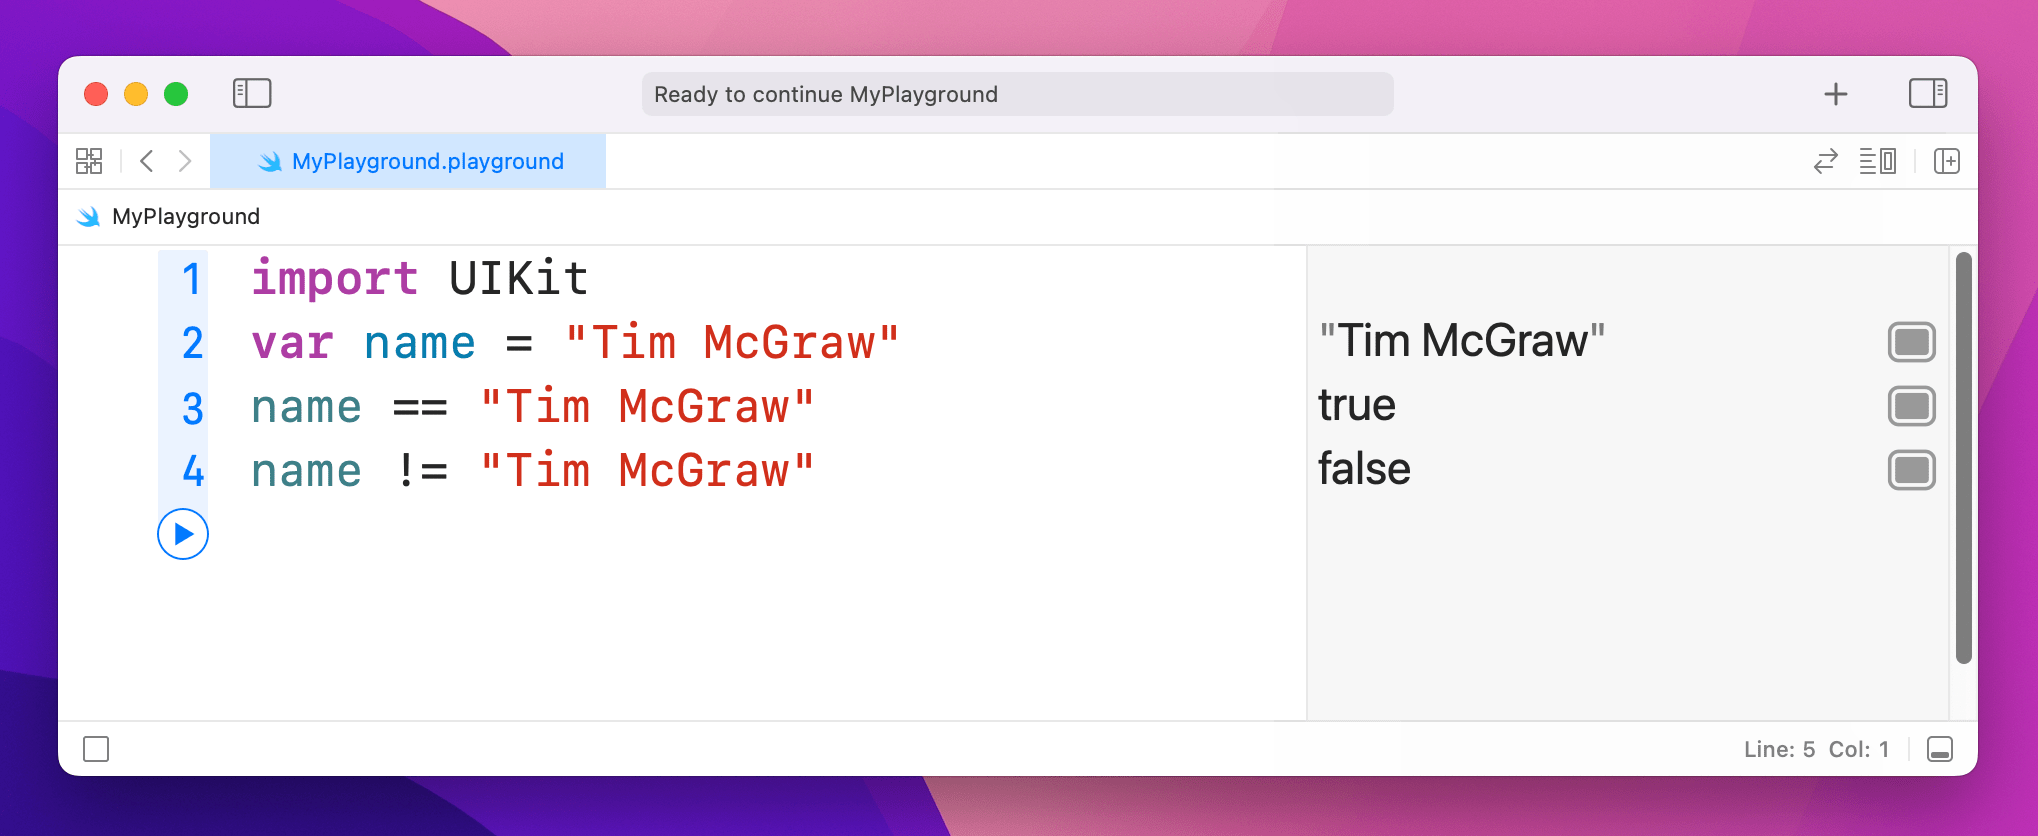
You can also use ! with = to make != or "not equal". For example:
var name = "Tim McGraw"
name == "Tim McGraw"
name != "Tim McGraw"
