How to give a view a custom frame
About 2 min
How to give a view a custom frame 관련
SwiftUI by Example
Back to Home
How to give a view a custom frame | SwiftUI by Example
How to give a view a custom frame
Updated for Xcode 15
By default SwiftUI's views take up only as much space as they need, but if you want that to change you can use a frame() modifier to tell SwiftUI what kind of size range you want to have.
For example, you could create a button with a 200x200 tappable area like this:
Button {
    print("Button tapped")
} label: {
    Text("Welcome")
        .frame(minWidth: 0, maxWidth: 200, minHeight: 0, maxHeight: 200)
        .font(.largeTitle)
}

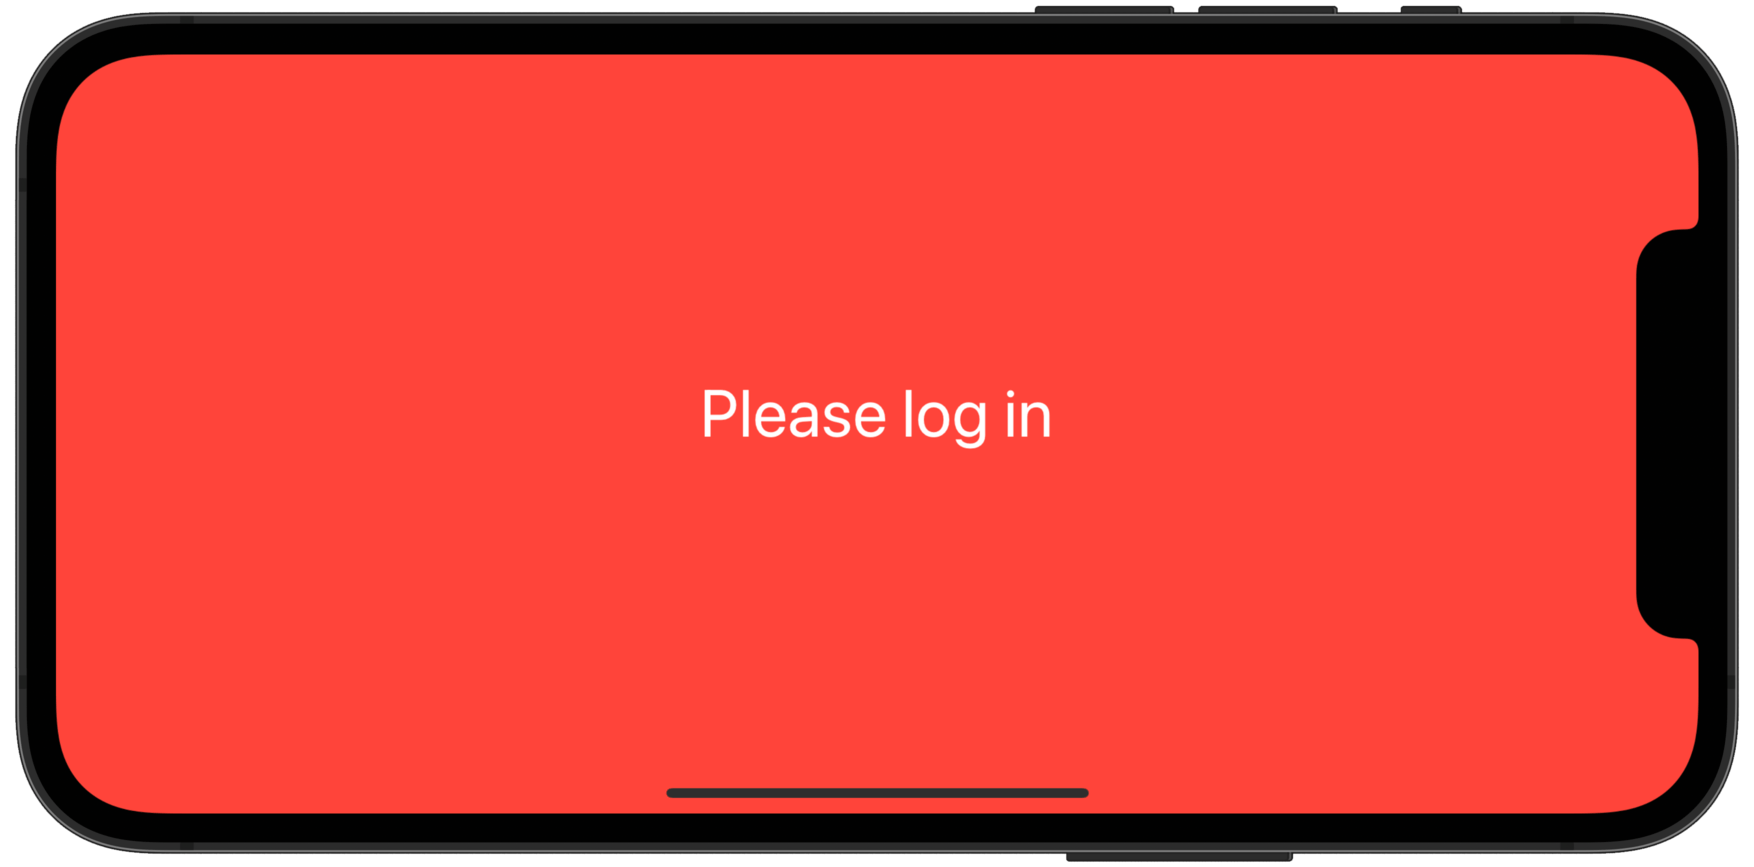
Or you could make a text view fill the whole screen (minus the safe area) by specifying a frame with zero for its minimum width and height, and infinity for its maximum width and height, like this:
Text("Please log in")
    .frame(minWidth: 0, maxWidth: .infinity, minHeight: 0, maxHeight: .infinity)
    .font(.largeTitle)
    .foregroundStyle(.white)
    .background(.red)

Note
if you want a view to go under the safe area, make sure you add the ignoresSafeArea() modifier.
Similar solutions…
How to create and compose custom views | SwiftUI by Example
How to create and compose custom views
SwiftUI tips and tricks | SwiftUI by Example
SwiftUI tips and tricks
How to use Dynamic Type with a custom font | SwiftUI by Example
How to use Dynamic Type with a custom font
How to create a custom transition | SwiftUI by Example
How to create a custom transition
How to convert a SwiftUI view to an image | SwiftUI by Example
How to convert a SwiftUI view to an image