
Deploy Your Dash Application to PythonAnywhere
Deploy Your Dash Application to PythonAnywhere 관련

You’re done building your application, and you have a beautiful, fully interactive dashboard. Now you’ll learn how to deploy it.
Dash apps are Flask apps, so both share the same deployment options. In this section, you’ll deploy your app on PythonAnywhere, which offers a free tier for hosting Python web applications in the cloud.
How to Create a Free PythonAnywhere Account
Before you get started, make sure you’ve signed up for a PythonAnywhere beginner account, which is completely free of charge and doesn’t require you to provide any payment details. That said, it comes with a few limitations that you should be aware of. The most important ones will prevent you from doing the following:
- Running more than one web application at a time
- Defining a custom domain name
- Exceeding the available disk quota (512 MB)
- Using the CPU for longer than 100 seconds per day
- Making unrestricted HTTP requests from your app
For this tutorial, though, you won’t need any of that!
If you’re based in Europe, then consider signing up through eu.pythonanywhere.com instead of the pythonanywhere.com. It’ll ensure GDPR compliance for your data, which PythonAnywhere will store on servers in Germany. Because of that, you may also experience slightly faster response times. Finally, if you decide to become a paid customer one day, then you’ll be charged in euros instead of US dollars.
Feel free to follow either of the two PythonAnywhere links above if you don’t care about any of these features at the moment. Note, however, that once you register a username on one domain, then you won’t be able to reuse it on the other!
Another reason to think carefully about your username is that it must be unique, as it’ll become a part of your very own domain name, such as in these examples:
http://realpython.pythonanywhere.com/
http://realpython.eu.pythonanywhere.com/
Once you register a new account on PythonAnywhere, you must confirm your email address so that you can reset the password if you forget it. Also, it might be a good idea to enable two-factor authentication on the Security tab in your Account settings as an extra security measure.
If you’ve just created a new account, then you’re already good to go. But if you registered a PythonAnywhere account a while ago, then you might need to change your system image to a newer one, which comes with a more recent Python version and newer third-party libraries. At the time of writing, the latest image, called haggis, shipped with Python 3.10.5, pandas 1.3.5, and Dash 2.4.1.
Note
You can always check the available batteries for a given image and Python version.
With that out of the way, it’s time to create your first web app on PythonAnywhere!
How to Deploy Your Avocado Analytics App
Because Dash apps are Flask apps with some extra frills, you can take advantage of PythonAnywhere’s excellent support for this popular Python web framework.
When you’re logged in to your PythonAnywhere account, create a new Bash shell console, either from the Dashboard or the Consoles tab. This will throw you into an interactive prompt of the virtual server, letting you remotely execute commands straight from your web browser.
There are already several useful programs installed for you, including a Git client, which you’ll use to get your project’s source code into PythonAnywhere. You can also upload files in other ways, but using Git seems the most convenient. If you haven’t made your own repository yet, then you might clone Real Python’s realpython/materials repository with your sample Dash application in it:
git clone --depth=1 https://github.com/realpython/materials.git
The --depth=1 option tells Git only to clone the latest commit, which saves time and disk space. Note that if you don’t want to configure SSH keys for your PythonAnywhere machine, then you’ll have to clone a public repository using the HTTPS protocol. Since August 2021, cloning private repositories has been possible only after configuring a personal access token in GitHub.
When the repository is cloned, you can move and rename a subfolder with the finished avocado app to your home folder on PythonAnywhere, and then remove the rest of the materials:
mv materials/python-dash/avocado_analytics_3/ ~/avocado_analytics
rm -rf materials/
Remember that you only have 512 megabytes of disk space on the free tier at your disposal, and the materials take up a significant portion of that!
At this point, your home folder should look like this:
home/realpython/
│
└── avocado_analytics/
    │
    ├── assets/
    │   ├── favicon.ico
    │   └── style.css
    │
    ├── app.py
    └── avocado.csv
Of course, the username realpython will be different on your account, but the overall folder structure should remain the same.
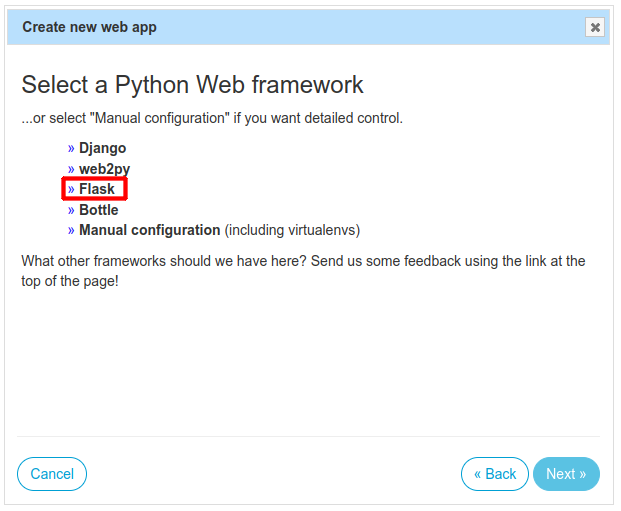
Now, go the Web tab and click the button labeled Add a new web app. This will open a wizard, asking you a few questions. First, select Flask as the Python web framework of your choice:
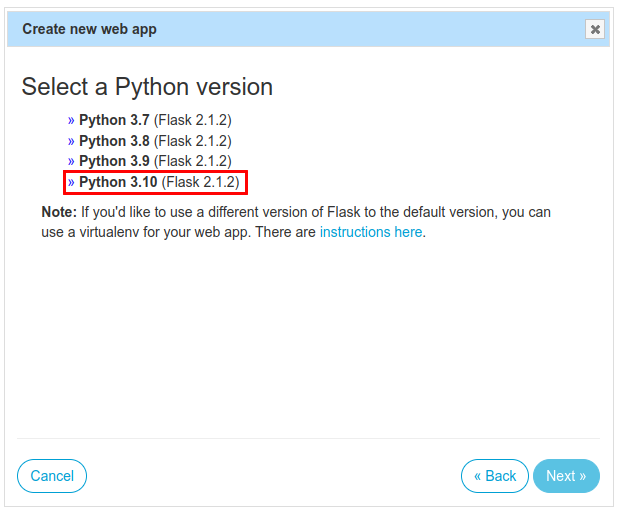
Next, you’ll see a specific Flask version running on top of the given Python interpreter. Select the latest version available:
In the next step, you’ll need to update the file path leading up to the main Python module with your Flask app:
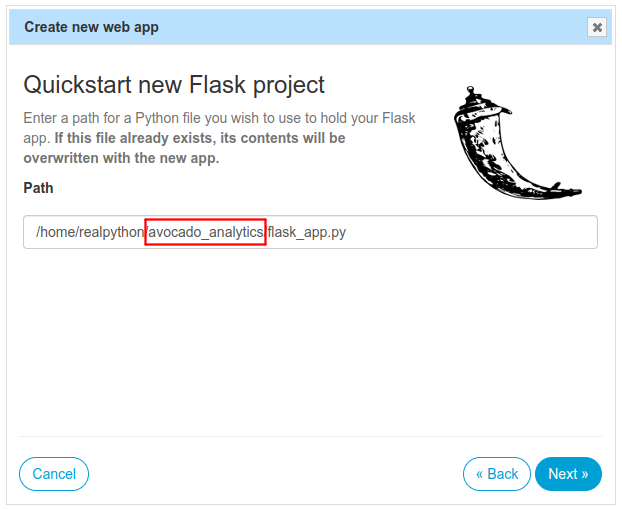
While you can change it later, it’s much easier if you do it right now, so make sure to rename the default mysite/ folder with avocado_analytics/ to match your project’s name. At the same time, you want to keep the suggested flask_app.py filename intact. PythonAnywhere will generate this file and populate it with a demo app, so if you renamed it to app.py, then the code that you cloned from GitHub would get overwritten!
Once this is done, you’ll be presented with a number of configuration options for your new web app. First, you need to update the working directory of the app to be the same as the source code:
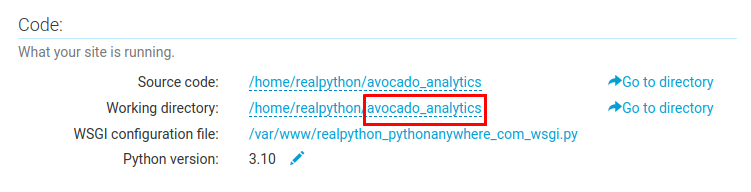
This will ensure that Python can find your avocado.csv file at runtime and open it for reading.
Next, you’ll need to tweak the default WSGI server configuration, which is slightly different for Dash apps than it is for Flask. PythonAnywhere uses the uWSGI server behind the scenes, which reads the configuration from a special Python module located in the /var/www/ folder.
Click the WSGI configuration file option visible in the screenshot above to open it in an editor in your web browser:
# This file contains the WSGI configuration required to serve up your
# web application at http://<your-username>.pythonanywhere.com/
# It works by setting the variable 'application' to a WSGI handler of some
# description.
#
# The below has been auto-generated for your Flask project

import sys

# add your project directory to the sys.path
project_home = '/home/realpython/avocado_analytics'
if project_home not in sys.path:
    sys.path = [project_home] + sys.path

# import flask app but need to call it "application" for WSGI to work
-from flask_app import app as application  # noqa #[!code --]
+from app import app #[!code ++]
+application = app.server #[!code ++]
You need to rename the flask_app module generated by the wizard to the actual app module that came with your avocado project. Besides that, you must expose the callable WSGI application through the Dash app’s .server field, as described in the official help page on PythonAnywhere. You might as well double-check if the path in your project_home variable is correct.
Finally, save the file by hitting Ctrl+S, go back to the Web tab, and click the green button to reload your web app:

When you visit the corresponding URL of your web app deployed to PythonAnywhere, you should see the familiar interface:
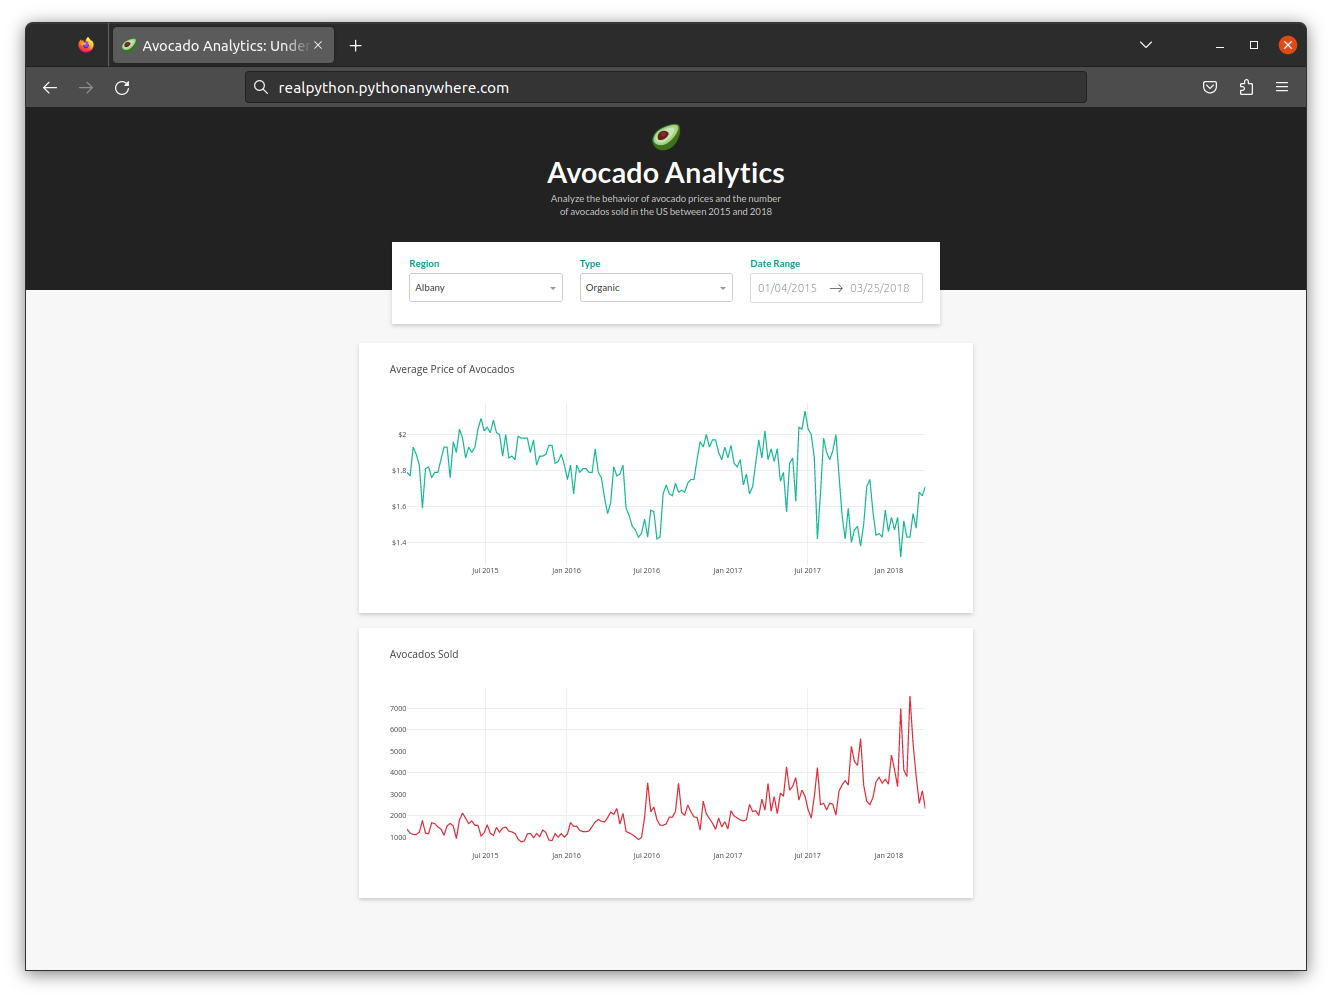
Avocado Analytics Web App Deployed to PythonAnywhere
That’s it! Note that you never installed Dash or pandas because they were already shipped with PythonAnywhere. Also, you didn’t have to configure static resources, which are typically served by the web server rather than Flask, because Dash takes care of them automatically.
Note
If you need more control over the external library versions, then you can use virtualenvwrapper to create a virtual environment for the platform and manually install those dependencies. Unfortunately, doing so will likely consume all of your disk space and drain your CPU bandwidth to the point you’ll end up in the tarpit.
You can now share your Dash apps with the world by deploying them to PythonAnywhere or other web hosting providers.