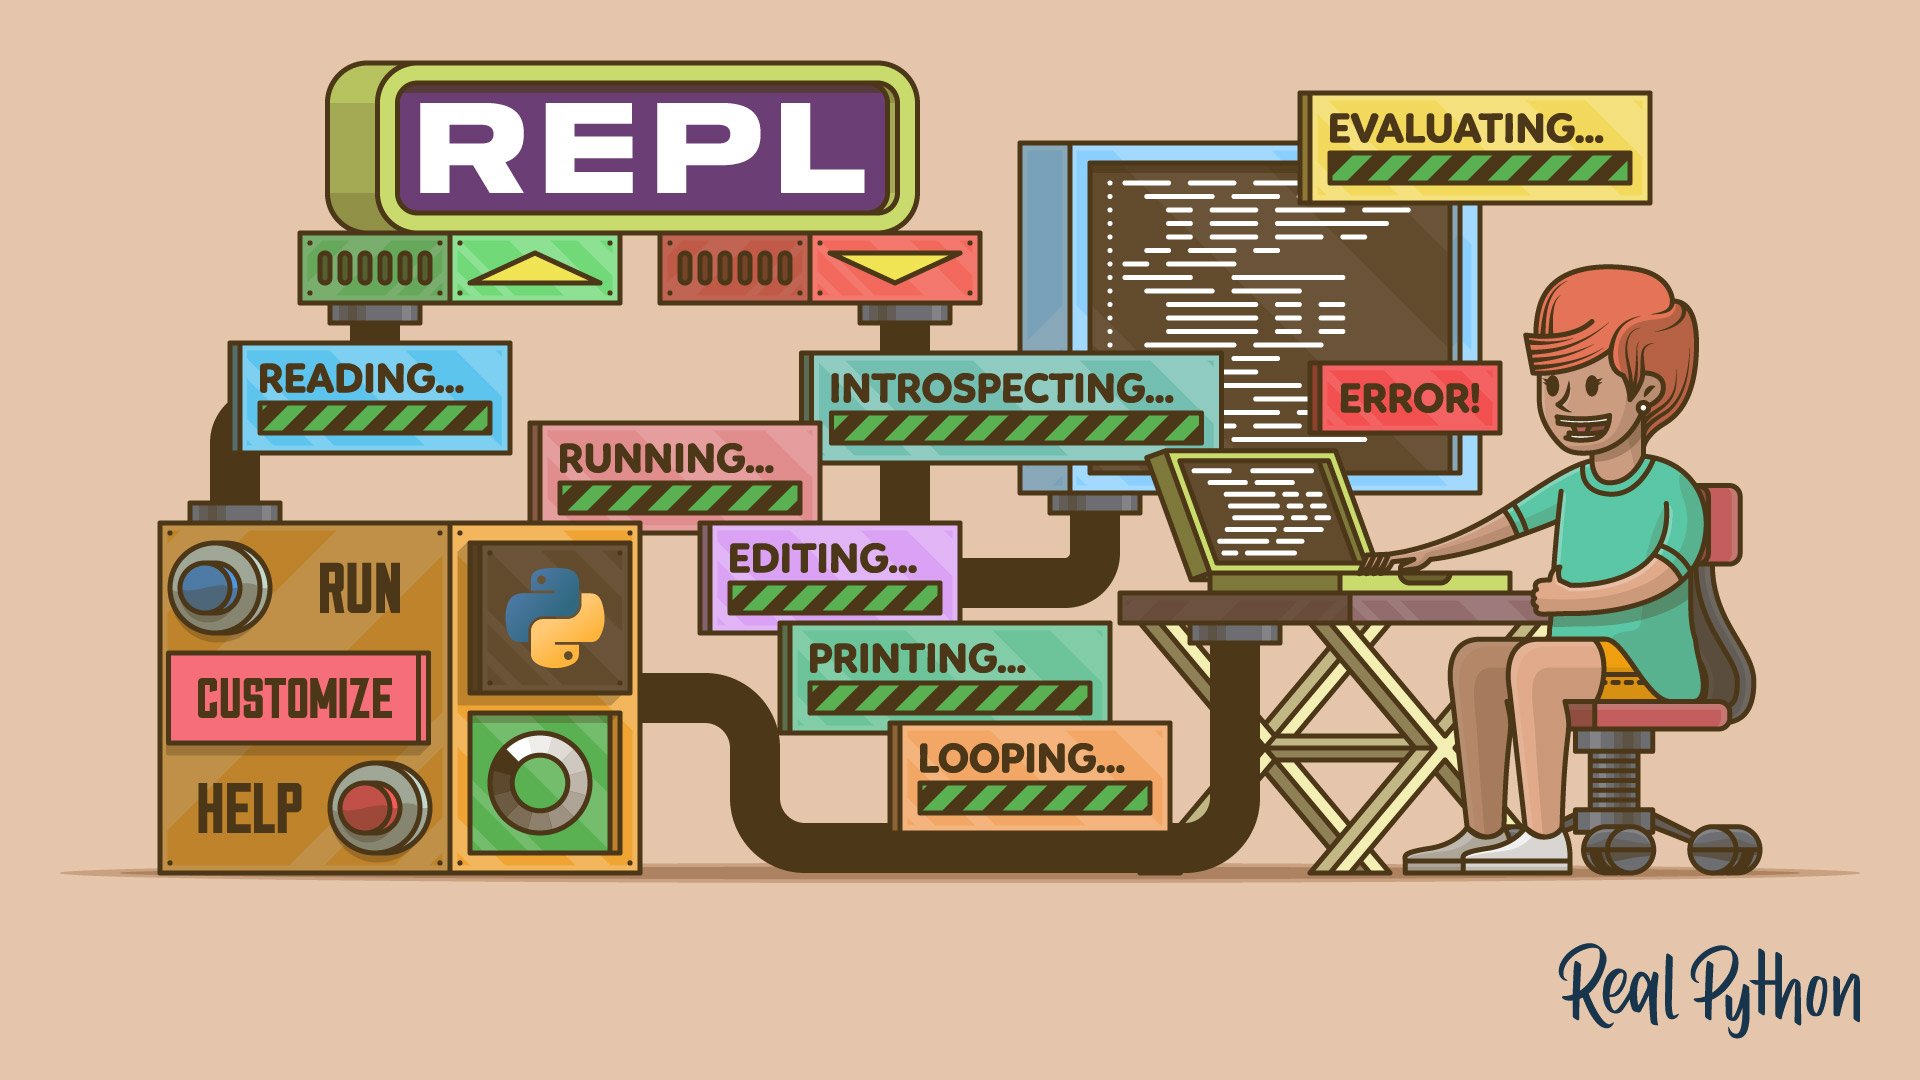
Customizing the Standard REPL
Customizing the Standard REPL 관련

The Python interpreter lets you customize some of its behaviors and features in interactive mode. To customize your REPL, you can use a so-called startup file, a Python file that the interpreter reads and executes when you start an interactive session.
You can also use the Rich third-party library to customize the output of any code that you run in a REPL session.
In the following sections, you’ll learn the basics of how to use these tools to enhance your user experience while working in the Python standard REPL.
Providing a Startup File
The standard REPL accepts a startup file that you can use to tweak some current features or add new features to your interactive sessions. This file only runs for interactive sessions. It doesn’t run when you execute a program with the python command. So, you don’t have to worry about corrupting important programs.
The startup file may contain any Python code. This code will execute before the first prompt is displayed in interactive mode.
It’s important to highlight that the startup file runs in the same namespace where you’ll be running your interactive code. So, objects defined or imported in this file will be available in your interactive session. This behavior is useful when you want to load tools and customize the features of your interactive shell.
Before doing some cool stuff with a startup file, you need to learn how to tell the interpreter which file you want to use as your startup file. You do this by setting the PYTHONSTARTUP environment variable in your system’s shell.
If you’re on Linux or macOS, then you can go to your home folder and open your shell’s configuration file. Once you’ve opened that file, add the following line at the end of it:
# ...

export PYTHONSTARTUP=~/.pythonstartup
# ...

export PYTHONSTARTUP=~/.pythonstartup
Linux and macOS shells automatically load their corresponding configuration file whenever you fire up a terminal or command-line window. This way, you ensure that the PYTHONSTARTUP variable is always available on your system.
In this example, you set the PYTHONSTARTUP variable to ~/.pythonstartup, which is the path to your target startup file. In this case, the file will live in your home directory, and its filename will be .pythonstartup.
Note that the filename isn’t important. You can name it whatever you want. You can also put the file in whatever directory you want. Just make sure that your PYTHONSTARTUP environment variable holds the right file path.
If you’re on Windows, then check out the Configuring Environment Variables section in Your Python Coding Environment on Windows: Setup Guide for a complete guide to creating system variables. Follow the instructions and add a PYTHONSTARTUP system variable with a suitable path.
Once you’ve set the PYTHONSTARTUP variable, go ahead and create the file in the desired folder. Open the file in a text editor and get ready to add some code. To kick things off with your custom startup file, you’ll start by adding some imports:
from importlib import reload
from pprint import pp
As you already learned, the reload() function allows you to reload modules when you modify their content so that you can test your changes. Having this function always available in your interactive sessions will be great. It’ll prevent repetitive work and save you time.
The pp() function from the pprint module allows you to print pretty-formatted data structures, such as lists and dictionaries.
To try these new additions, go ahead and open a new terminal or command-line window. Then run Python in interactive mode. Once there, run the following code:
pp(globals())
#
# {'__name__': '__main__',
#  ...
#  '__builtins__': <module 'builtins' (built-in)>,
#  'reload': <function reload at 0x101455c60>, 'pp': <function pp at 0x1014f3380>}
Cool! The pp() function is already available for use. Note that reload() also appears as an entry in your current global namespace.
You can add whatever imports you need in your REPL’s startup file. This is a nice and quick way to have useful tools at your disposal whenever you run an interactive session.
Another interesting customization that you make in your REPL’s startup file is to change the characters used to identify the primary (>>>) and secondary (...) prompts. To do this, you can change the sys.ps1 and sys.ps2 variables.
Go ahead and add the following code to your startup file:
import sys from importlib import reload
from pprint import pp

sys.ps1 = "py$ " sys.ps2 = "py> "
In this case, you’re telling the interpreter to use "py$ " as the primary prompt and "py> " as the secondary prompt. To try this new look and feel, launch a new REPL session. Your shell will look something like this:
numbers = [
1,
2,
3,
]
Changing the REPL’s prompts may be an exciting trick to explore. However, in practice, using different prompts may confuse other Python developers looking at your screen. So, you’re better off sticking to the standard prompts.
You’ll find many other interesting tweaks and customizations to add to your REPL’s startup file. Don’t be shy! Go ahead and experiment to improve your user experience and your productivity when you work in interactive mode.
Colorizing REPL Output With Rich
The Rich library allows you to use rich text and pretty formatting in the terminal. Rich 5.1.0 (willmcgugan/rich) included highlighted pretty printing. You can use this feature to colorize the standard REPL’s output. However, you first need to pip install Rich from PyPI, the Python package index, with the following command:
python -m pip install rich
Once you’ve run this command, then you’re ready to colorize your REPL’s output. Here’s how you do it in an interactive session:
from rich import pretty, traceback
pretty.install()
traceback.install(show_locals=False)
From this point on, every time you get an output in your current REPL session, that output will be colorized and formatted:
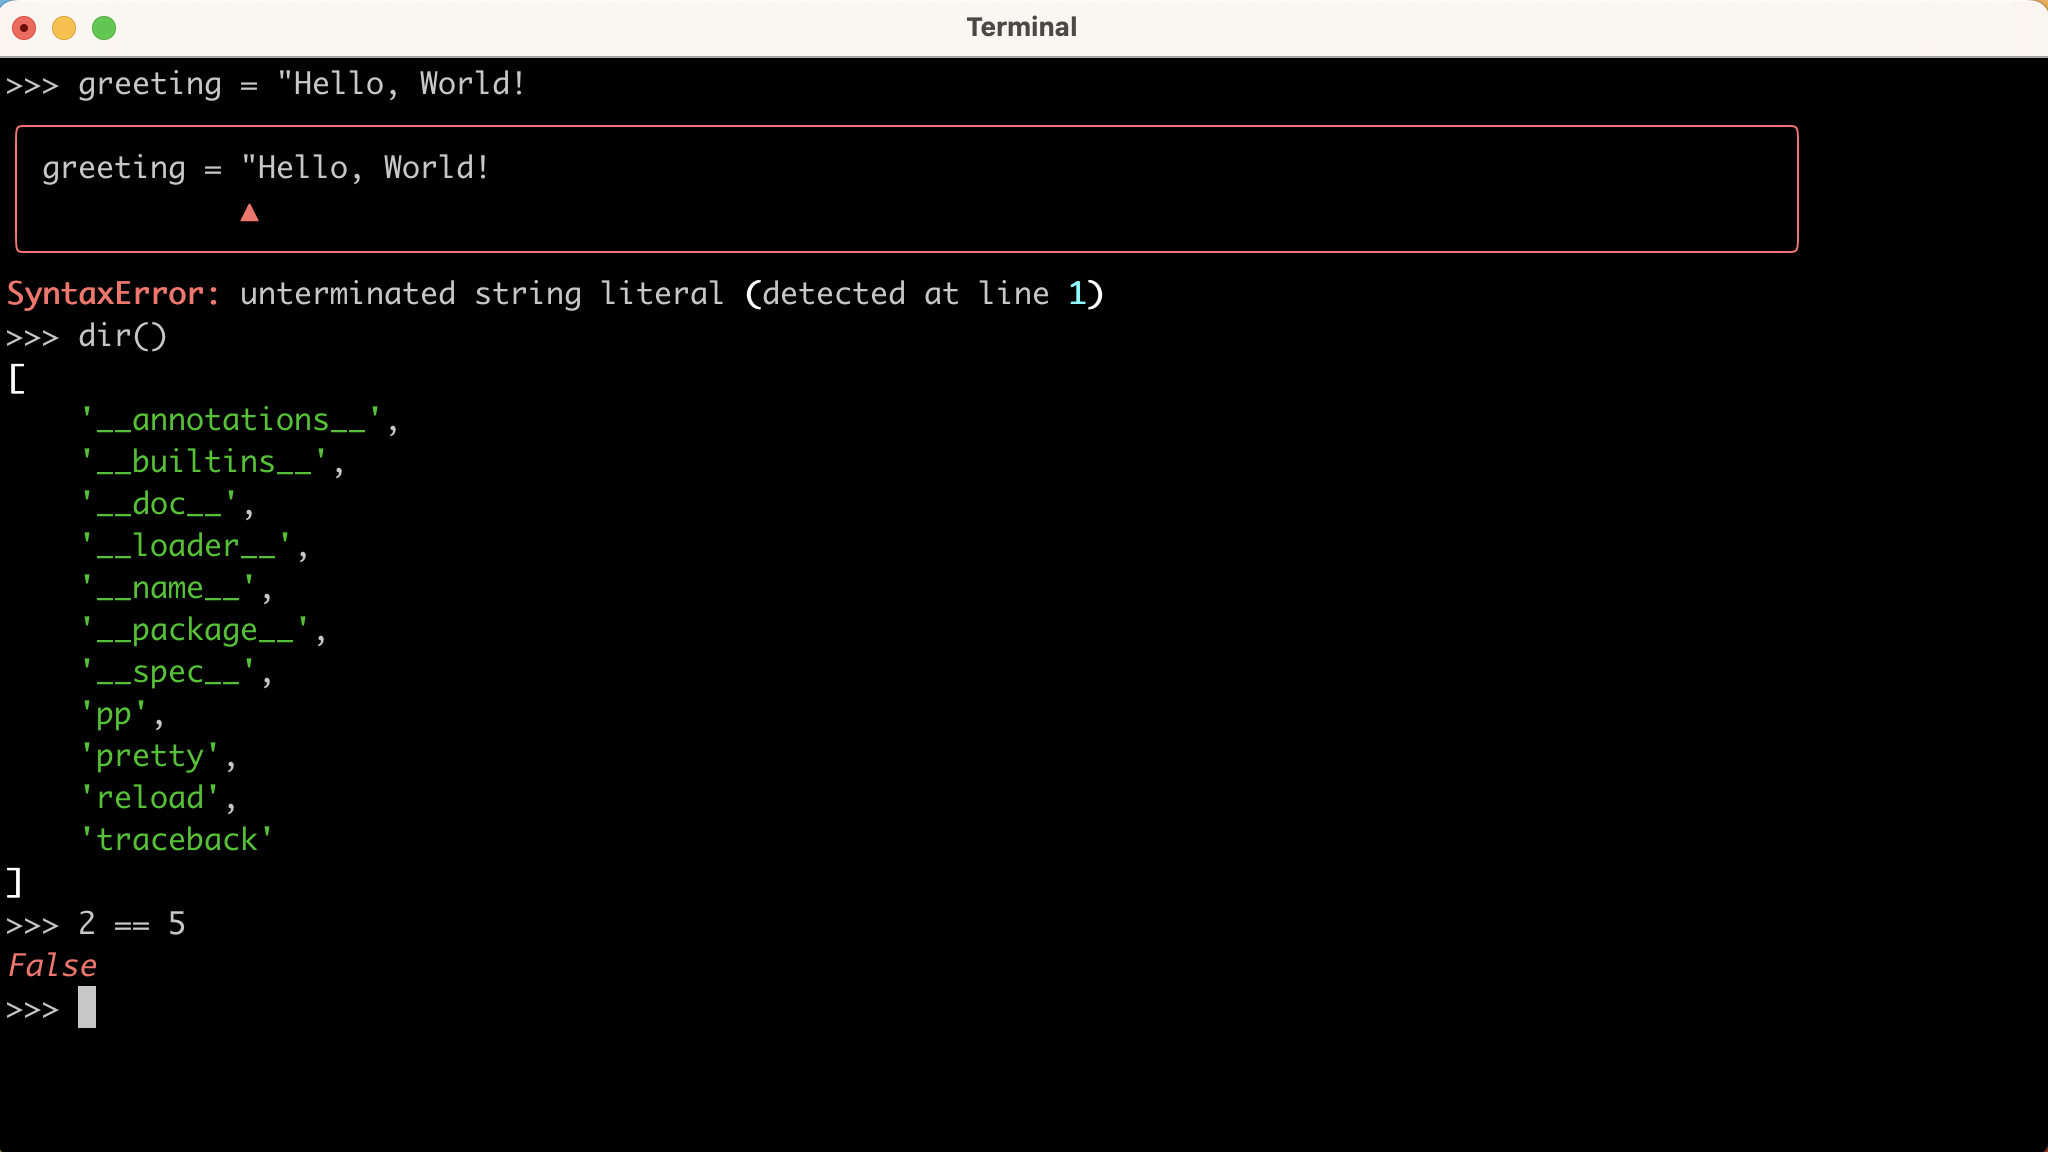
Note that this added capability is temporary. It only applies to the interactive session where you ran the code above. If you want this feature to be available in every section, then use your startup file:
import sys
from importlib import reload
from pprint import pp

try:
    from rich import pretty, traceback
except ModuleNotFoundError:
    pass
else:
    pretty.install() traceback.install(show_locals=False)

# ...
With this update to your REPL’s startup file, you replicate the output colorizing and formatting behavior in all the interactive sessions with access to the Rich library. The try … except … else blocks guarantee that your startup file won’t throw an error if Rich isn’t available in the Python environment that you’re using.