Running Code in a REPL Session
Running Code in a REPL Session 관련

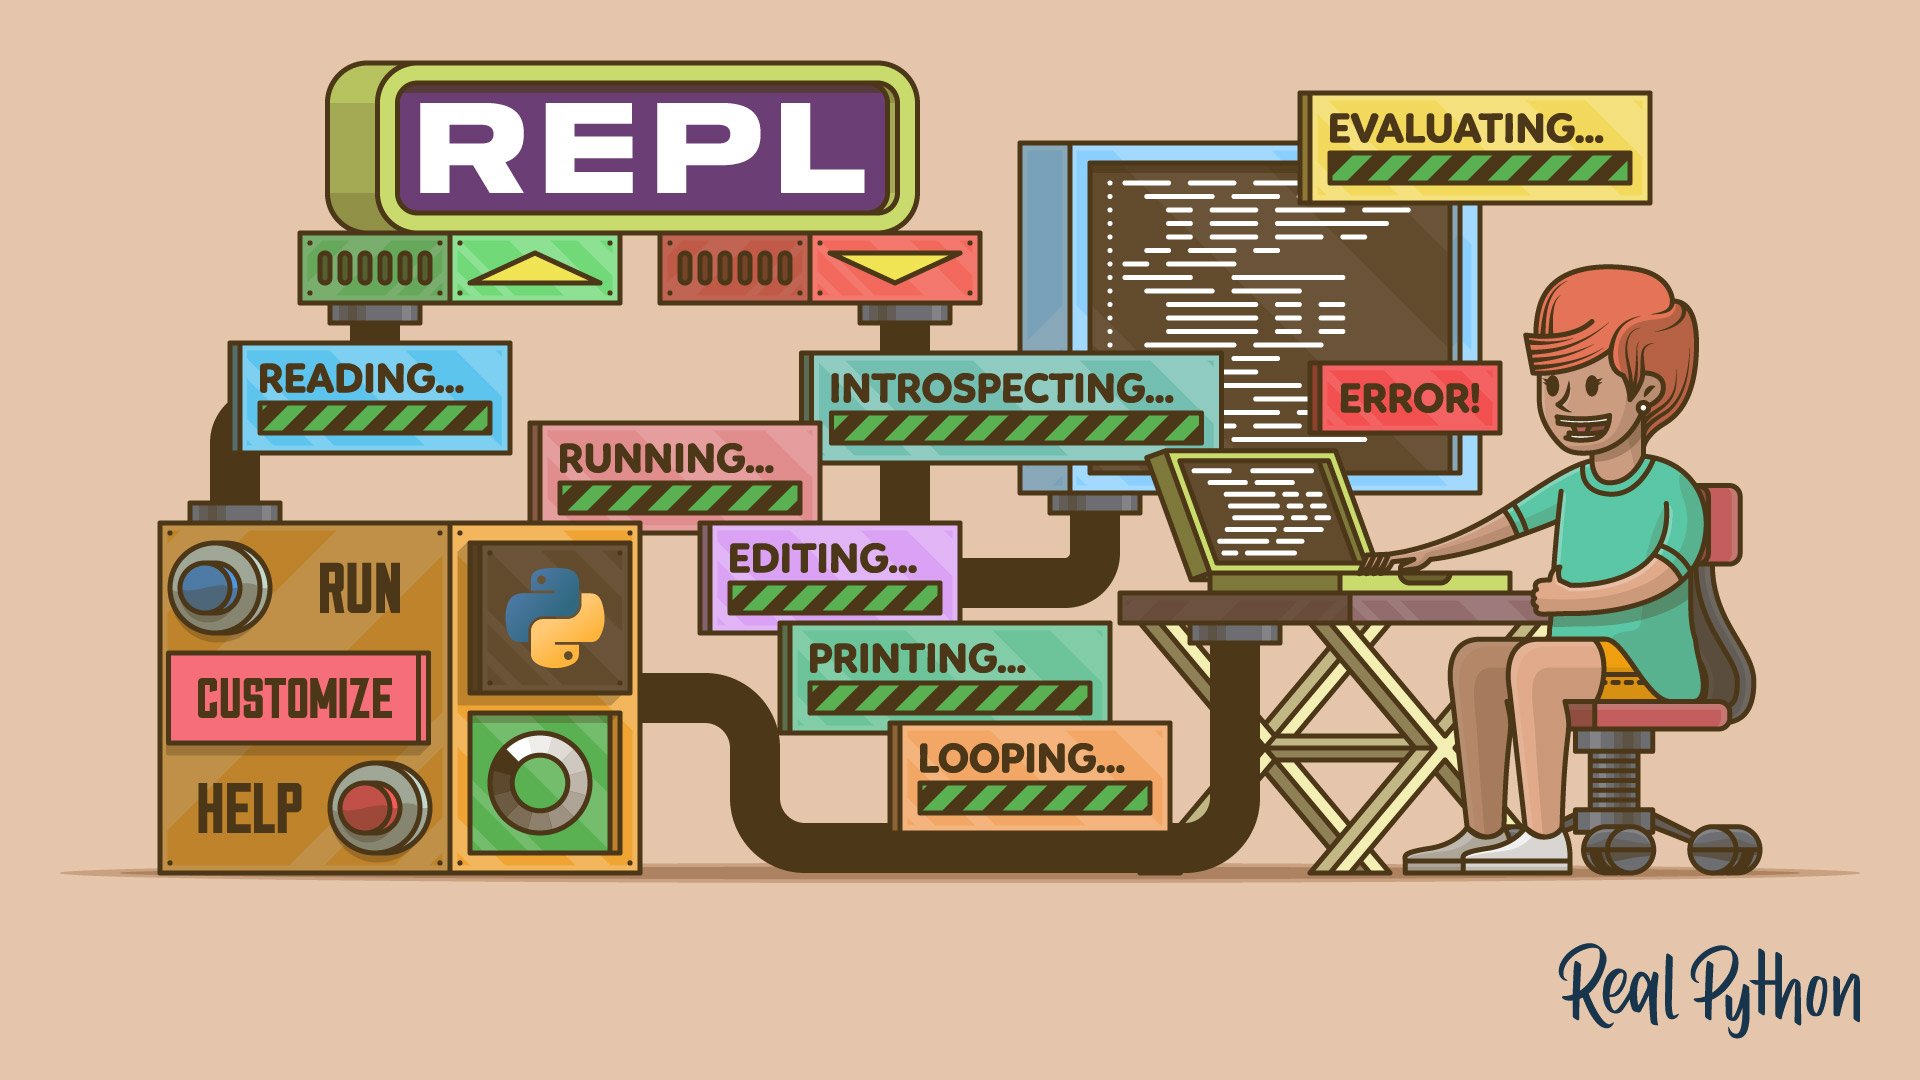
Up to this point, you’ve learned what a Python REPL is and why Python developers love it. You’ve also learned how to start a REPL session using the python command and some of its command-line options. Additionally, you’ve learned how to terminate a Python interactive session, jumping back to the operating system shell.
In the following sections, you’ll learn how to enter and execute Python code in an interactive session.
Evaluating Expressions and Simple Statements
Once you’ve launched a Python interactive session from your command line, you can start entering and executing Python code immediately. To do this, get back to your command-line window and run the python command.
When the REPL’s primary prompt (>>>) appears on your screen, type in the following expressions, pressing the Enter key after each of them:
5 - 2
#
# 3

sum([1, 2, 3, 4])
#
# 10

42 > 7
#
# # True

number = 42

7 / 0
#
# Traceback (most recent call last):
#  ...
# ZeroDivisionError: division by zero
The first expression subtracts two numbers and displays the result. The second expression is a call to the built-in sum() function, which takes a series of values and returns its total sum. In the third example, you execute a Boolean expression that compares two numbers.
The fourth example uses an assignment statement to define and initialize a variable called number. Because assignments don’t return any value, the Python interpreter doesn’t display any output on your screen. Instead, it falls back to the primary prompt immediately. The final example shows how Python displays an error when your code has issues.
While running these examples, note how after executing each expression, the interpreter loops back to the primary prompt (>>>), which lets you introduce a new expression. Now you’ve seen the REPL cycle in action. The Python interpreter has read your expressions, executed them, and printed their corresponding result to finally loop back to the primary prompt.
Running Compound Statements
With the examples in the previous section, you’ve executed simple statements in a Python interactive session. These expressions are known as simple statements because they don’t have an indented code block.
Python also has compound statements, such as conditionals, loops, and with statements. Compound statements require an indented code block. The Python interpreter has a secondary prompt that lets you enter the code block of compound statements.
Consider the following example of a conditional statement:
number = -42

if number < 0:
    print("negative")
elif number > 0:
    print("positive")
else:
    print("equal to 0")
#
# negative
In this code snippet, you first define a variable to hold a number. Next up, you start a conditional statement.
Once you type the colon character (:) and press Enter, you get three dots (...) on your screen. These dots represent the REPL’s secondary prompt. This prompt on your screen means that you can enter the required indented blocks of your current compound statement.
Note
To break out of the REPL’s secondary prompt, you must press Enter twice. This action will take you back to the primary prompt.
When it comes to entering indented code blocks, keep in mind that the standard REPL doesn’t support auto-indentation:
if number < 0:
#
# ... print("negative")
#   File "<stdin>", line 2
#  print("negative")
#  ^
# IndentationError: expected an indented block after 'if' statement on line 1
In the Python standard REPL, you must provide the appropriate indentation manually for any indented code block that you need to enter. Otherwise, you’ll get an IndentationError, like in the example above.
Dealing With Explicit and Implicit Line Continuations
Another situation where the REPL’s secondary prompt appears is when you need to use line continuations. A line continuation occurs when you explicitly join multiple physical lines into a single logical line using the backslash (``) character:
number = 42

assert isinstance(number, int) and number > 0, \
    f"number greater than 0 expected, got: {number}"
This assert statement performs two checks on number. First, it uses the built-in isinstance() function to check if the value is an integer number. Then it checks if the input value is greater than 0. If either of these conditions fails, then the statement raises an AssertionError with the provided message as an argument.
Line continuations also happen when you use several physical lines to write an expression delimited by a pair of brackets—for example, when you define a list, tuple, or dictionary:
fruits = [
"apple",
"banana",
"orange",
"grape",
"lemon",
]

inventory = {
"mouse": 120,
"keyboard": 50,
"laptop": 200,
"headphones": 240,
}
Once you open a bracket, such as [], (), or {}, and press Enter, you get the REPL’s secondary prompt. This is known as implicit line joining.
You can also use implicit line joining in other contexts, such as math and Boolean expressions, function definitions and calls, list comprehensions, and generator expressions. In short, implicit line continuation will appear in all those Python constructs that accept some type of brackets, including [], (), or {}.
Printing vs Evaluating
When you run Python in interactive mode, you’ll note that the interpreter immediately displays the resulting value of evaluating or executing any expression or statement. This is true for all the statements and expressions that generate a return value.
The interpreter doesn’t display anything for statements that don’t generate return values. That’s the case with assignment statements, as you already learned.
The Python interpreter behaves that way because its primary goal is to provide immediate feedback on how your code works. This behavior makes using the built-in print() function almost unnecessary when you’re working interactively.
However, there’s at least one use case for print() in REPL sessions. You need to use print() when you want to display the result of an expression or statement that can or will return None.
For example, a common error that some Python beginners make when they start to learn about lists is to expect new lists from calls to list methods, such as .append(), .sort(), and the like:
numbers = [2, 4, 1, 3]

numbers.sort()
numbers.append(5)
Because these method calls don’t issue any output to the screen, it may seem that they didn’t perform any real action. However, they did.
Most list methods run their intended transformation or computation in place. In other words, list methods often modify the underlying list object instead of creating a new one. Because of this, most list methods return None, which the REPL automatically ignores. As a result, nothing shows up on your screen.
If you ever need to display None in a REPL session, then you must use the print() function:
print(numbers.append(6))
#
# None

numbers
#
# [1, 2, 3, 4, 5, 6]

value = None
value
print(value)
#
# None
In this code snippet, you use print() to show the return value of .append(), which is None, as you can see.
Note that you can always access the content of a given variable by typing the variable’s name and pressing Enter after it, as you did with numbers. However, if the variable is currently set to None, then you won’t get anything on your screen. You’ll have to use print(), as you did with value.
Flagging and Understanding Errors
When an error occurs in a REPL session, the interpreter automatically prints the corresponding error message and traceback. Then, it loops back to the REPL’s primary prompt. In the following examples, you’ll see this behavior in action:
greeting = "Hello, World!
#
#   File "<stdin>", line 1
#  greeting = "Hello, World!
#  ^
# SyntaxError: unterminated string literal (detected at line 1)

42 / 0
#
# Traceback (most recent call last):
#   File "<stdin>", line 1, in <module>
# ZeroDivisionError: division by zero

sum()
#
# Traceback (most recent call last):
#   File "<stdin>", line 1, in <module>
# TypeError: sum() takes at least 1 positional argument (0 given)
In the first example, the string literal isn’t properly closed with a double quote ("). This raises a SyntaxError. The second example raises a ZeroDivisionError exception because you’re trying to divide 42 by 0. In the final example, you call the built-in sum() function without arguments, which raises a TypeError.
All these errors are immediately printed on the screen. This behavior allows you to quickly and carefully inspect the error message and traceback in order to track the underlying issue and fix your code.
Using the _ Special Variable
Every time you run a statement that returns a value, the interpreter internally stores that value in a special variable named with a single underscore (_). You can access and use this variable like any other variable in Python.
Here are a couple of examples that show the implicit _ variable in action when you work with expressions:
42 < 7
#
# False
_
#
# False

12 + 30
#
# 42
_
#
# 42
In these examples, you’re evaluating expressions. Expressions always have a return value, which is automatically assigned to the _ variable every time.
When it comes to function calls, if the target function returns a value different from None, then _ will hold that value. In contrast, if the function returns None, then the _ variable will keep the value of the preceding operation:
pow(4, 2)
#
# 16
_
#
# 16

print("Hello, World!")
#
# Hello, World!
_
#
# 16
The built-in pow() function computes the power of a number to a given exponent, returning the result. Because the function’s result differs from None, the _ variable is automatically reassigned. In contrast, if you call a function that returns None, like print(), then the _ variable remains unchanged.
In the example below, you use an assignment statement to create and initialize a counter variable:
counter = 0
_
#
# 16

counter
#
# 0
_
#
# 0
Assignments don’t return any value. Instead, they store a reference to a value in a variable. In this case, the _ variable isn’t updated after running the statement. That’s why the variable still contains the number 16 from the previous examples.
Note that accessing a variable in an interactive session returns the value referenced by the variable. In this case, that value is also assigned to the _ variable.
Because _ is a regular Python variable, you can use it in expressions and statements:
numbers = [1, 2, 3, 4]

len(numbers)
#
# 4

sum(numbers) / _
#
# 2.5
In this example, you first create a list of values. Then you call len() to get the number of values in the list. Python automatically stores this value in the _ variable. Finally, you use _ to compute the mean of your list of values.
When using the _ variable in a REPL session, keep in mind that this variable only appears in interactive mode. If you run your code in script mode, then you won’t get this implicit behavior.
Reloading Imported Modules
Say that you’re writing a Python module with some functions for one of your projects. At the same time, you’re using Python in interactive mode to test the module’s code in real time. For example, say that you have the following module:
def greet(name="World"):
    print(f"Hello, {name}!")
In this file, you define a greet() function that prints a greeting message on the screen. Here’s how to load and use this code from a REPL session:
import greeting

greeting.greet()
#
# 'Hello, World!'
greeting.greet("Pythonista")
#
# 'Hello, Pythonista!'
Now say that you want to add a new argument to your function. The argument will be a Boolean flag that allows printing the greeting message in uppercase letters. To do this, you modify the function to look something like this:
def greet(name="World", upper=False):
    greeting = f"Hello, {name}!"
    if upper:
        greeting = greeting.upper()
    print(greeting)
This update allows you to call greet() with an upper argument. If you set the argument to True, then the message will be in uppercase letters. Now you’re eager to try your changes in your current REPL session. So, you import the module again, hoping to run the new version of greet() as follows:
import greeting

greeting.greet("Pythonista", upper=True)
#
# Traceback (most recent call last):
#   File "<input>", line 1, in <module>
#  greeting.greet("Pythonista", upper=True)
#  ^^^^^^^^^^^^^^^^^^^^^^^^^^^^^^^^^^^^^^^
# TypeError: greet() got an unexpected keyword argument 'upper'
What? You have an unexpected argument? For efficiency reasons, running the import again after updating something in greeting.py doesn’t reload the module. Python doesn’t load imported modules again when you rerun the import.
If you want to work around this behavior without closing your current REPL session and opening a new one, then you can use the reload() function from importlib:
import importlib
importlib.reload(greeting)
#
# <module 'greeting' from '.../greeting.py'>

greeting.greet("Pythonista", upper=True)
#
# HELLO, PYTHONISTA!
Now your function works! The reload() function has taken care of loading the new version of your greeting module. You can use this trick whenever you’re working in a module on your code editor and testing your changes in a REPL session.
Now that you’ve learned the basics of entering and executing code in a Python interactive shell, it’s time to explore and learn about a few editing features that the standard REPL provides.