
How to show a Map view
How to show a Map view 관련

Updated for Xcode 15
SwiftUI's Map lets us embed maps alongside the rest of our views, and control whether to show the user, what annotations we want, and more.
To get started, first create some sort of state that will track the coordinates being shown by the map. This uses MKCoordinateRegion, which takes a latitude/longitude pair for the center of the map, plus a coordinate span that controls how much is visible.
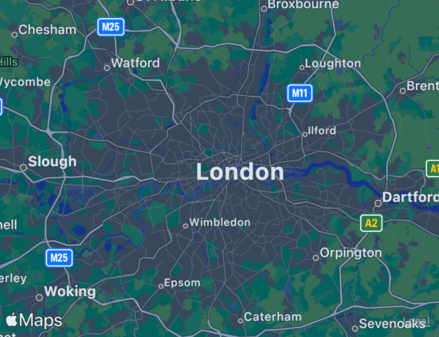
For example, this creates a map centered on the city of London:
struct ContentView: View {
    @State private var region = MKCoordinateRegion(center: CLLocationCoordinate2D(latitude: 51.507222, longitude: -0.1275), span: MKCoordinateSpan(latitudeDelta: 0.5, longitudeDelta: 0.5))

    var body: some View {
        Map(coordinateRegion: $region)
            .frame(width: 400, height: 300)
    }
}
Tips
You must import MapKit to get this functionality.
As the user scrolls around, the region state will update automatically.
If you want, you can restrict how much control the user has over the map by providing a separate interactionModes parameter to your map. For example, if you wanted the map to always show exactly the same spot, you would use this:
Map(coordinateRegion: .constant(MKCoordinateRegion(center: CLLocationCoordinate2D(latitude: 51.507222, longitude: -0.1275), span: MKCoordinateSpan(latitudeDelta: 0.5, longitudeDelta: 0.5))), interactionModes: [])
    .frame(width: 400, height: 300)

Or if you wanted the user to be able to zoom in and out, but not pan around to new locations, you would use this: [.zoom] for your interaction modes.
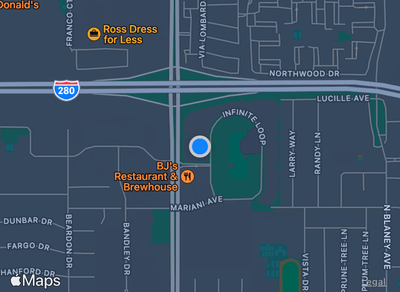
Finally, you can ask the map to show the user's location – and even follow them as they move – by providing values for showsUserLocation and userTrackingMode.
To use this you must first have requested and received location permission from the user. This means adding Info.plist values for “Privacy - Location When In Use Usage Description” and “Privacy - Location Always and When In Use Usage Description”, making an instance of CLLocationManager, then requesting authorization through it using something like requestAlwaysAuthorization().
For example, this will show the user on the map and always keep the map centered on their location:
struct ContentView: View {
    @State private var region = MKCoordinateRegion(center: CLLocationCoordinate2D(latitude: 51.507222, longitude: -0.1275), span: MKCoordinateSpan(latitudeDelta: 0.5, longitudeDelta: 0.5))

    var body: some View {
        Map(coordinateRegion: $region, showsUserLocation: true, userTrackingMode: .constant(.follow))
            .frame(width: 400, height: 300)
    }
}
Similar solutions…
