How to create a marching ants border effect
How to create a marching ants border effect 관련
Updated for Xcode 15
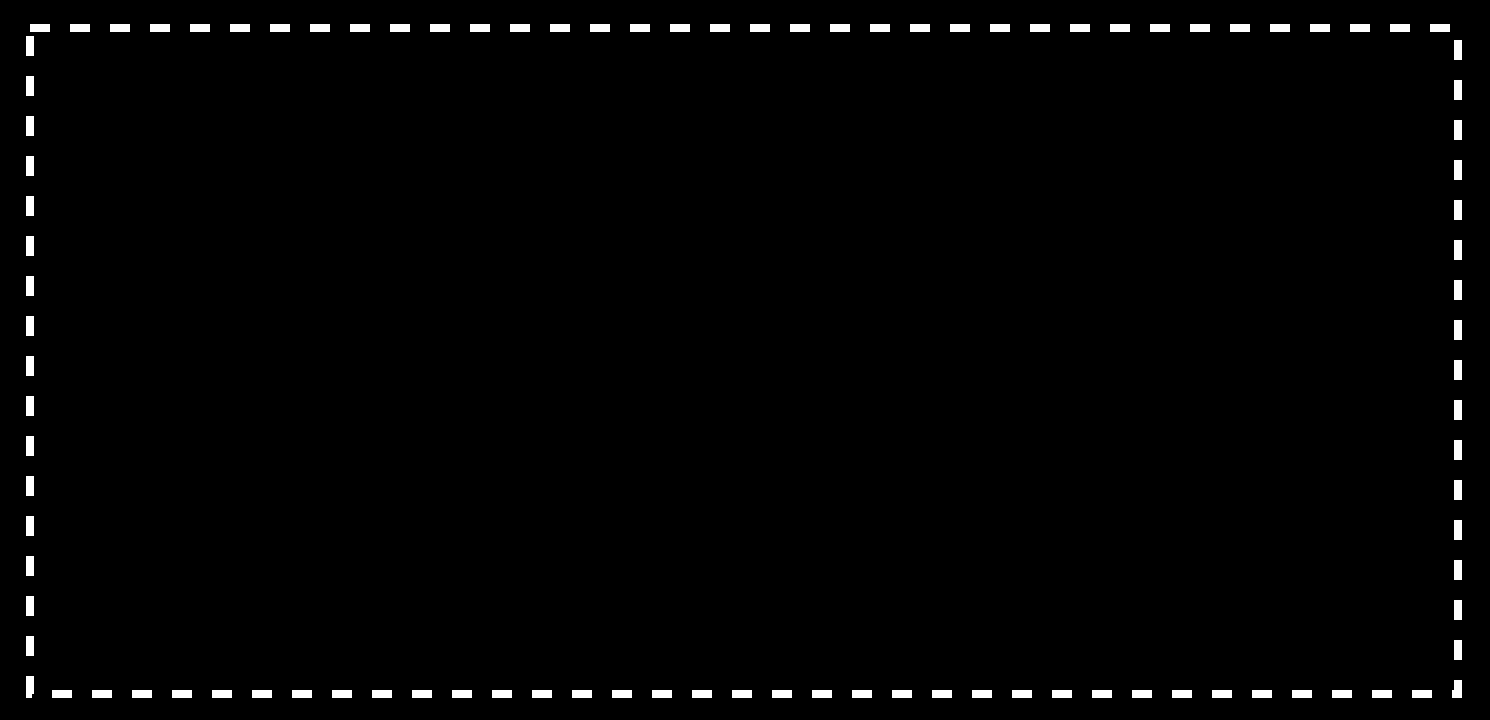
SwiftUI’s stroke can be configured with dash and dash phase options that gives us very fine-grained control over how the line is drawn. For example, we could draw a box with a dashed stroke like this:
struct ContentView: View {
    var body: some View {
        Rectangle()
            .strokeBorder(style: StrokeStyle(lineWidth: 4, dash: [10]))
    }
}

Using [10] for the dash parameter means SwiftUI will draw 10 points of our stroke then 10 points of space, repeating that pattern until the entire rectangle has been stroked. It’s an array because you can provide more than one value, such as [10, 5], to mean “10 points of stroke then a 5-point gap.”
Where this becomes really interesting is when you add in the dash phase, which dictates where the dashes and gaps should be positioned. If we store that phase in a state property, we can then animate that value over time to create a so-called marching ants effect - a dashed stroke that moves around a shape, which is commonly used to signal object selection.
In code it looks like this:
struct ContentView: View {
    @State private var phase = 0.0

    var body: some View {
        Rectangle()
            .strokeBorder(style: StrokeStyle(lineWidth: 4, dash: [10], dashPhase: phase))
            .frame(width: 200, height: 200)
            .onAppear {
                withAnimation(.linear.repeatForever(autoreverses: false)) {
                    phase -= 20
                }
            }
    }
}