How to create different layouts using size classes
About 2 min
How to create different layouts using size classes 관련
SwiftUI by Example
Back to Home
How to create different layouts using size classes | SwiftUI by Example
How to create different layouts using size classes
Updated for Xcode 15
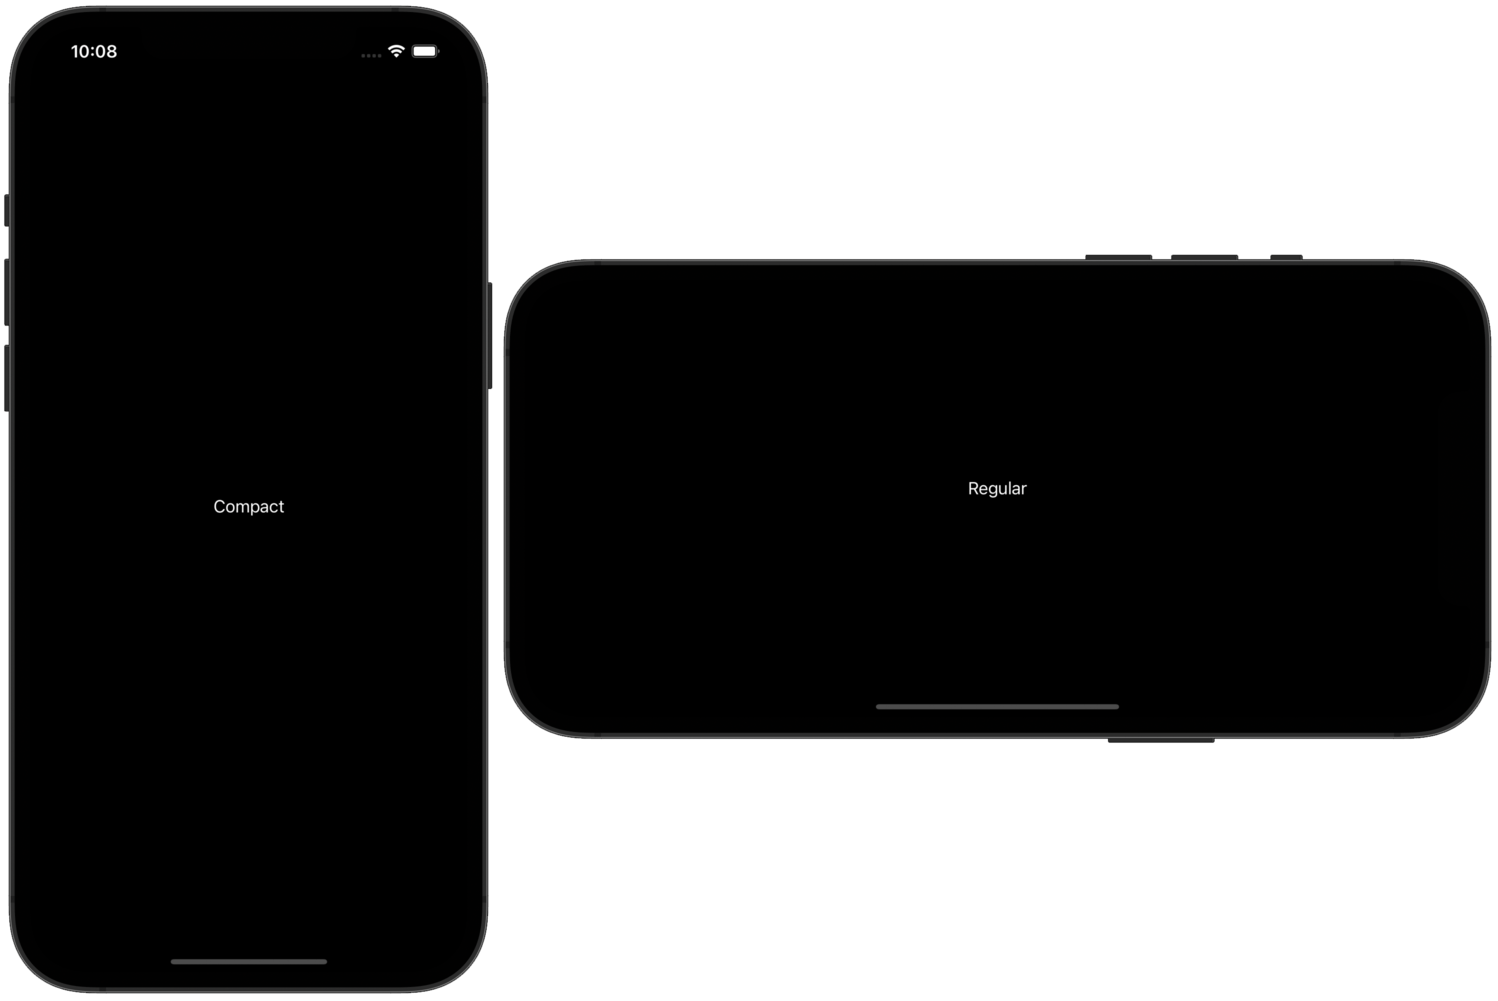
SwiftUI supports size classes natively by exposing them in the environment for us to read. To use them, first create an @Environment object that will store its value, then check the value of that property whenever you need, looking for either the .compact or .regular size class.
For example:
struct ContentView: View {
    @Environment(\.horizontalSizeClass) var horizontalSizeClass

    var body: some View {
        if horizontalSizeClass == .compact {
            Text("Compact")
        } else {
            Text("Regular")
        }
    }
}

Size classes are a great way to make your user interfaces intelligently adapt to the available space by using a VStack or a HStack for your content. For example, if you have lots of space you might lay things out horizontally, but switch to vertical layout when space is limited.
Similar solutions…
How to use Instruments to profile your SwiftUI code and identify slow layouts | SwiftUI by Example
How to use Instruments to profile your SwiftUI code and identify slow layouts
How to customize stack layouts with alignment and spacing | SwiftUI by Example
How to customize stack layouts with alignment and spacing
How to control which NavigationSplitView column is shown in compact layouts | SwiftUI by Example
How to control which NavigationSplitView column is shown in compact layouts
How to control which NavigationSplitView column is shown in compact layouts | SwiftUI by Example
How to control which NavigationSplitView column is shown in compact layouts
How to automatically switch between HStack and VStack based on size class | SwiftUI by Example
How to automatically switch between HStack and VStack based on size class
How to animate the size of text | SwiftUI by Example
How to animate the size of text