
How to use UIBezierPath and CGPath in SwiftUI
How to use UIBezierPath and CGPath in SwiftUI 관련

Updated for Xcode 15
If you have existing paths made using UIBezierPath or CGPath it’s trivial to convert them for use in SwiftUI because the Path struct has an initializer directly from CGPath.
Note
UIBezierPath is not available in macOS, so if you’re trying to keep your SwiftUI code cross platform you should migrate to CGPath instead.
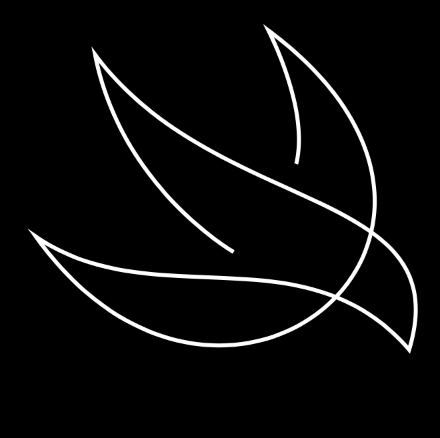
As an example, here’s a UIBezierPath extension I made to store the logo for an app I built, called Unwrap:
extension UIBezierPath {
    /// The Unwrap logo as a Bezier path.
    static var logo: UIBezierPath {
        let path = UIBezierPath()
        path.move(to: CGPoint(x: 0.534, y: 0.5816))
        path.addCurve(to: CGPoint(x: 0.1877, y: 0.088), controlPoint1: CGPoint(x: 0.534, y: 0.5816), controlPoint2: CGPoint(x: 0.2529, y: 0.4205))
        path.addCurve(to: CGPoint(x: 0.9728, y: 0.8259), controlPoint1: CGPoint(x: 0.4922, y: 0.4949), controlPoint2: CGPoint(x: 1.0968, y: 0.4148))
        path.addCurve(to: CGPoint(x: 0.0397, y: 0.5431), controlPoint1: CGPoint(x: 0.7118, y: 0.5248), controlPoint2: CGPoint(x: 0.3329, y: 0.7442))
        path.addCurve(to: CGPoint(x: 0.6211, y: 0.0279), controlPoint1: CGPoint(x: 0.508, y: 1.1956), controlPoint2: CGPoint(x: 1.3042, y: 0.5345))
        path.addCurve(to: CGPoint(x: 0.6904, y: 0.3615), controlPoint1: CGPoint(x: 0.7282, y: 0.2481), controlPoint2: CGPoint(x: 0.6904, y: 0.3615))
        return path
    }
}
That uses control points that are normalized to the range of 0 through 1, so that I can render it inside any kind of container and just scale it up to fit the available space.
In SwiftUI that would mean creating a transform that scales the Bezier path up by the minimum of either the width or the height, then applying that to a path, like this:
struct ScaledBezier: Shape {
    let bezierPath: UIBezierPath

    func path(in rect: CGRect) -> Path {
        let path = Path(bezierPath.cgPath)

        // Figure out how much bigger we need to make our path in order for it to fill the available space without clipping.
        let multiplier = min(rect.width, rect.height)

        // Create an affine transform that uses the multiplier for both dimensions equally.
        let transform = CGAffineTransform(scaleX: multiplier, y: multiplier)

        // Apply that scale and send back the result.
        return path.applying(transform)
    }
}

// Show our ScaledBezier shape in a view
struct ContentView: View {
    var body: some View {
        ScaledBezier(bezierPath: .logo)
            .stroke(lineWidth: 2)
            .frame(width: 200, height: 200)
    }
}
If you’re starting with a CGPath rather than a UIBezierPath, things are even easier because you can write let path = Path(yourCGPath) to convert the path directly.
Similar solutions…
