The Simplest Way to Deploy Your Own Updatable Portfolio Site
The Simplest Way to Deploy Your Own Updatable Portfolio Site 관련

Let’s say you’ve got a set of static files (HTML, CSS, JavaScript, images, etc) that build your website. Perhaps it’s your portfolio website, thanks to having taken Jen Kramer’s course Web Development Project: Personal Portfolio Website, for example, but it could be anything.

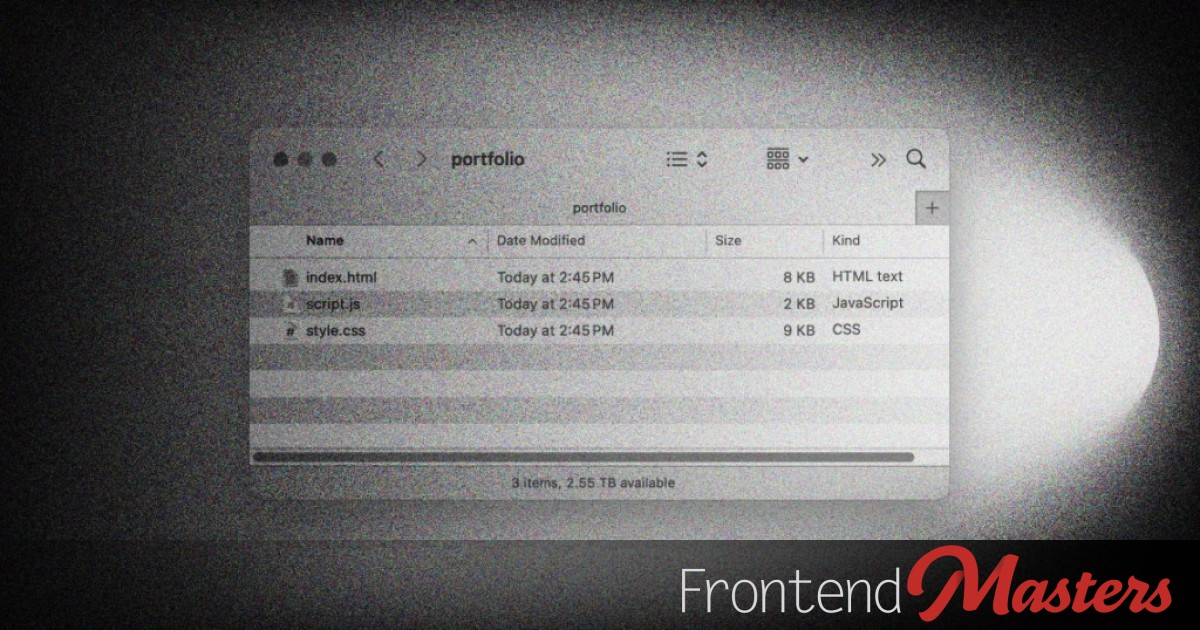
index.html, script.js, and style.css, with their sizes and types displayed.Hey, what do you know, I’ve got some static files that make a nice personal portfolio page right here.
We’ve covered the very fastest way to get those files turned into a deployed website on the internet already, using Netlify’s tool. That totally works, but we can take things a little further to make things easier on our future selves.
Websites tend to need to be updated. Technically, you can keep using that tool to drag-and-drop your entire site again. But since we’re here to learn to be a better developer, let’s do better than that. We’re going to start using Git and GitHub. Let’s do the steps.
Article Series
Git?
Git is the name of the technology we’ll use, which is what they call a VCS or Version Control System. We’ll put our files in Git, then when we change anything, Git will know about it. Git allows us to “commit” those changes, which gives us a history of what changed. That alone is a great feature. But crucially, Git allows us to work with others (they can “pull” those commits) and most importantly for us today: connect other apps to Git. For example, when changes are pushed up, “deploy” the changes to the live website.
1) Make sure you have a GitHub account
There is a 99.99% chance you’ll need/want a GitHub account in your developer career. If you don’t already have one, get one:

The accessibility of this page just got improved while retaining a great design, good job team.
2) Get the GitHub Desktop App
We’re baby-steppin’ here, and I think it will be easier for us to use the official GitHub app than it will be to use what developers call “the command line” to work with Git (but someday you can level up).

It’s free.
Honestly, I’ve been using Git for a hot long while and I still use GUI apps like this (literally this) to work with Git as I prefer the visual nature of it. This is true of many of the talented developers I work with, who are are very capable of command line usage as well.
3) Make a Repo
“Repo” is just short for “repository”. You could make one locally and push it up to GitHub as a second step, but for whatever reason I prefer making it on GitHub, “pulling it down” and going from there.

You likely don’t need anything but the defaults here.
4) Pull the Repo from GitHub to your Local Computer
One reason to use the GitHub Desktop app we downloaded is that the GitHub website is nicely integrated with it, giving us a quick button to click:


I have a folder just called “GitHub” I put all my repos in.
This folder will essentially be empty. (In truth, it has a .git folder inside of it, but most operating systems and code editors hide folders and files that start with a . by default so you don’t see it while browsing files.)
5) Put your static files in the folder you just pulled down
Now you can drag your static files into that “empty” folder that is your repo. When the files are in there, GitHub Desktop (and really, Git itself) will “see” those files as changes to the repo. So you’ll see this:

(That .DS_Store file is just an awkward thing macOS does. Try right-clicking that file and ignoring it and seeing what that does.)
6) Push your static files to the Repo
All those files are now selected (see the checkmarks). Type in a commit message (where it says “Summary (required)” in GitHub Desktop) and then clicking the blue Commit button.
After committing, you will no longer see any local changes, but you’ll see that “commit” you just did under the History tab. Your job now is to click the Publish branch button on in the upper right.

After you’ve done that, you’ll see the files you “pushed” up right on GitHub.com in your repo URL:

7) Now that your website files are on GitHub, we can deploy them to a live website
Just so you’re aware, GitHub has a product called GitHub Pages where we could just make GitHub itself the home of your website. That can be a good option, but we’re also fans of Netlify here and generally think that’s the best option for projects like this, so sign up for a free account at Netlify if you don’t have one.
8) Make a New Projects on Netlify
One you’re in, go to Projects and add a new one by selecting Import an existing project.


Now you pick the URL for it, which for now will be your-chosen-name**.netlify.app. You don’t need to change any other settings, so scroll down and Deploy it.
9) Your Website will Go Live
Netlify will work on deploying it, which should be pretty fast probably.


You can click that green link like you see above to see the website.
You can share that URL with anyone in the world and they’ll be able to see it. That’s the power of the world wide web. It’s awesome. Here’s a view of the files I uploaded:

10) Make Some Changes
Another wonderful part of working on websites is you can easily change them at any time. That’s part of why we’re working with Git, because we can push up those changes and keep track of them. We can also efficiently deploy only changed files and such.
If I change the files locally, the GitHub Desktop app will show me what has changed. I can check out those changes, confirming it’s exactly as I want, then type in a commit message and commit them, then click Push origin to both push the changes to GitHub and deploy the site on Netlify.


You really are a web designer and front-end developer now!
Next time we’ll take things just a smidge further, adding in a tool to help us build slightly more complex websites, which will make more clear why we’re using Netlify. And we’ll use a “real” domain name entirely of our own.
Article Series