How to Set Up Your Tools
How to Set Up Your Tools 관련
Now we’ll go through everything you need to set up the project.
Install Next.js and dependencies:
First, you’ll need to create a Next.js app. Go to the terminal and run the following command:
npx create-next-app@latest my-next-app
Replace my-next-app with your desired project name and use TypeScript.
Navigate to the project folder:
cd my-next-app
Start the development server:
yarn dev
npm run dev
Open your browser and navigate to http://localhost:3000 to see your Next.js app in action.
Install CopilotKit and dependencies
Navigate to the project’s root folder in the terminal and run the following command. This will install all the necessary dependencies for CopilotKit along with other essential packages, such as dotenv, groq-sdk, sandpack, Monaco Editor, Lucide React, Socket and Mongoose.
npm install @copilotkit/react-ui @copilotkit/react-core
npm install dotenv
npm install groq-sdk
npm install @codesandbox/sandpack-react
npm install @monaco-editor/react
npm install lucide-react
npm install mongoose
npm install socket.io
npm install socket.io-client
- CopilotKit: This dependency handles all operations and configurations related to CopilotKit.
- Dotenv: Used for managing environment variables, and keeping sensitive keys secure within the project.
- GroqSDK: Facilitates access to various LLM models through a single API key.
- CodeSandbox Sandpack (React): Provides the ability to display real-time previews of the code.
- Monaco Editor: Powers the VSCode-like environment, enabling real-time code editing.
- Lucide React: An icon library used to display icons for files and folders.
- Mongoose: Manages MongoDB schemas for storing and retrieving data from the database.
- socket.io: A very powerful tool for real-time data syncing between client and server.
- socket.io client: Extra socket.io client package for data communication.
Set Up the LLM for Action:
This step is crucial for the project, as it involves setting up the LLM (Large Language Model) to convert natural language (plain English) queries into a React framework working code.
There are many LLMs available, each with its unique strengths. Some are free, while others are paid, making the selection process for this project a bit challenging.
After thorough experimentation, I chose the Groq Adapter because:
- It integrates multiple LLMs into a single platform.
- It offers access via a unified API key.
- It’s fully compatible with CopilotKit.
How to Set Up Groq Cloud
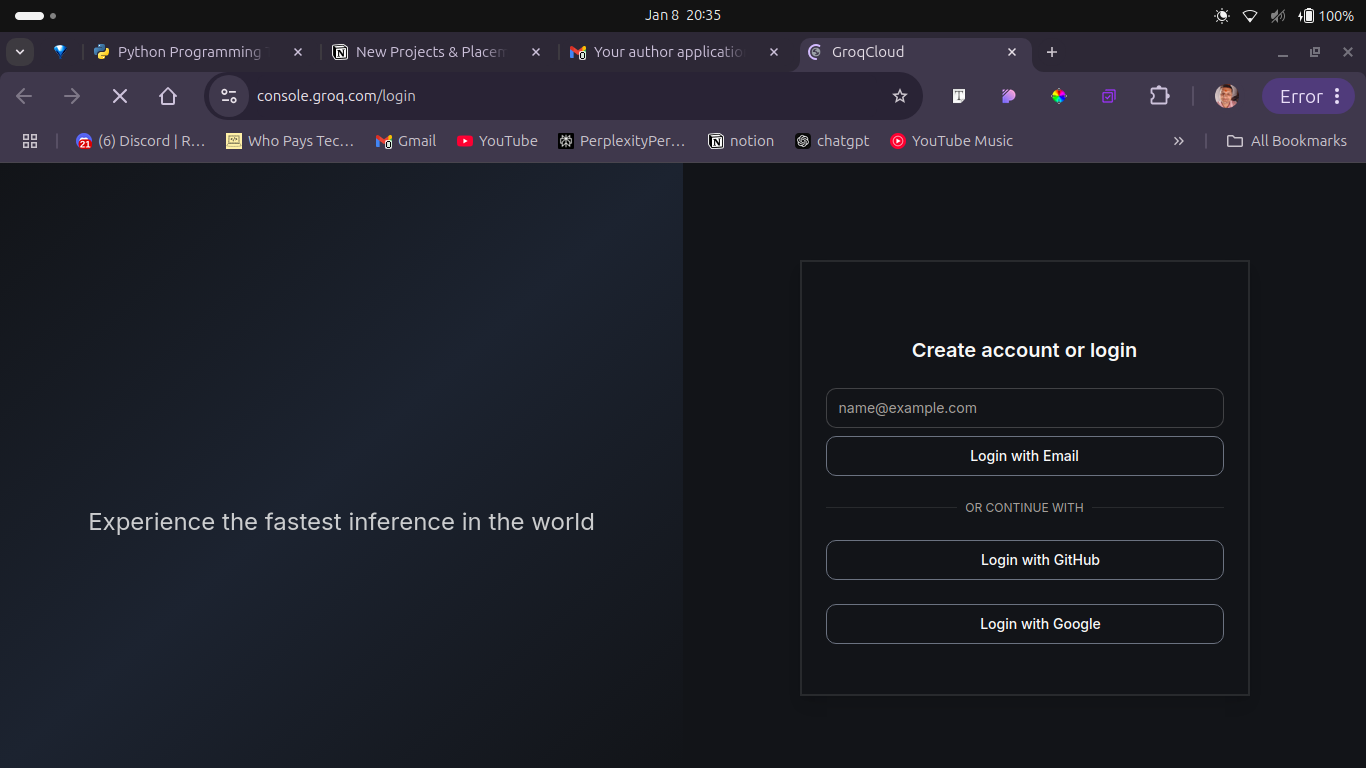
To get started with Groq Cloud, visit its website and either log in if you already have an account or create a new account if you’re new. Once logged in, navigate to the Groq Dashboard.
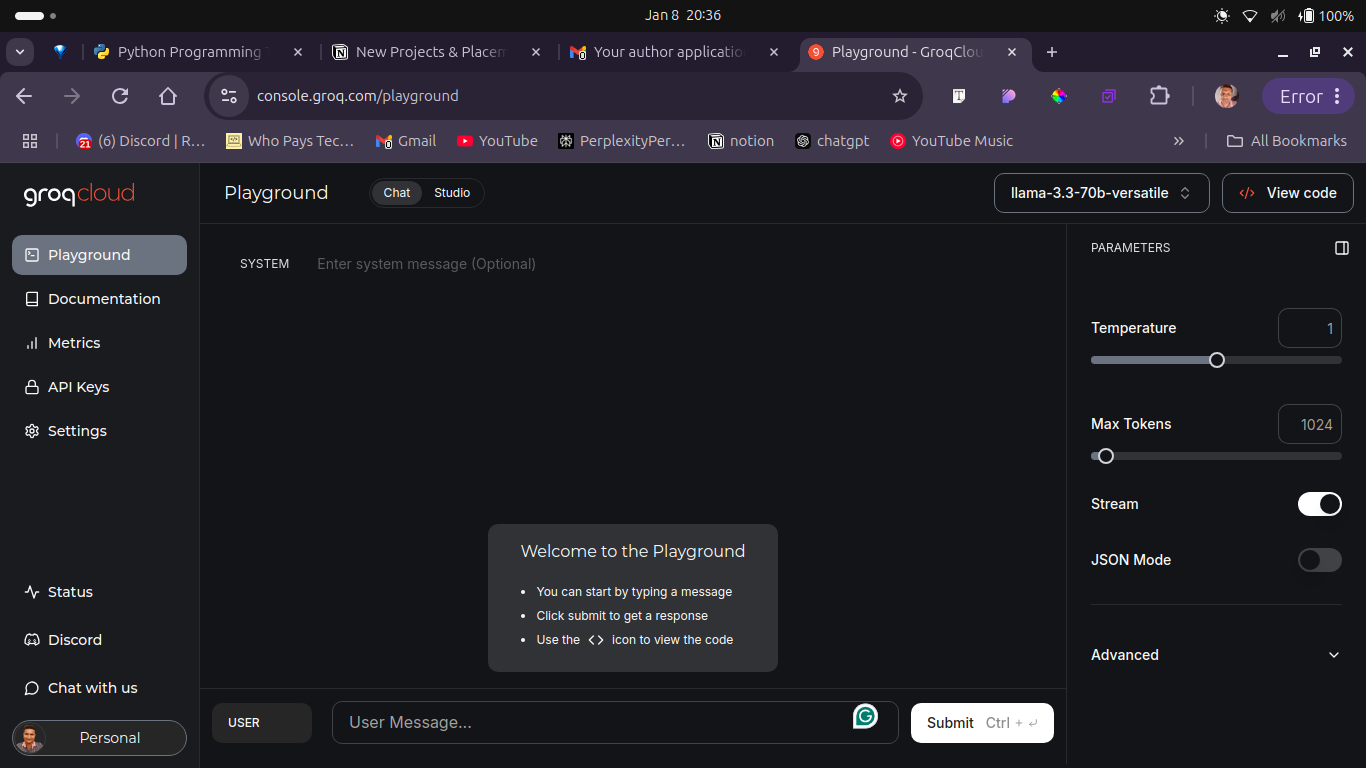
As you can see, the sidebar has an API Keys link. Click on it, and it will open a new page as shown in the image below.
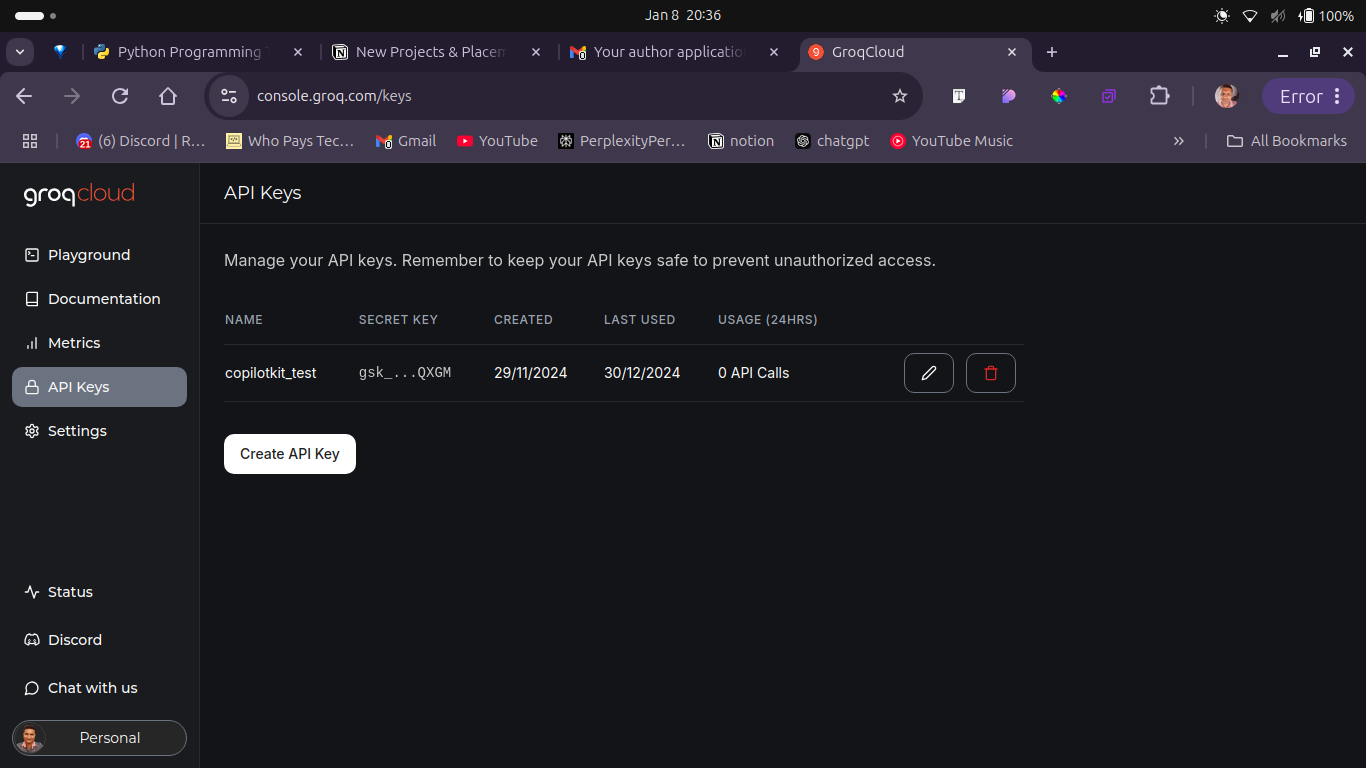
Here, click on the Create API Key button it will open a pop up like you see below.
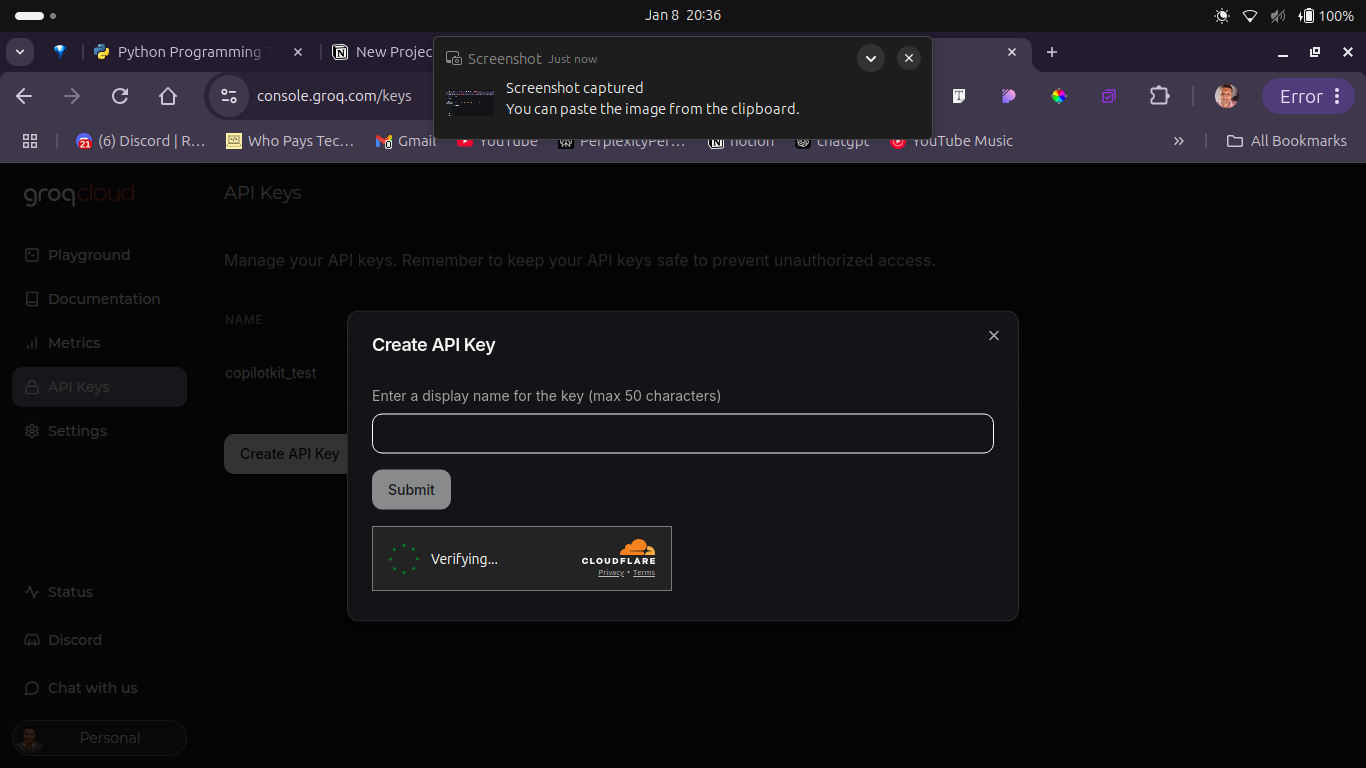
.env file.To enable seamless access to various LLMs on Groq Cloud, generate an API key by going to the Groq API Keys section. Create a new API key specifically for the LLM, ensuring that it is properly configured.
With the LLM set-up and all components ready, you are now prepared to build the project.
How to setup the database
Step 1: Create a MongoDB Atlas Account
- Go to the MongoDB Atlas website.
- Click on "Try Free" or "Sign Up".
- Fill in your details (name, email, password) to create an account.
- Verify your email address by clicking the link sent to your inbox.

Step 2: Create a New Project
- After logging in, you will be directed to the MongoDB Atlas dashboard.
- Click on the "New Project" button. This will take you to the Create a Project page.

- Fill in the Project name and click on the next button, and it will open a new page to show the project owner's information.

- Now click on the Create Project Button. This will take you to the main dashboard of the project where you will get the option to create the database.

- Now Click on the Create Button to open a new page with details of deploying your cluster.
- Choose a cloud provider (AWS, Google Cloud, or Azure) and a region closest to your location.
- Select the "Free Tier" (free forever, but with limited resources) or a paid tier for larger projects.

- Give your cluster a name (for example,
MyCluster). - Click "Create Deployment". It will take a few minutes for the cluster to be provisioned.
- Then It will ask you to connect your cluster to the database through a service. You should see your username and password - keep this somewhere.

- Here, you will have to make yourself a database user, so click on the Create Database user button.
- It will take a few seconds to complete this process. Once it’s done, close the pop-up and return back to the dashboard.
- On the dashboard page you can see Get Connection String button. Go on and click on it.

- It will open a new popup containing your MongoDB atlas URI. Simply copy the string, put it into your
.envfile and use the password you created in step 14.

Example use case
MONGODB_URI='YOUR MONGODB URL'