
How to make a fixed size Spacer
How to make a fixed size Spacer 관련

Updated for Xcode 15
SwiftUI's Spacer views automatically fill up all available space on their axis of expansion, which is a fancy way of saying they take up as much space as they can either horizontally or vertically, depending on what you put them in.
If you want to make a spacer of an exact size, just do the same thing you would do for any other kind of view: use a frame() modifier with the exact sizes you want.
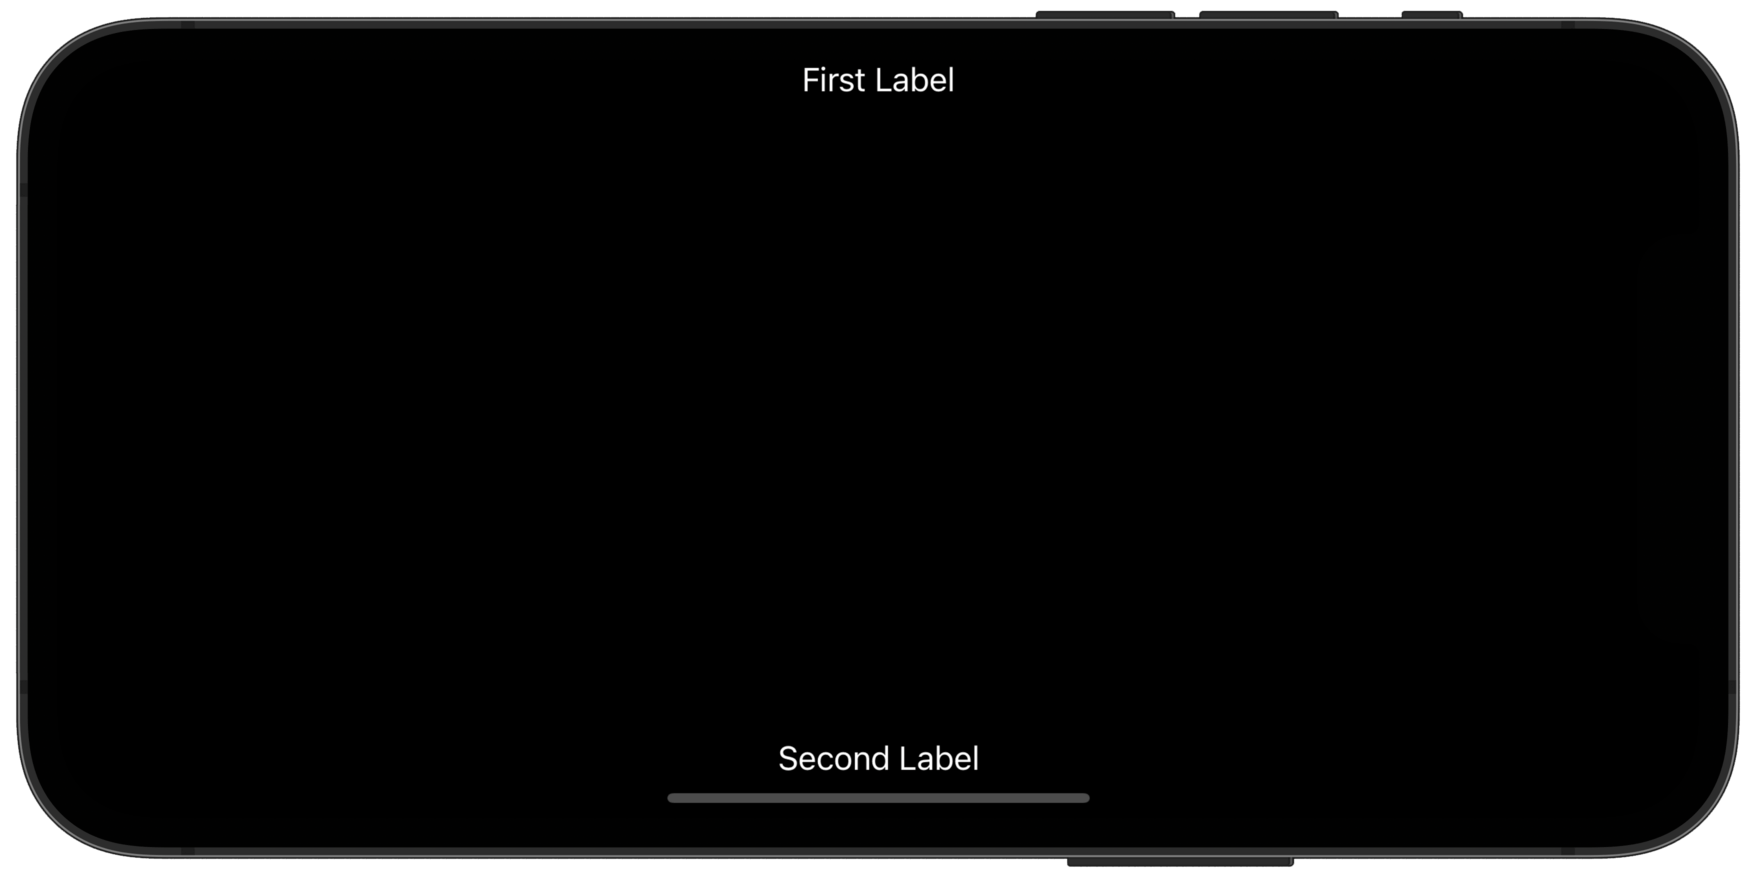
For example, this shows two text views, with a 50-point spacer in between them:
VStack {
    Text("First Label")
    Spacer()
        .frame(height: 50)
    Text("Second Label")
}

If you give the spacer a range of values, for example using .frame(minHeight: 50, maxHeight: 500), then it will automatically take up as much space as it can, up to the maximum you set. Adding some flexibility in this way is usually a good idea, so that your user interfaces scale across devices more easily.
There are some situations where you want to specify a spacer size agnostic to its layout direction, for example if your views might sometimes be in a HStack or a VStack and you want the spacer to add 50 points regardless of direction.
In this circumstance you should use the minLength initializer, like this:
VStack {
    Text("First Label")
    Spacer(minLength: 50)
    Text("Second Label")
}
Note
That's a minimum length, so the spacer will still grow to be larger if space is available.
Similar solutions…
