
Gradle Tutorial for Android - Getting Started
Gradle Tutorial for Android - Getting Started 관련

In this tutorial, you’ll gain a better understanding of what Gradle is, and how you can use Gradle to supercharge your builds. By the end of this tutorial you should be able to
- Build your Android apps from the command-line
- Read through a Gradle build file
- Create your own Gradle plugin
- Create build flavors for profit!
Note
This tutorial assumes you’re already familiar with the basics of Android development. If you are completely new to Android development, read through our Beginning Android Development tutorials to familiarize yourself with the basics.
What is Gradle?
Gradle is an open source build automation system. It brings the convenience of a Groovy-based DSL along with the advantages of Ant and Maven. With Gradle, you can easily manipulate the build process and its logic to create multiple versions of your app. It’s much easier to use and a lot more concise and flexible when compared to Ant or Maven alone.
So, there was little wonder why during Google I/O in May 2013, the Android Gradle plugin was introduced as the build tool built into the first preview of Android Studio
Getting Started
Download SocializifyStarter the starter project for this tutorial. At minimum, you’ll need Android Studio 3.0 installed on your computer.

Choose [OK] to configure the wrapper, which you’ll learn more about later in the tutorial.
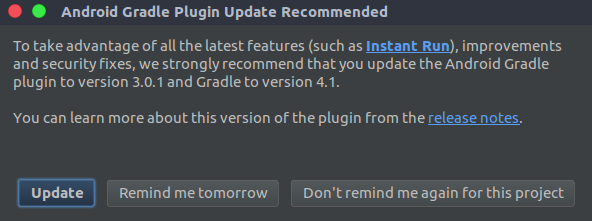
Choose [Update] to finish opening the project in Android Studio.
Before starting working with the project, let’s review its structure in the Project pane in Android Studio:
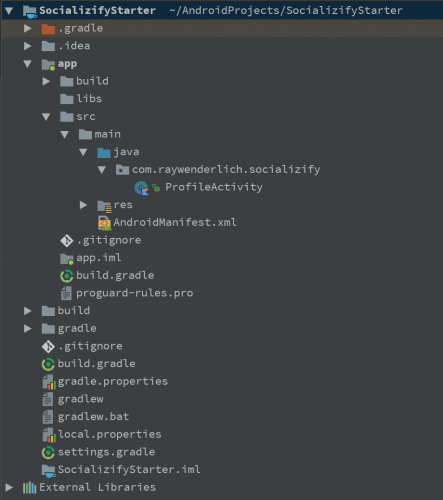
Pay attention to the files with the green Gradle icon and .gradle extension. These files are generated by Android Studio automatically during project creation. They are responsible for the processing of your project’s build. They contain the necessary info about the project structure, library dependencies, library versions, and the app versions you’ll get as a result of the build process.
Project-level build.gradle
Module-level build.gradle
Finally, settings.gradle
Groovy vs. Kotlin in Gradle
Why Kotlin
Mastering the build: Gradle Commands
What is gradlew
gradlew tasks
gradlew assemble
gradlew lint
Managing Dependencies
Gradle Dependency Configurations
Ready to Publish: Working with Product Flavors and Build Types
Build Types
Build Signing
Build Flavors
What is a Build Variant
Creating Tasks
Creating Custom Plugins
Where to Go From Here
You can download the final project here.
The Android Gradle plugin 3.0 contains some significant differences from previous versions. So it’s worth reviewing the changelog.
Also, if you’re insterested in the Gradle Kotlin DSL, gradle/kotlin-dsl you can find a list of usage examples to get familiar with it.
I hope you’ve enjoyed this Getting Started with Gradle tutorial! Don’t forget to leave your feedback and feel free to ask any questions in the comments below
