Alamofire 5 Tutorial for iOS: Getting Started
Alamofire 5 Tutorial for iOS: Getting Started 관련

If you’ve been developing iOS apps for some time, you’ve probably needed to access data over the network. And for that you may have used Foundation’s URLSession. This is fine and all, but sometimes it becomes cumbersome to use. And that’s where this Alamofire tutorial comes in!
Alamofire is a Swift-based, HTTP networking library. It provides an elegant interface on top of Apple’s Foundation networking stack that simplifies common networking tasks. Its features include chainable request/response methods, JSON and Codable decoding, authentication and more.
In this Alamofire tutorial, you’ll perform basic networking tasks including:
- Requesting data from a third-party RESTful API.
- Sending request parameters.
- Converting the response into JSON.
- Converting the response into a Swift data model via the Codable protocol.
Note
Before starting this tutorial, you should have a conceptual understanding of HTTP networking. Some exposure to Apple’s networking classes is helpful, but not necessary. Alamofire obscures implementation details, but it’s good to have some background knowledge if you need to troubleshoot your network requests.
Getting Started
To kick things off, use the [Download Materials] button at the top or bottom of this article to download the begin project.
The app for this tutorial is StarWarsOpedia, which provides quick access to data about Star Wars films as well as the starships used in those films.
Start by opening StarWarsOpedia.xcworkspace inside the begin project.
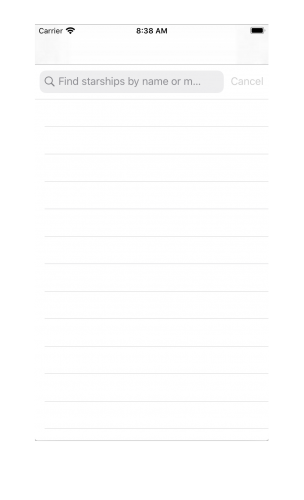
It’s a blank slate now, but you’ll populate it with data soon!
Note
You’d normally integrate Alamofire using CocoaPods or another dependency manager. In this case, it’s pre-installed in your downloaded projects. For help integrating Alamofire into your projects using CocoaPods, see CocoaPods Tutorial for Swift: Getting Started.
Using the SW API
Understanding HTTP, REST and JSON
Why Use Alamofire?
Requesting Data
Using a Codable Data Model
Method Chaining
Setting up Your Table View
Updating the Detail View Controller
Fetching Multiple Asynchronous Endpoints
Creating a Data Model for Starships
Fetching the Starship Data
Updating Your Table View
Sending Parameters With a Request
Decoding Starships
Searching for Ships
Display a Ship’s List of Films
Where to Go From Here?
You can download the completed project using the [Download Materials] button at the top or bottom of this article.
While building your app, you’ve learned a lot about Alamofire’s basics. You learned that Alamofire can make networking calls with very little setup and how to make basic calls using the request function by sending just the URL string.
Also, you learned to make more complex calls to do things like searching by sending parameters.
You learned how to use request chaining and request validation, how to convert the response into JSON and how to convert the response data into a custom data model.
This article covered the very basics. You can take a deeper dive by looking at the documentation on the Alamofire site at Alamofire/Alamofire.
I highly suggest learning more about Apple’s URLSession, which Alamofire uses under the hood:
