Generate API Token and Set permissions
Generate API Token and Set permissions 관련

Once you’ve added the content for the various languages, it’s time to create your API and set the necessary permissions.
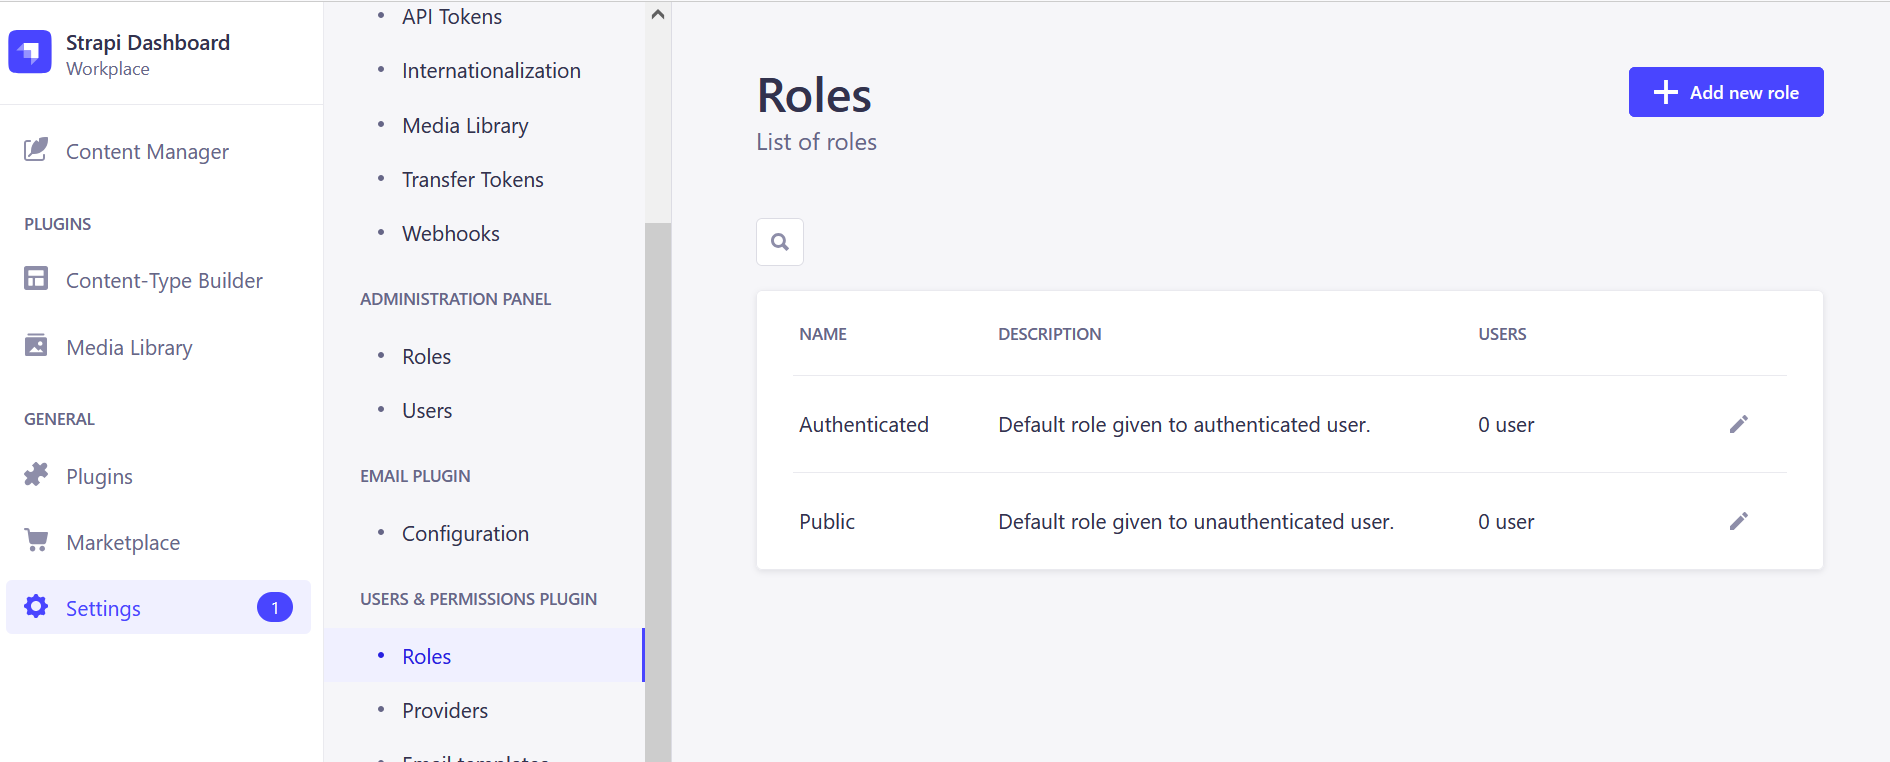
To do this, navigate to Settings, then API Tokens, and then Create API Token. Add the details of your key there.
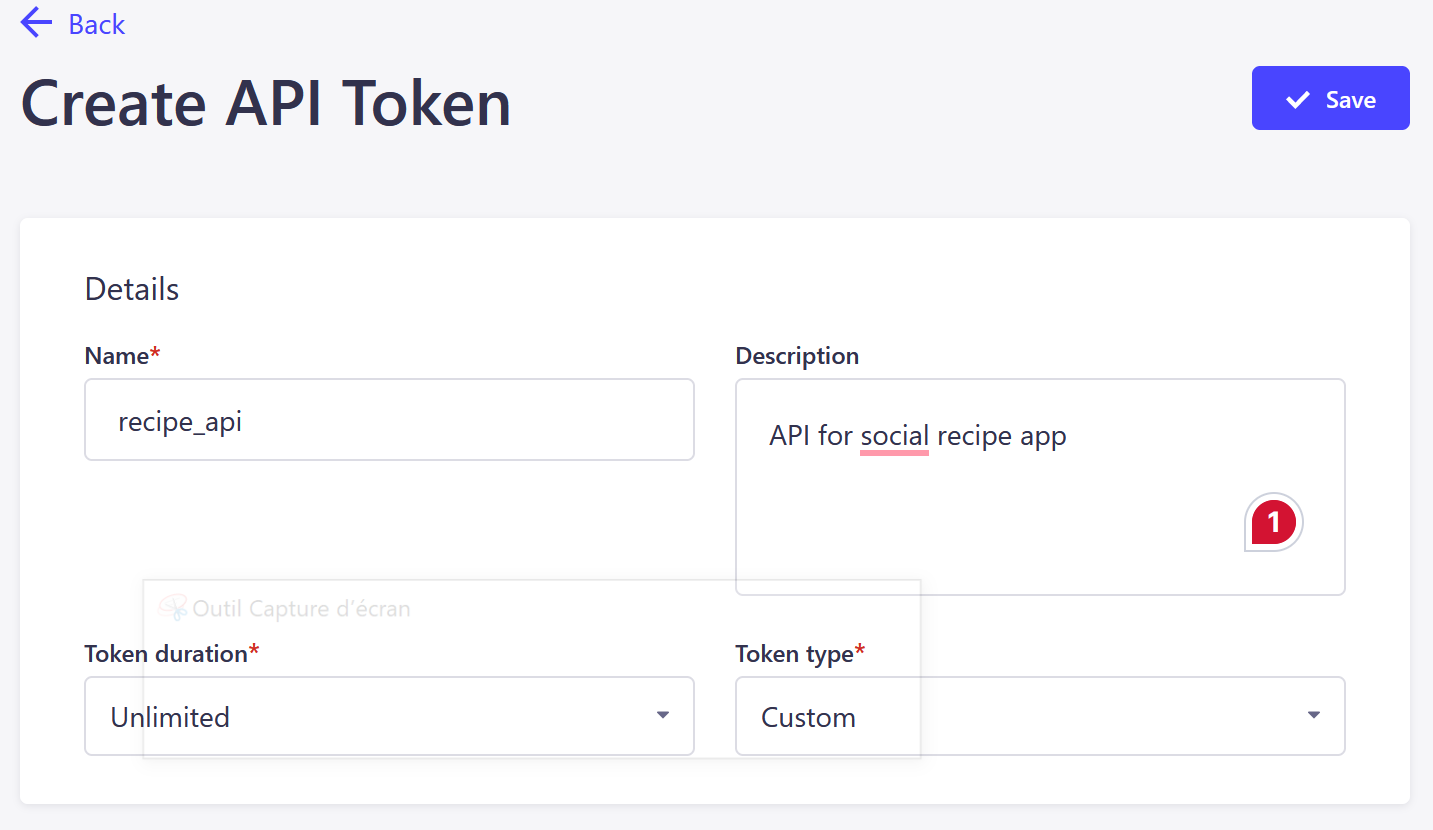
- Token duration: choose Unlimited
- Token Type: Custom. The custom type allows you to specify permission for certain entities.
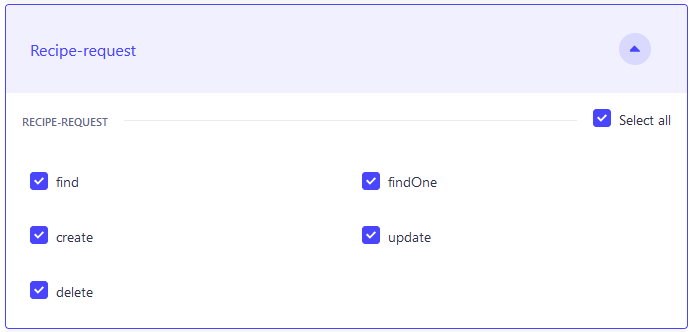
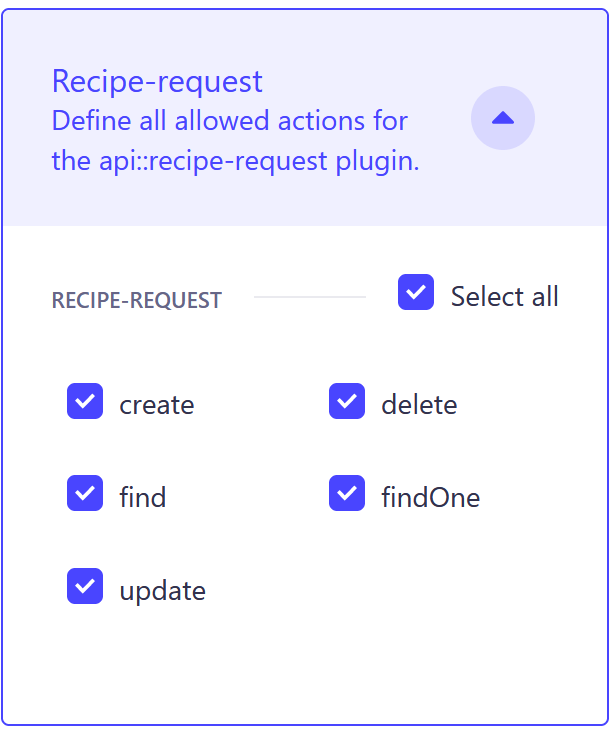
Next, still in the Create API Token screen, scroll down to the permission section and set the permission to “Select all” for Comments, and RecipeRequest, upload, email, content type, i18n, and User permissions like in the screenshot below for Recipe-request:
Then click on the Save button in the top right corner to generate your API key. Copy and save the key in your PC as you won’t be able to see it again
Set User Roles and Permissions
You’ll also need to set the user roles and permissions using the User and Permission Plugin. It allows you to manage what both authenticated and non-authenticated users can do in your application.
Head to the Settings section of the dashboard and go to Roles under the User and Permission plugin.
We have two types of users:
- Authenticated users
- Public users
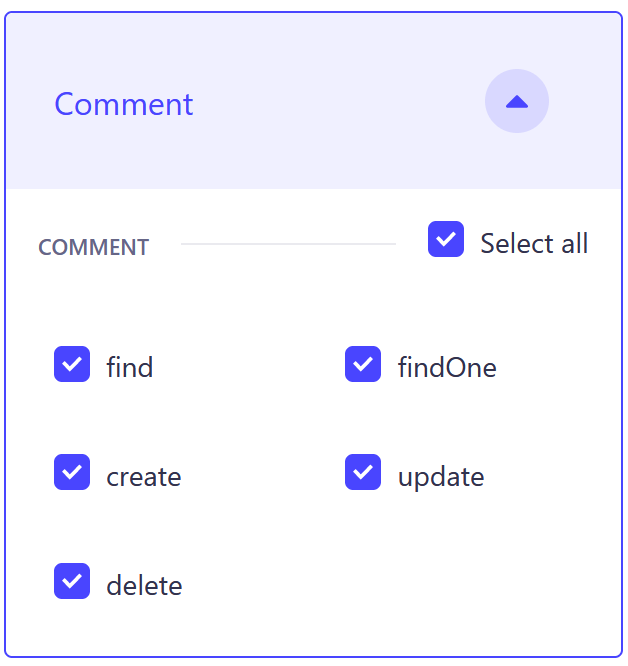
Select the authenticated users and give them the following permissions for:
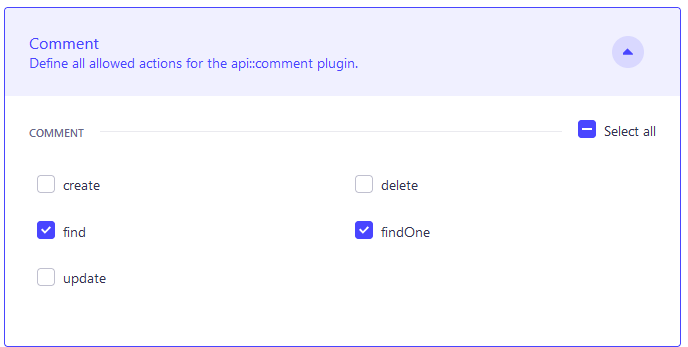
Comment:
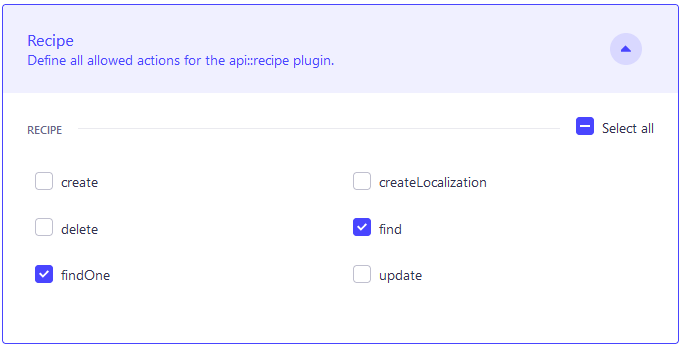
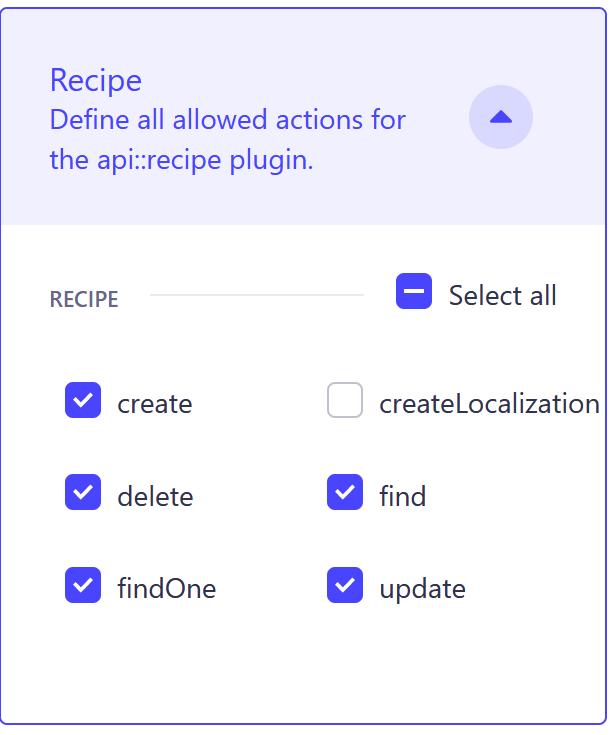
Recipe:
Request-recipe:
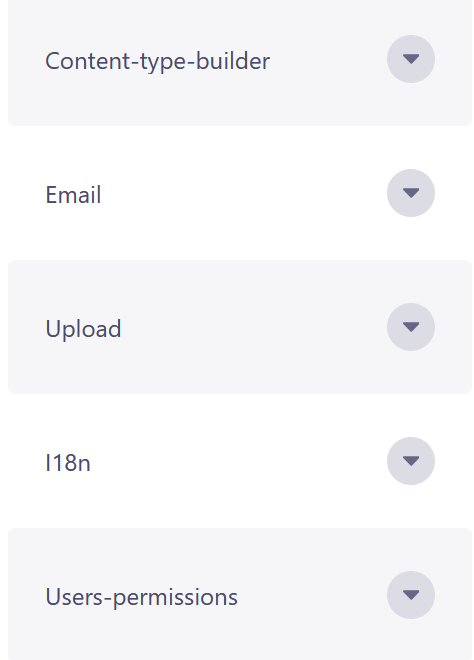
Also select all for Content-type builder, i18n, and Upload and then save.
Public users can only read recipes and comments: