
How to Build a Simple Secure Chat System Using Netcat
How to Build a Simple Secure Chat System Using Netcat 관련


In this hands-on tutorial, you'll learn how to harness the power of Netcat to build practical networking tools.
We’ll start with basic message transmission. Then you'll progress to creating a file transfer system, and you’ll ultimately develop a secure chat application with encryption.
Prerequisites
Before we start, you'll need:
- A Linux-based system: I recommend Ubuntu. Alternatively, you can use the Online Linux Terminal if you don't have Linux installed.
- Basic terminal knowledge (how to use
cdandls)
Don't worry if you're new to networking - I’ll explain everything as we go!
Install Netcat
Netcat is like a digital "pipe" between computers - anything you put in one end comes out the other. Before we start using it, let's get it installed on your system.
Open your terminal and run these commands:
# Update your system's package list
sudo apt update

# Install Netcat
sudo apt install netcat -y
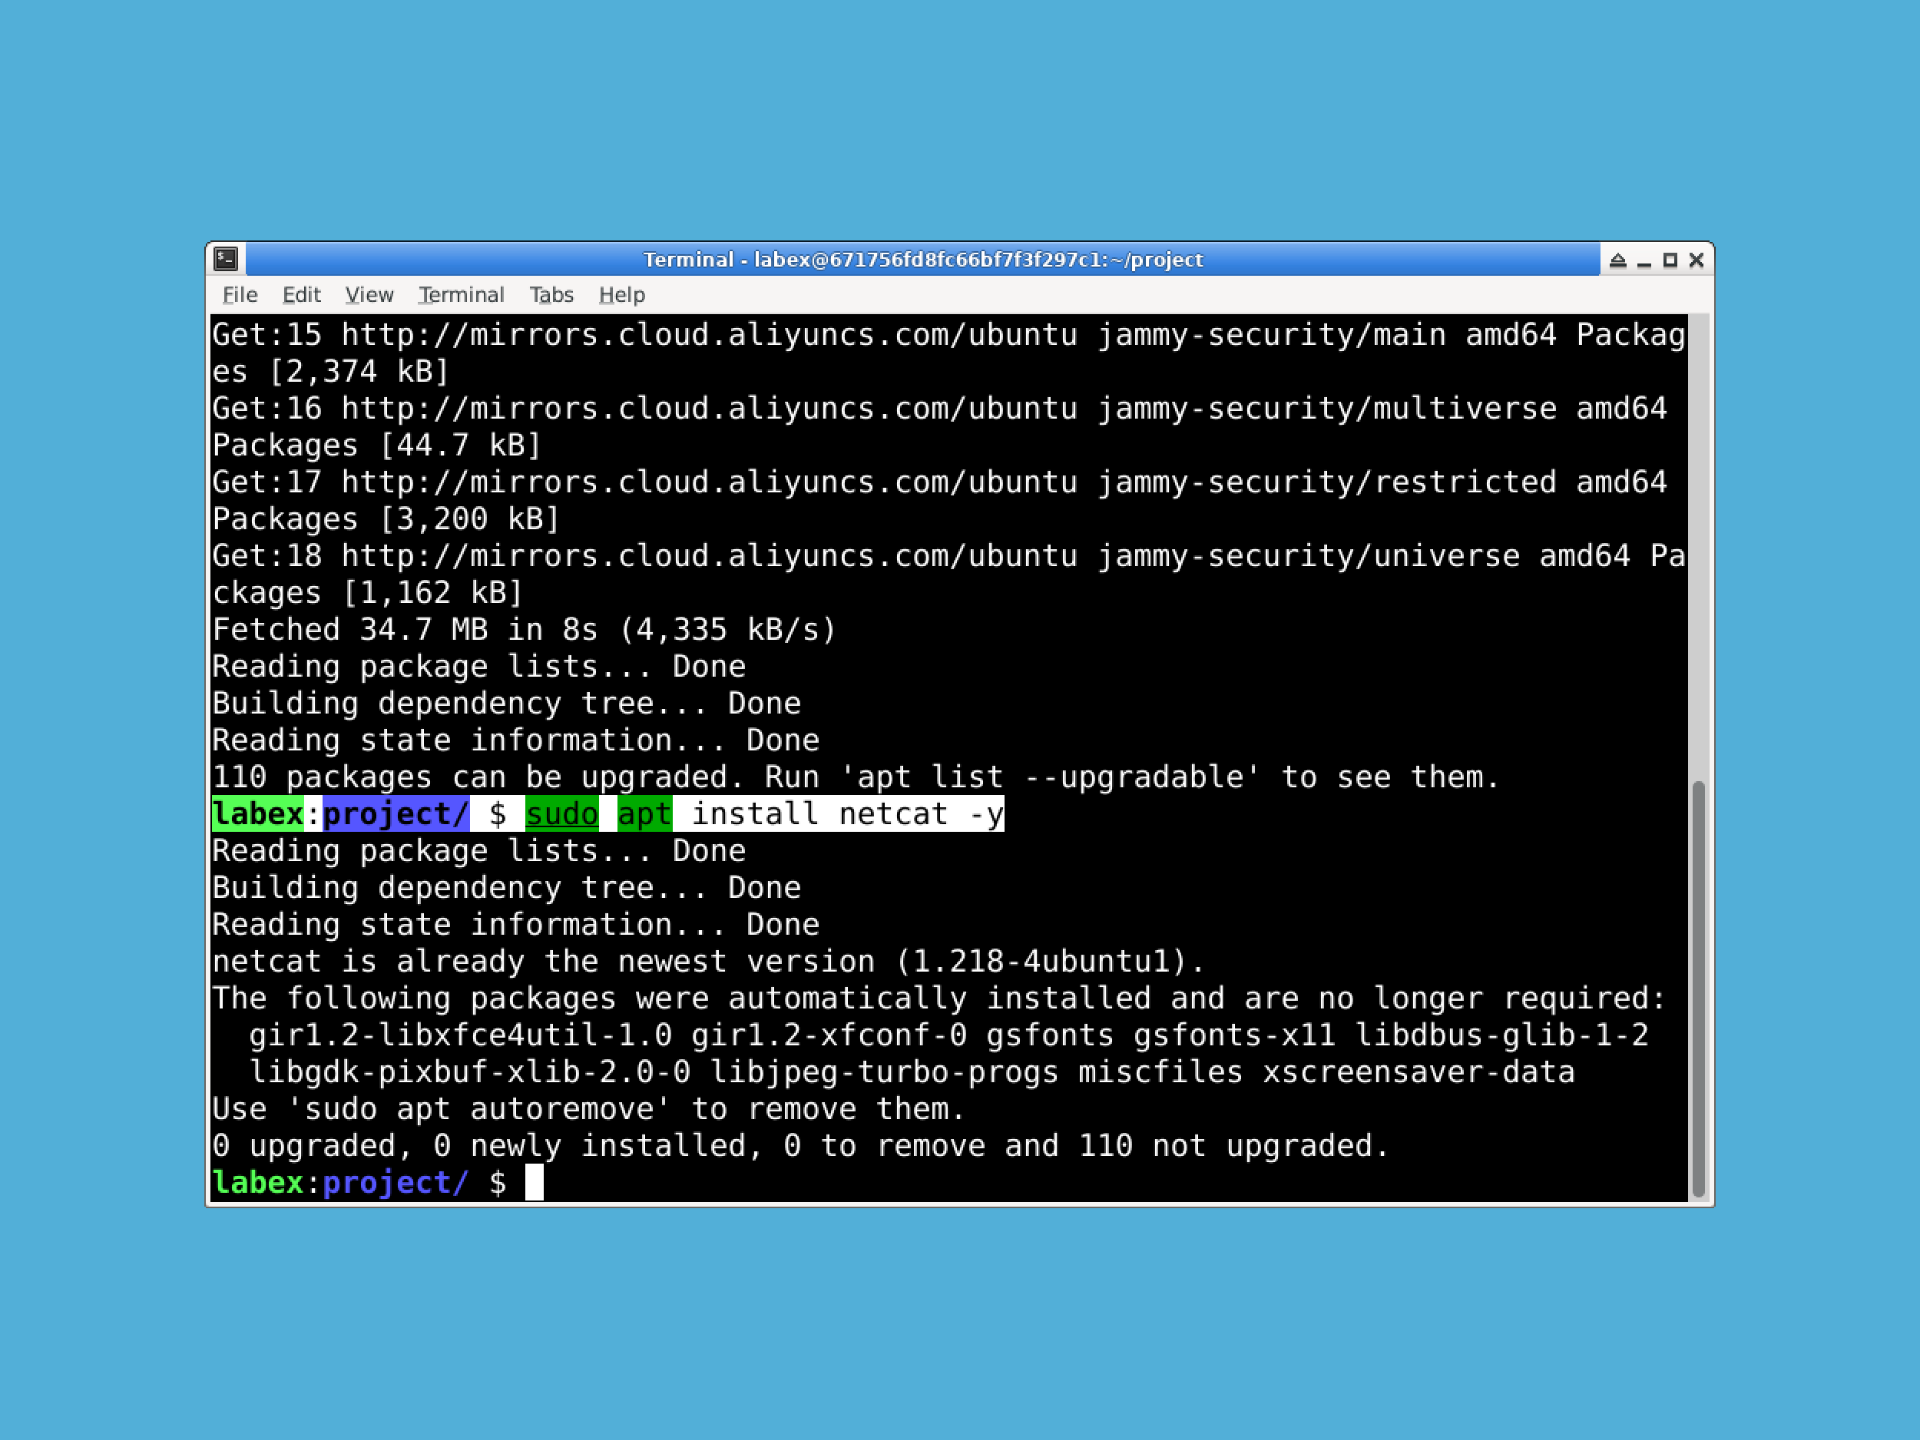
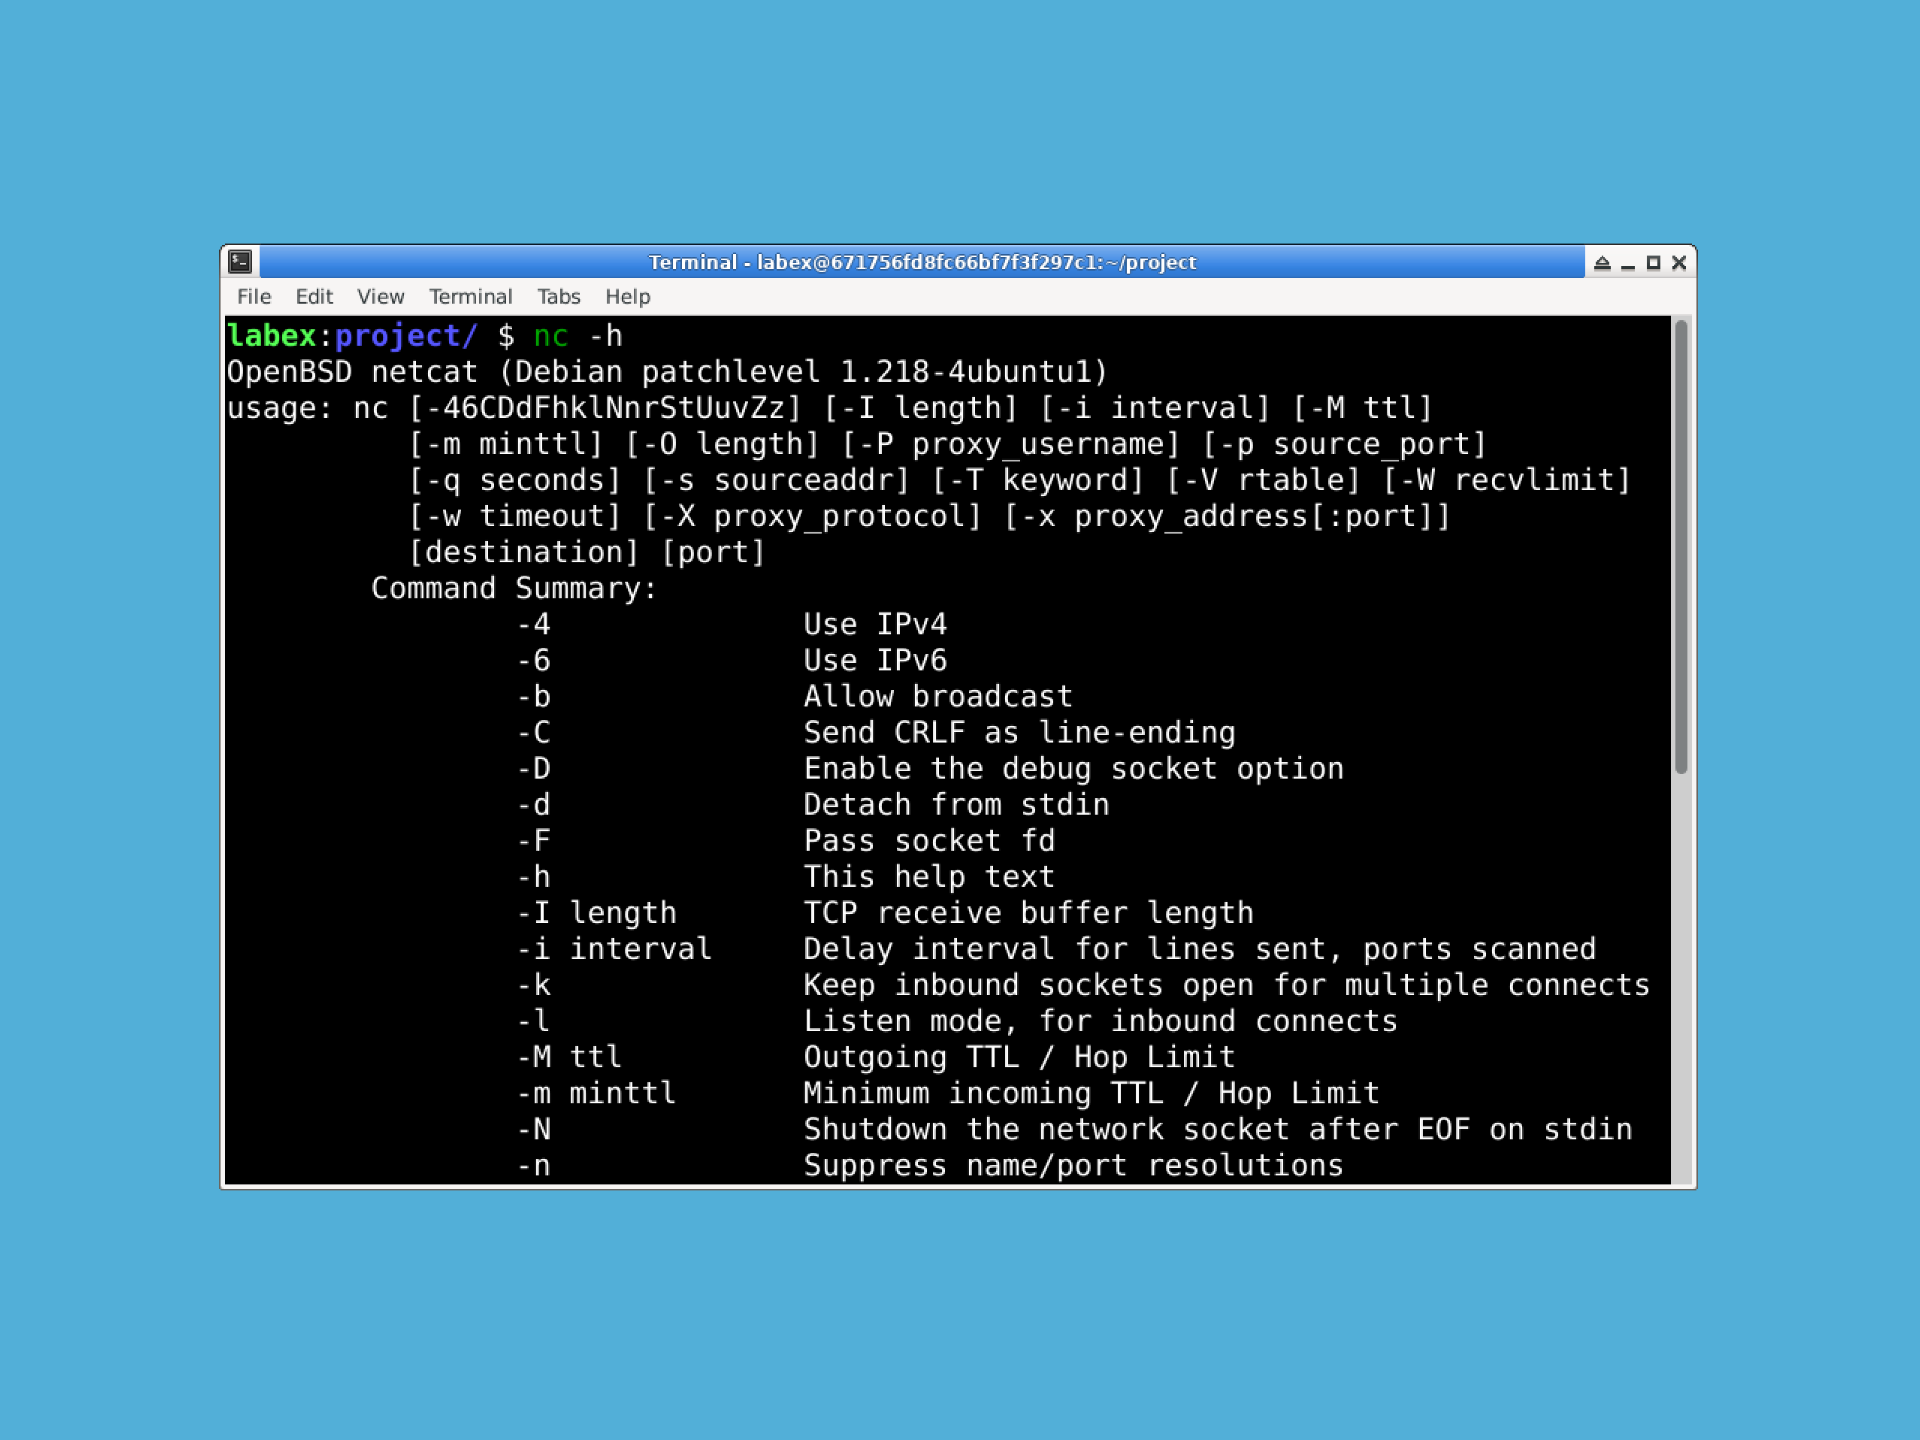
To check if the installation worked, run:
nc -h
You should see a message starting with "OpenBSD netcat". If you do, great! If not, try running the installation commands again.
Your First Network Connection
Before we dive into building tools, let's understand what a network connection actually is. Think of it like a phone call: one person needs to wait for the call (the listener), and another person needs to make the call (the connector).
In networking, we use "ports" to make these connections. You can think of ports like different phone lines - they let multiple conversations happen at the same time.
Let's try making our first connection:
Open a terminal window and create a listener:
nc -l 12345
What did we just do? The -l tells Netcat to "listen" for a connection, and 12345 is the port number we chose. Your terminal will look like it's frozen - that's normal! It's waiting for someone to connect.
Open another terminal window and connect to your listener:
nc localhost 12345
Here, localhost means "this computer" - we're connecting to ourselves for practice. If you want to connect to another computer, you can replace localhost with its IP address.
Now try typing a message (like "hi") in either window and press Enter. Cool, right? The message appears in the other window! This is exactly how basic network communication works.
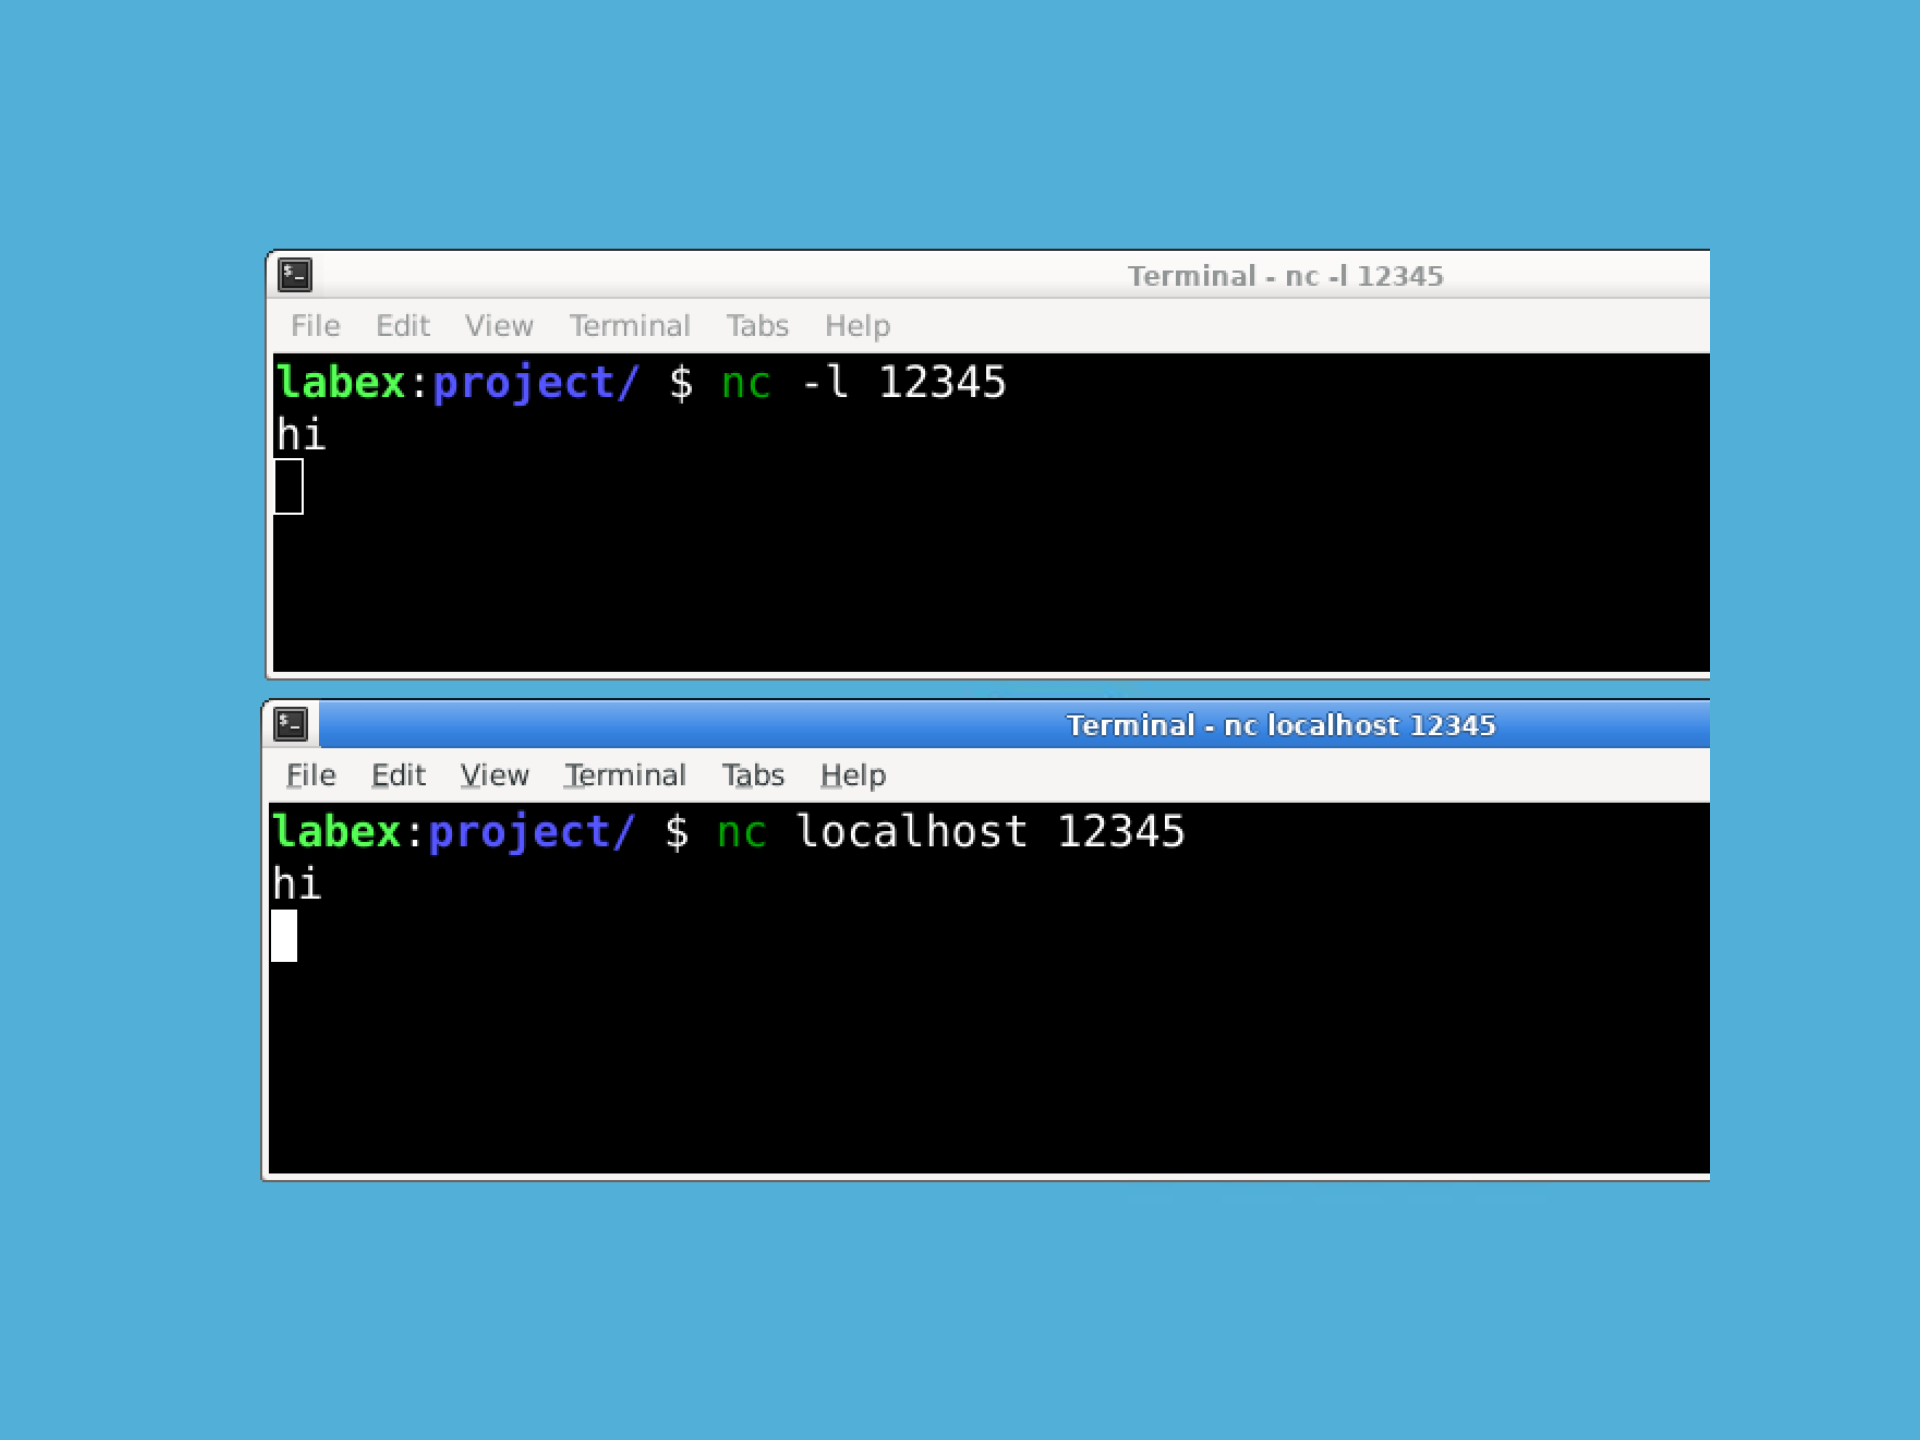
To stop the connection, press Ctrl+C in both windows.
What Just Happened?
You just created your first network connection! The first terminal was like someone waiting by a phone, and the second terminal was like someone calling that phone. When they connected, they could send messages back and forth.
How to Build a Simple File Transfer Tool
Now that we understand basic connections, let's build something more useful: a tool to transfer files between computers.
First, let's create a test file to send:
# Create a file with some content
echo "This is my secret message" > secret.txt
To transfer this file, we'll need two terminals again, but this time we'll use them differently:
In the first terminal, set up the receiver:
nc -l 12345 > received_file.txt
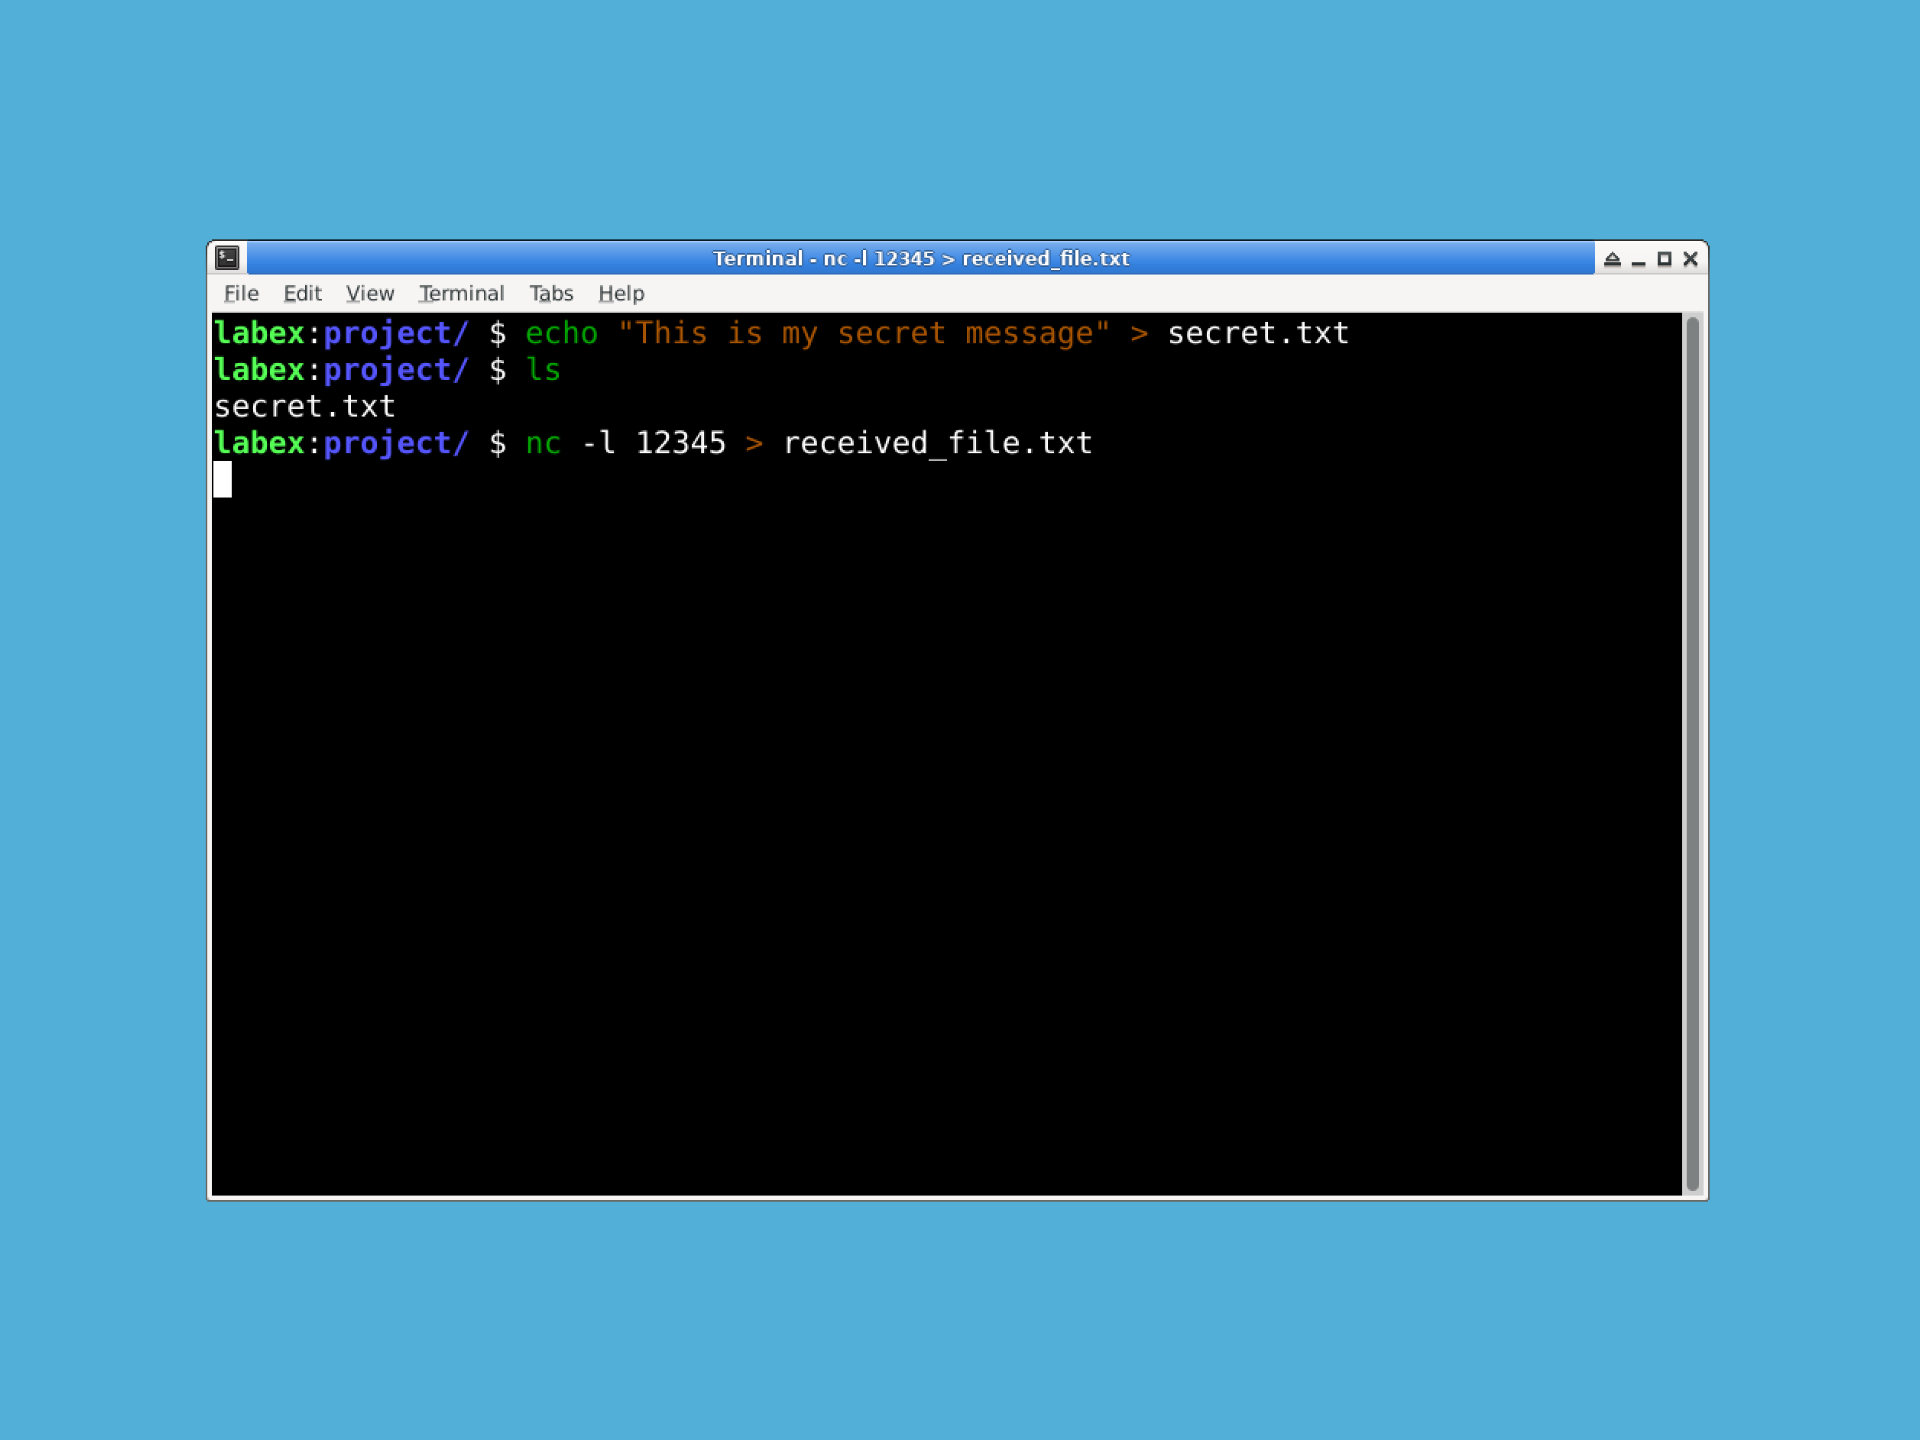
This tells Netcat to:
- Listen for a connection (
-l) - Save whatever it receives to a file called
received_file.txt(>)
In the second terminal, send the file:
nc localhost 12345 < secret.txt
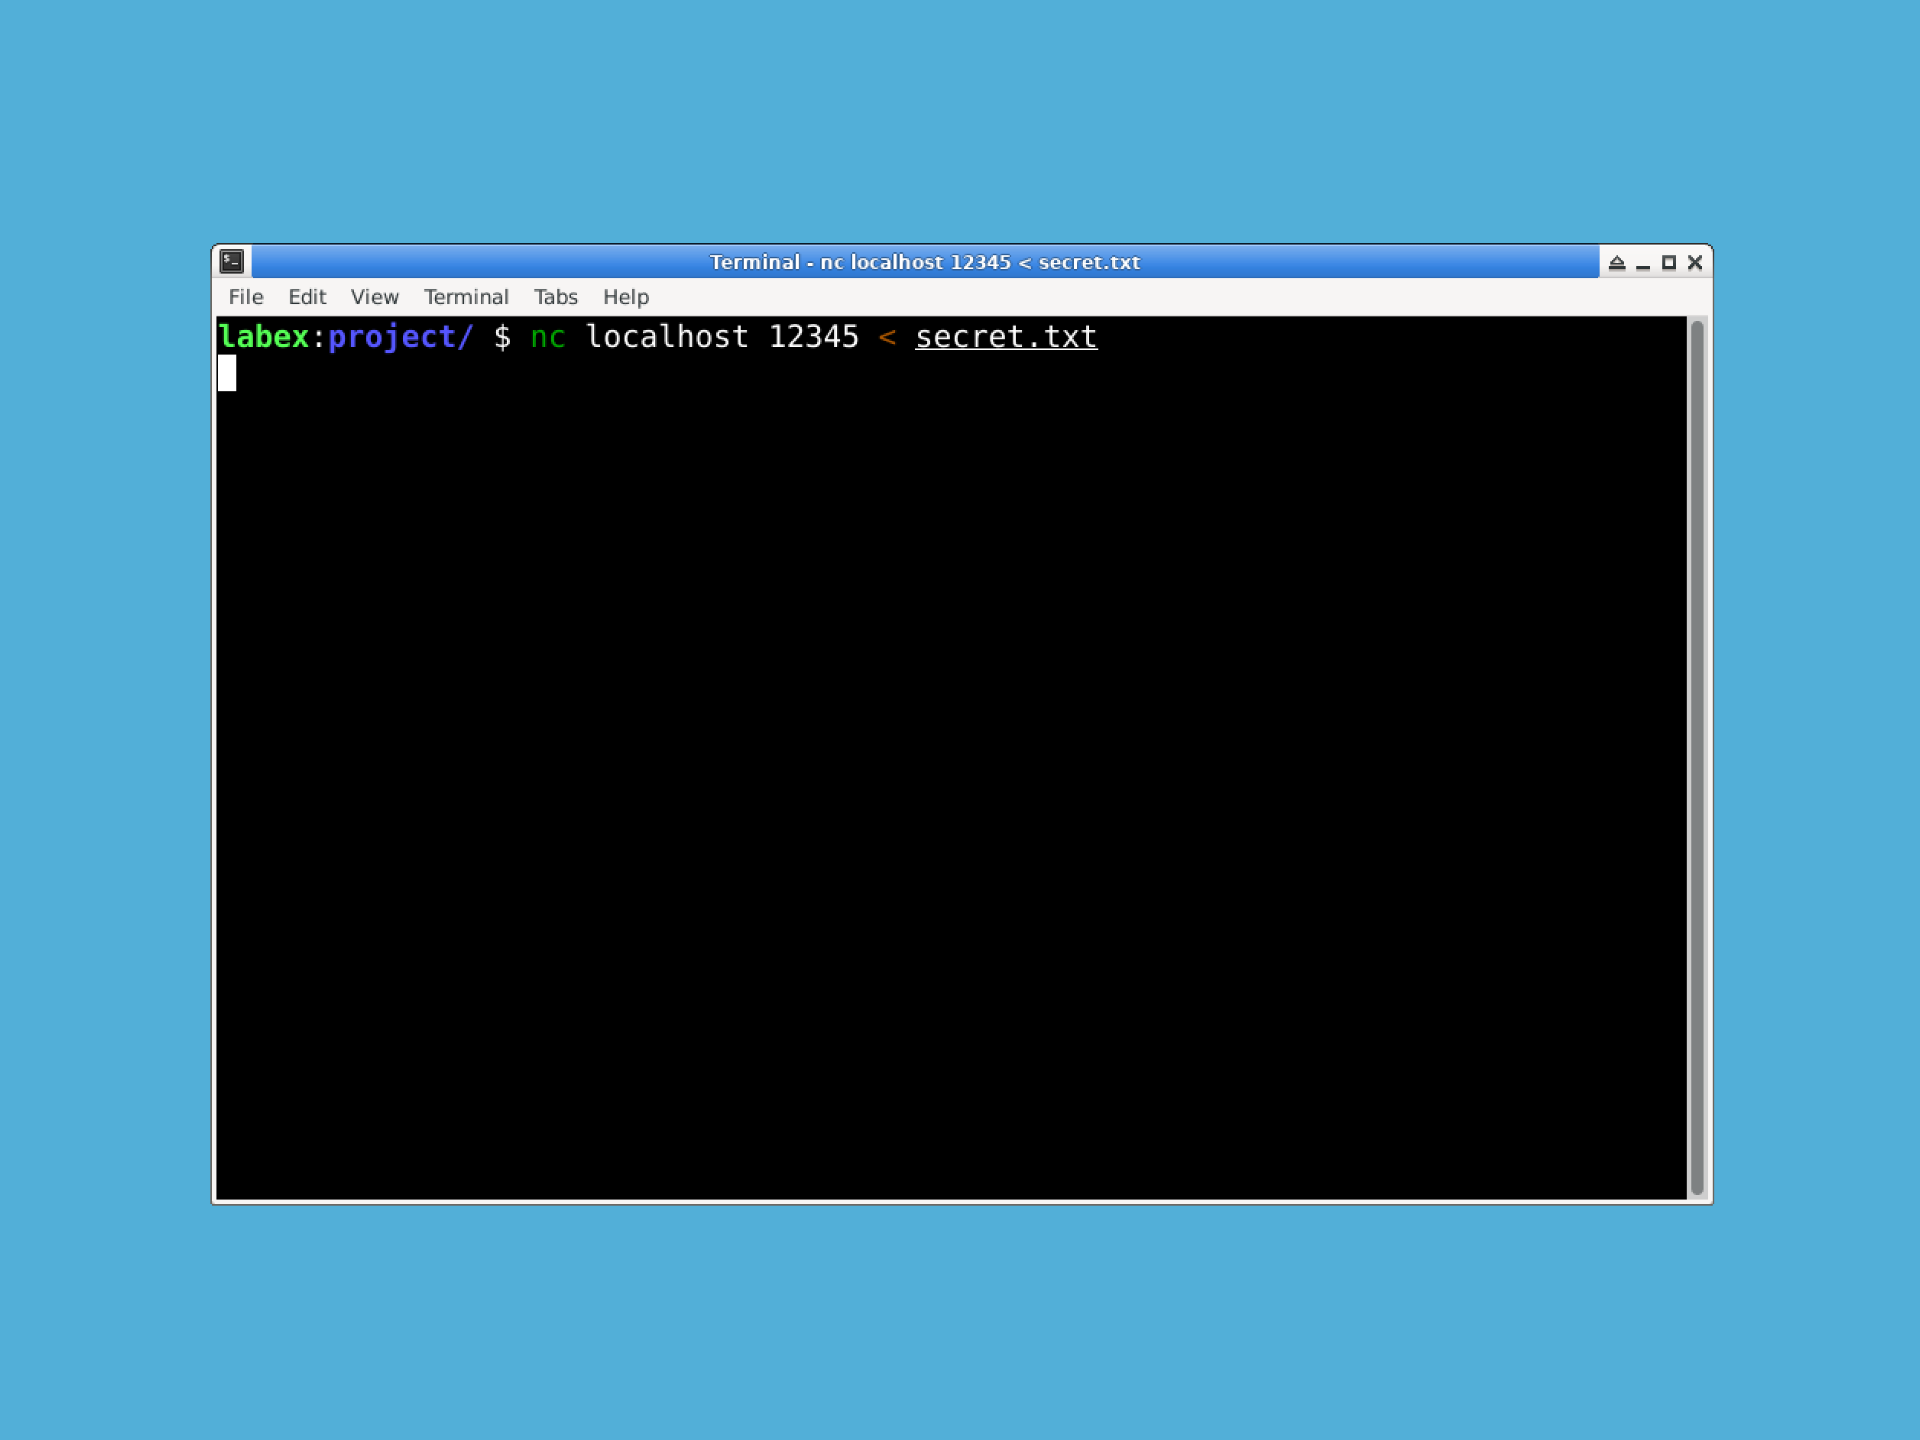
The < tells Netcat to send the contents of our file.
Press Ctrl+C in both terminals to stop the transfer. Then check if it worked:
cat received_file.txt
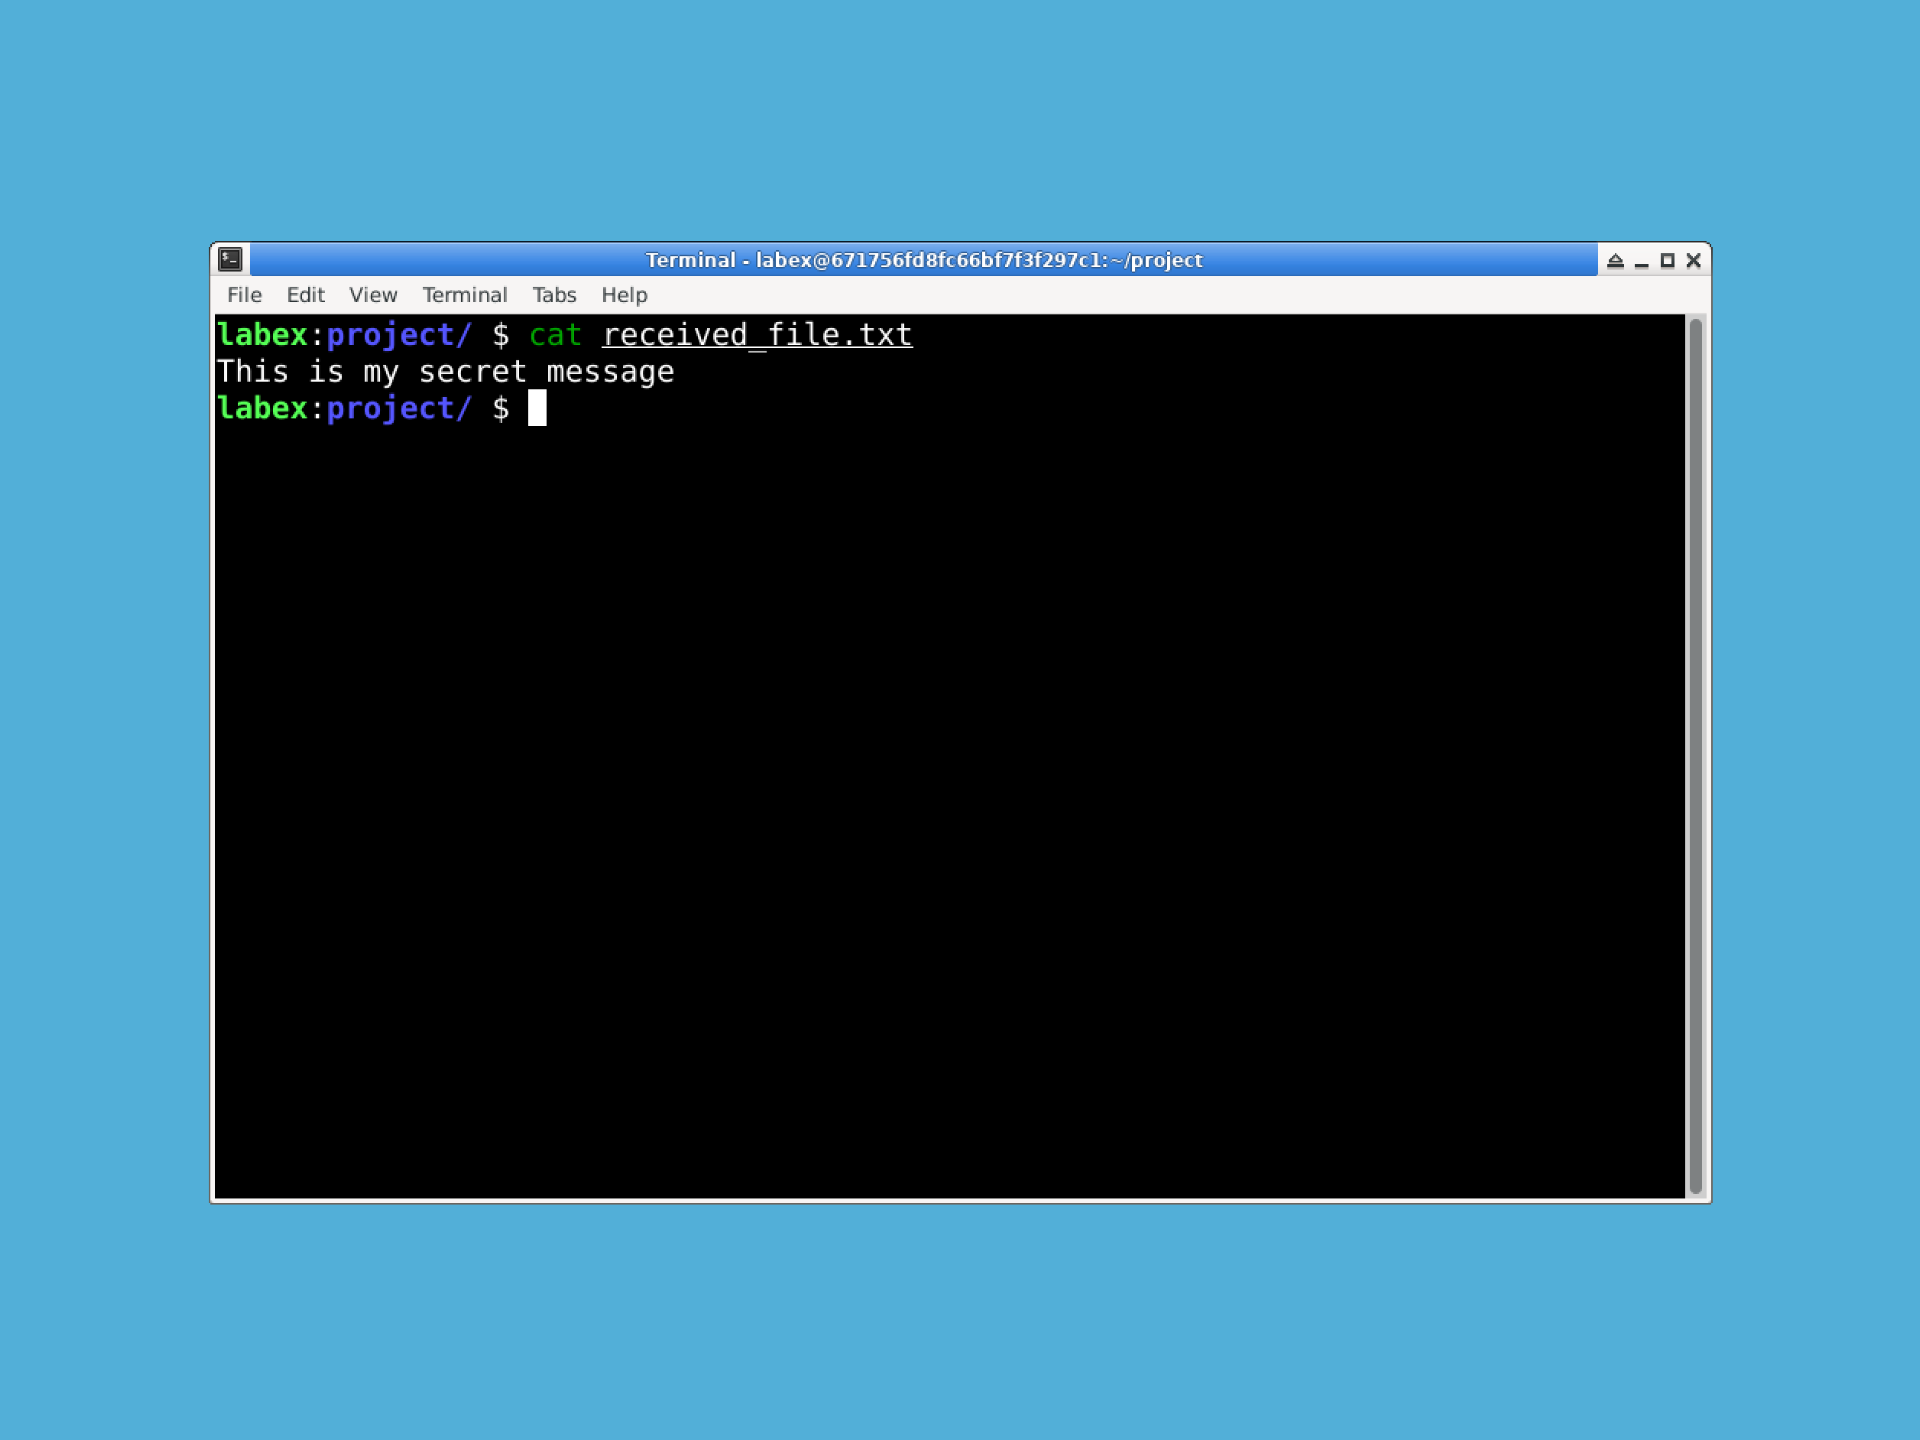
You should see your message!
This is similar to our chat system, but instead of typing messages, we're:
- Taking content from a file
- Sending it through our network connection
- Saving it to a new file on the other end
Think of it like sending a document through a fax machine!
How to Create a Secure Chat System
Our previous examples sent everything as plain text - anyone could read it if they intercepted the connection. Let's make something more secure by adding encryption.
First, let's understand what encryption does:
- It's like putting your message in a locked box
- Only someone with the right key can open it
- Even if someone sees the box, they can't read your message
We'll create two scripts: one for sending messages and one for receiving them.
::: tabs 1.
Create the sender script:
nano secure_sender.sh
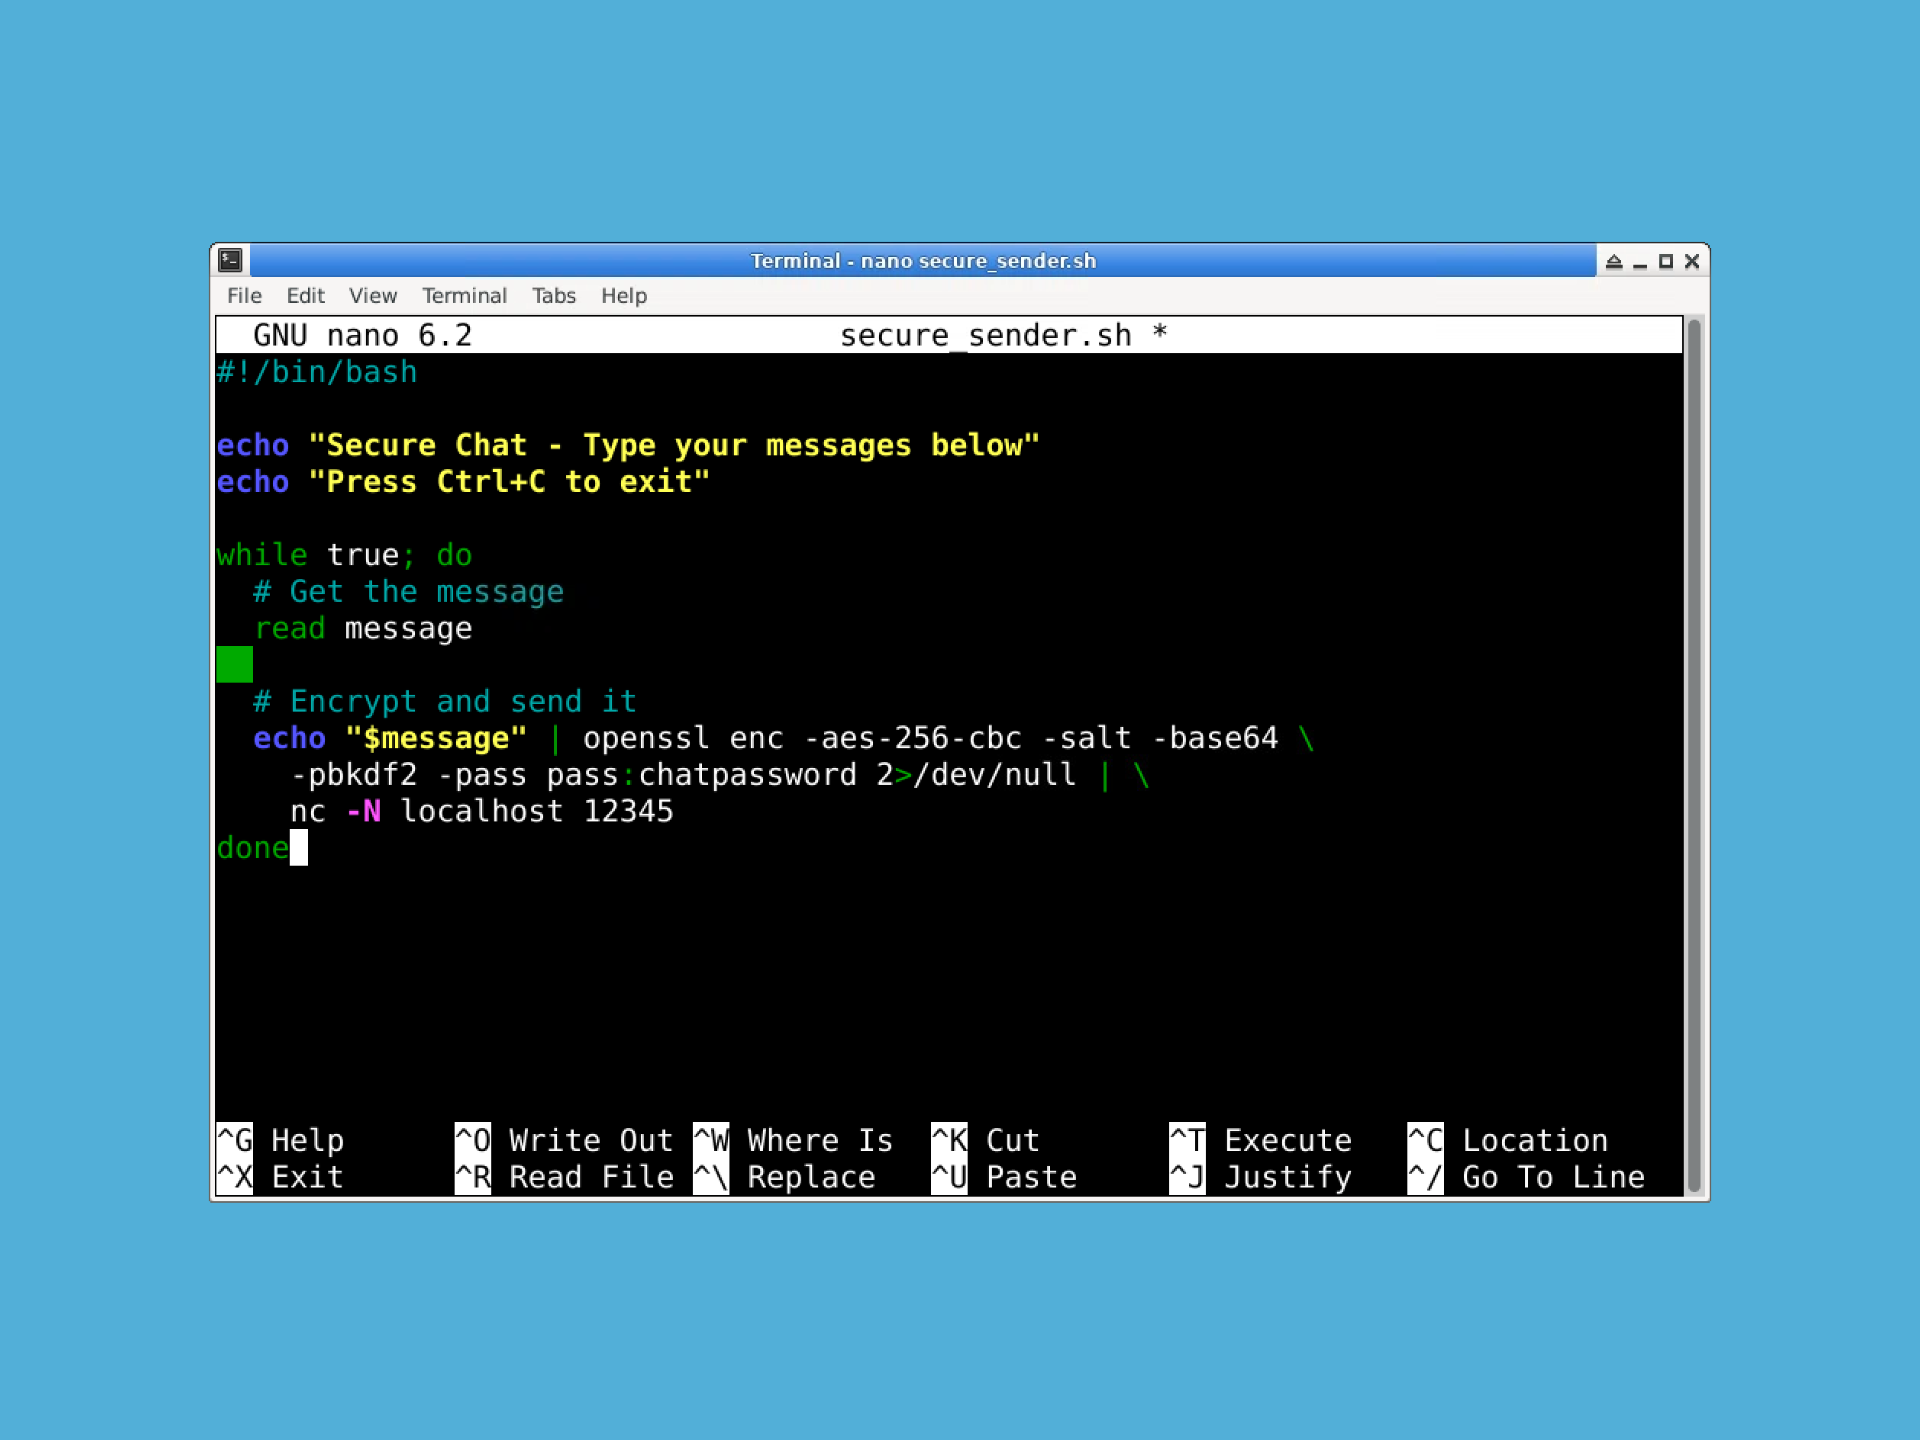
Copy this code into the file:
#!/bin/bash

echo "Secure Chat - Type your messages below"
echo "Press Ctrl+C to exit"

while true; do
  # Get the message
  read message

  # Encrypt and send it
  echo "$message" | openssl enc -aes-256-cbc -salt -base64 \
    -pbkdf2 -pass pass:chatpassword 2>/dev/null | \
    nc -N localhost 12345
done
This script will:
- Read messages from user input.
- Encrypt them using OpenSSL's AES-256-CBC encryption (a strong encryption standard).
- Send the encrypted message to the specified port.
Press Ctrl+X, then Y, then Enter to save.
@tab 2.
Create the receiver script:
nano secure_receiver.sh
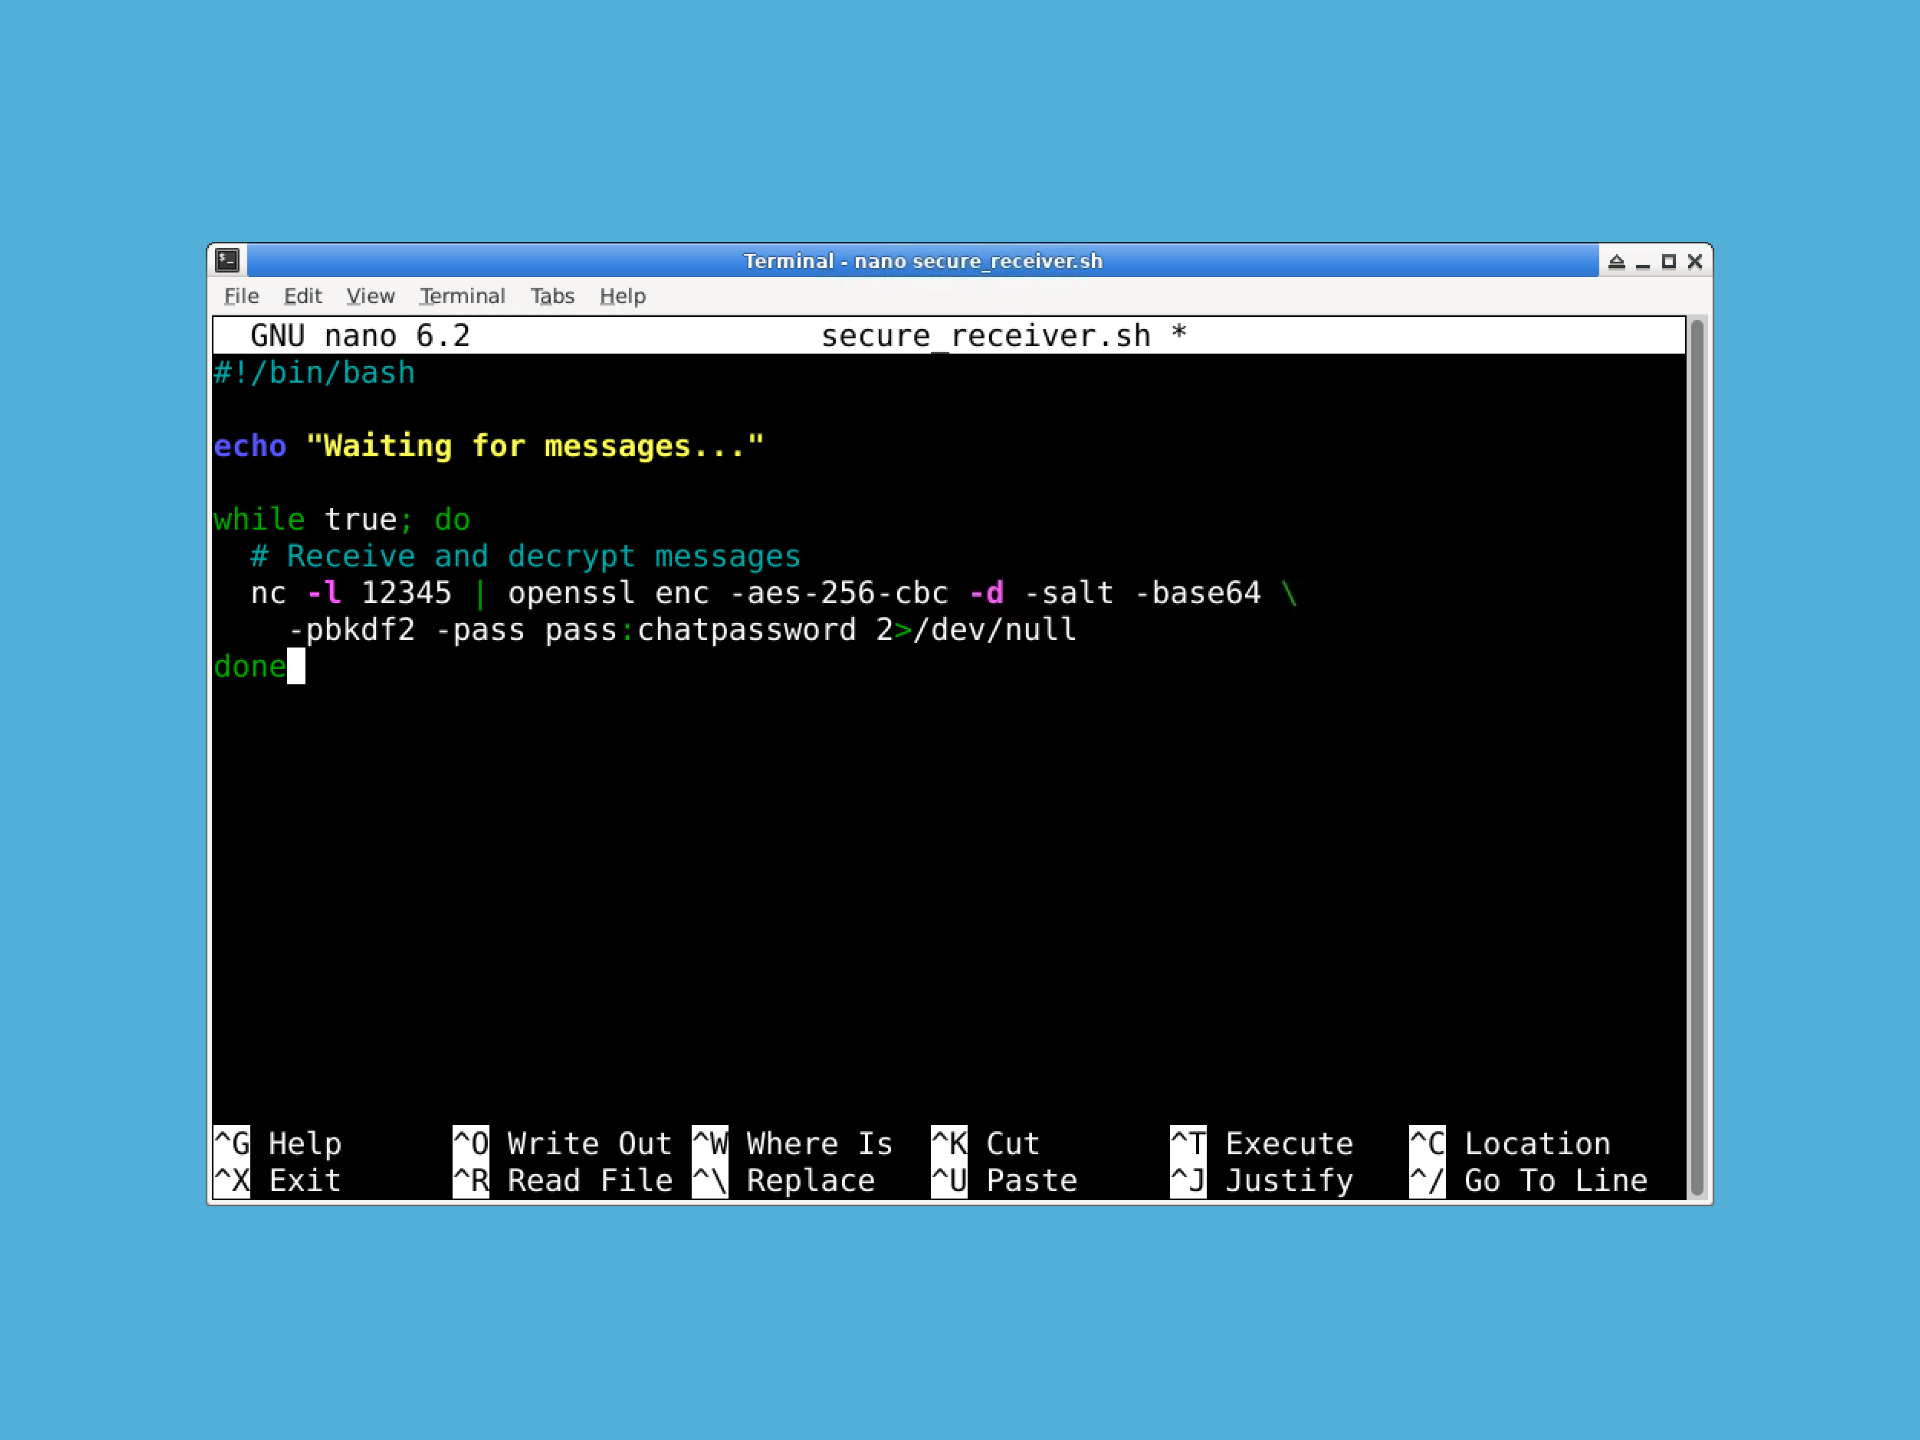
Copy this code:
#!/bin/bash

echo "Waiting for messages..."

while true; do
  # Receive and decrypt messages
  nc -l 12345 | openssl enc -aes-256-cbc -d -salt -base64 \
    -pbkdf2 -pass pass:chatpassword 2>/dev/null
done
This script will:
- Listen for incoming encrypted messages.
- Decrypt them using the same encryption key.
- Display the decrypted messages.
Save this file too.
@tab 3.
Make both scripts executable:
chmod +x secure_sender.sh secure_receiver.sh
@tab 4.
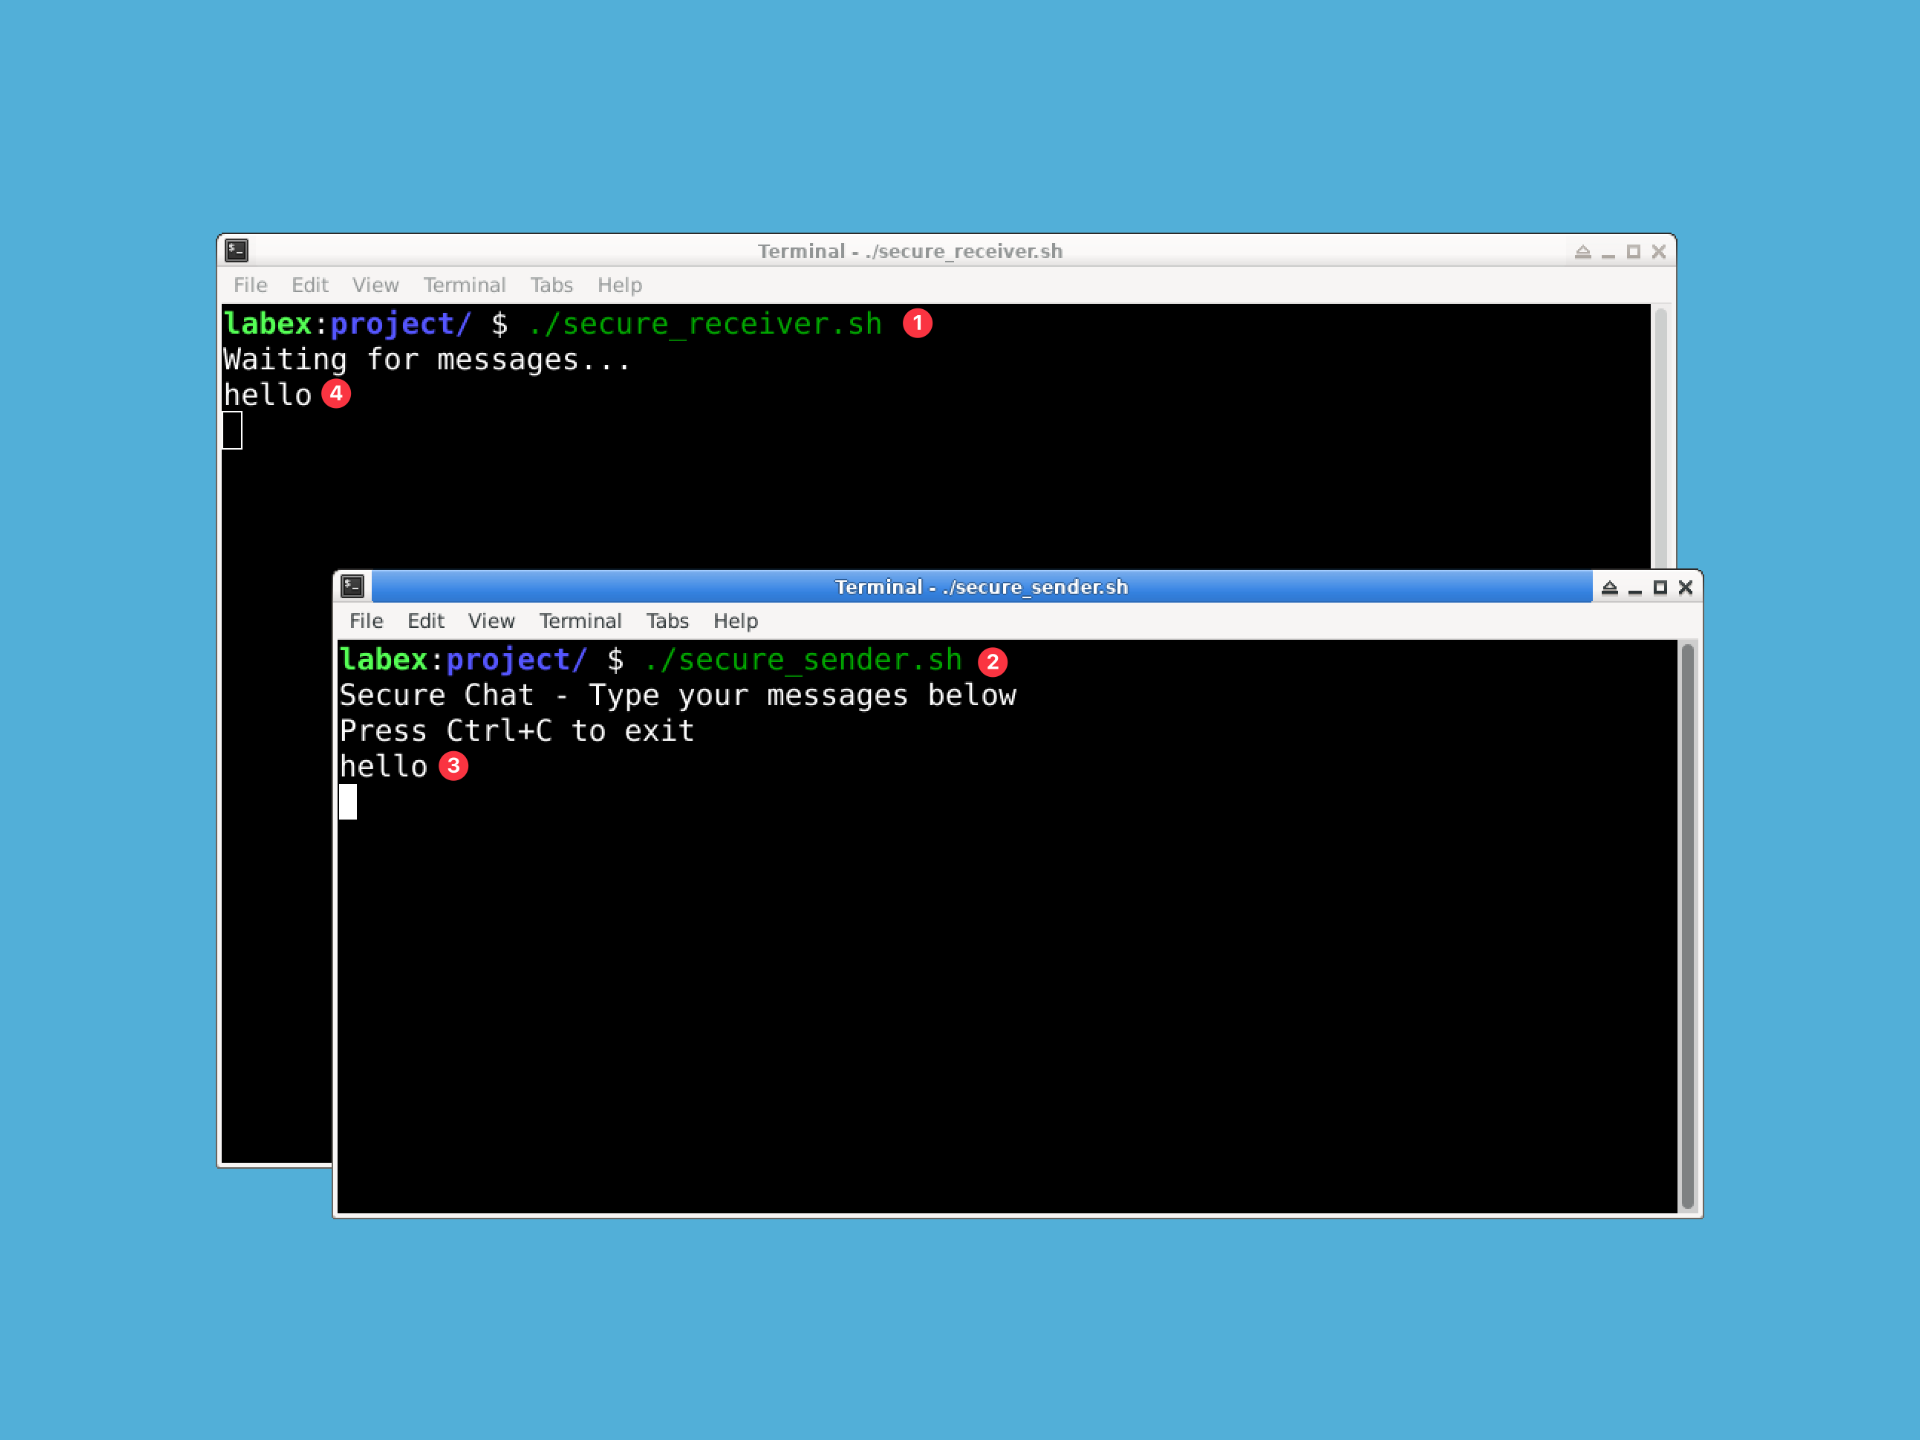
Try it out:
- In one terminal:
./secure_receiver.sh - In another terminal:
./secure_sender.sh
Type a message in the sender terminal. The receiver will show your decrypted message!
Enhancing Our Chat System
Now that we have a working basic chat system, let's make it more user-friendly and informative. We'll add features like timestamps, color-coded messages, and encryption status updates. This enhanced version will help you better understand what's happening during the encryption and transmission process.
If you're comfortable with the basic version, try this improved version:
Create an enhanced sender script (save it as
secure_sender_v2.sh):
#!/bin/bash

# Set up color codes for better visibility
GREEN='\033[0;32m'
BLUE='\033[0;34m'
NC='\033[0m' # No Color

echo -e "${GREEN}Secure Chat Sender - Started at $(date)${NC}"
echo -e "${BLUE}Type your messages below. Press Ctrl+C to exit${NC}"
echo "----------------------------------------"

while true; do
    # Show prompt with timestamp
    echo -ne "${GREEN}[$(date +%H:%M:%S)]${NC} Your message: "

    # Get the message
    read message

    # Skip if message is empty
    if [ -z "$message" ]; then
        continue
    fi

    # Add timestamp to message
    timestamped_message="[$(date +%H:%M:%S)] $message"

    # Show encryption status
    echo -e "${BLUE}Encrypting and sending message...${NC}"

    # Encrypt and send it, showing the encrypted form
    encrypted=$(echo "$timestamped_message" | openssl enc -aes-256-cbc -salt -base64 \
        -pbkdf2 -iter 10000 -pass pass:chatpassword 2>/dev/null)

    echo -e "${BLUE}Encrypted form:${NC} ${encrypted:0:50}..." # Show first 50 chars
    echo "$encrypted" | nc -N localhost 12345

    echo -e "${GREEN}Message sent successfully!${NC}"
    echo "----------------------------------------"
done
Create an enhanced receiver script (save as
secure_receiver_v2.sh):
#!/bin/bash

# Set up color codes for better visibility
GREEN='\033[0;32m'
BLUE='\033[0;34m'
YELLOW='\033[1;33m'
NC='\033[0m' # No Color

echo -e "${GREEN}Secure Chat Receiver - Started at $(date)${NC}"
echo -e "${BLUE}Waiting for messages... Press Ctrl+C to exit${NC}"
echo "----------------------------------------"

while true; do
    # Receive and show the encrypted message
    echo -e "${BLUE}Waiting for next message...${NC}"

    encrypted=$(nc -l 12345)

    # Skip if received nothing
    if [ -z "$encrypted" ]; then
        continue
    fi

    echo -e "${YELLOW}Received encrypted message:${NC} ${encrypted:0:50}..." # Show first 50 chars
    echo -e "${BLUE}Decrypting...${NC}"

    # Decrypt and display the message
    decrypted=$(echo "$encrypted" | openssl enc -aes-256-cbc -d -salt -base64 \
        -pbkdf2 -iter 10000 -pass pass:chatpassword 2>/dev/null)

    # Check if decryption was successful
    if [ $? -eq 0 ]; then
        echo -e "${GREEN}Decrypted message:${NC} $decrypted"
    else
        echo -e "\033[0;31mError: Failed to decrypt message${NC}"
    fi

    echo "----------------------------------------"
done
Make the enhanced scripts executable:
chmod +x secure_sender_v2.sh secure_receiver_v2.sh
Try running both versions to see how the additional feedback helps you better understand the encryption and communication process.
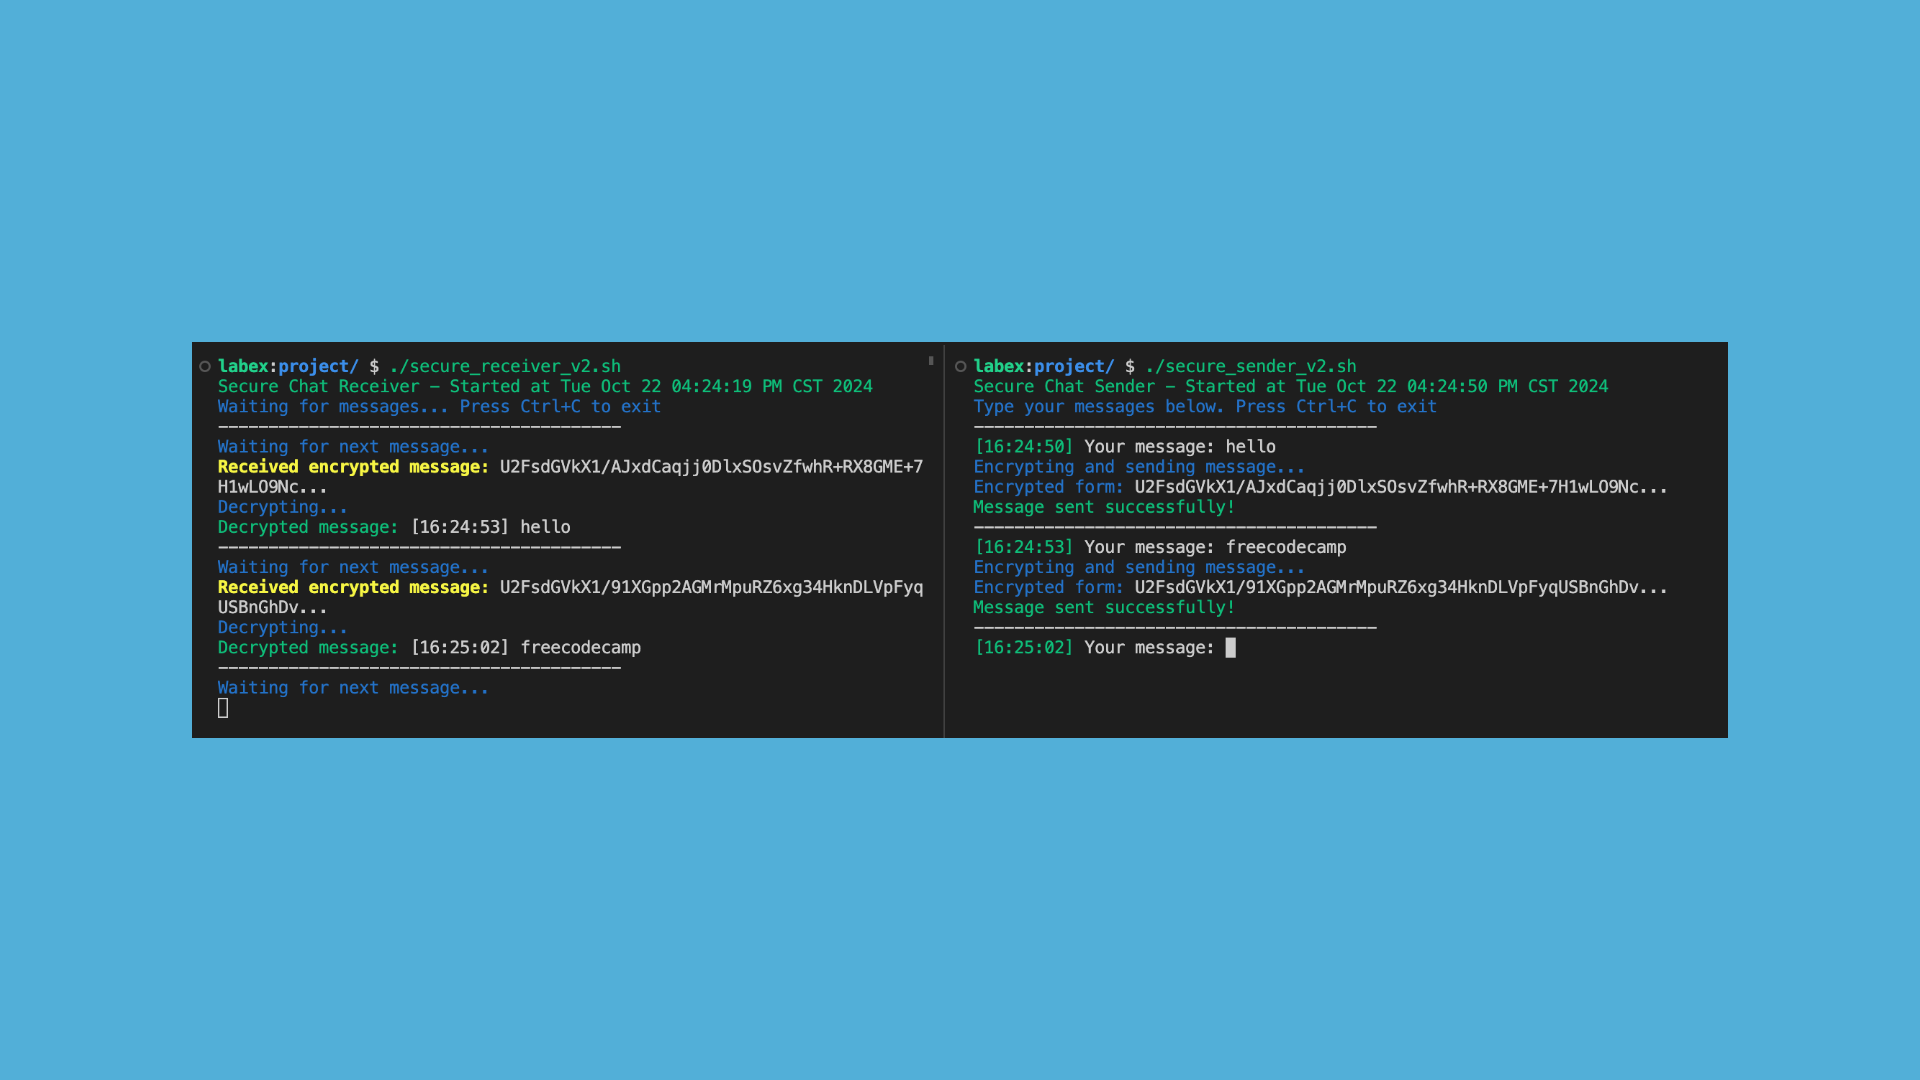
The enhanced version (v2) adds several improvements:
- Colorized output for better readability.
- Timestamps for each message.
- Status updates showing the encryption/decryption process.
- Error handling for failed decryption attempts.
- Preview of encrypted messages before sending/after receiving.
Conclusion
This tutorial taught you how to use Netcat as a versatile networking tool. We started with basic message sending, progressed to building a simple file transfer system, and then created a secure chat system with encryption.
You've gained hands-on experience with:
- Setting up network listeners and connections
- Transferring files securely between systems
- Implementing basic encryption for secure communication
- Adding user-friendly features like timestamps and status updates
The skills you've learned here form a solid foundation for understanding network communication and can be applied to more complex networking projects. To practice the operations from this tutorial, try the interactive hands-on lab.
Practice Your Skills
Now that you've learned the basics of Netcat and built a secure chat system, let's put your skills to the test with a real-world scenario. Try the "Receive Messages Using Netcat" lab challenge where you'll play the role of a junior interstellar communications analyst. Your mission: intercept and log signals from an alien civilization using your newfound Netcat knowledge.