
How to Deploy Your Project On Vercel With A Custom Domain
How to Deploy Your Project On Vercel With A Custom Domain 관련

Have you ever built a project but found it difficult to make it live on the internet? Well, worry no more because this article will help you do that.
In this article, I will introduce you to one of the fastest and easiest deployment platforms for bringing your code/project to the web.
I will also show you how you can deploy a web application with your custom domain and why it’s important to do so.
Let's dive right in.
Overview of Vercel
Vercel is a cloud hosting platform that provides tools that enable developers to build, deploy and scale their web applications. One important fact about this platform is that it is quick, easy to navigate/use, and it is very efficient.
Vercel supports and deploys many frameworks with minimal configuration, especially frameworks built with JavaScript. Here is a list of frameworks that can be deployed to Vercel: Angular, Astro, Brunch, React, Dojo, Gatsby.js, Next.js, Nuxt.js, Vite, Vue.js, Vuepress, and so on.
You may not know all these frameworks at this point, but it's important to know that Vercel supports these frameworks and many more.
Info
See Vercel documentation to view more.
What are Domains?
Domains are ‘unique identifiers’ used to locate or find a specific website on the internet. For example, freecodeCamp.org. Whenever you see a domain name, you should have an idea of the website it belongs to.
It is important to note that a domain name can be created with a combination of letters (A-z), numbers (0-9), and dash characters.
Importance of Having a Domain Name
Here are some reasons why you should have a domain name:
- Easy to find and locate you: Having a domain name makes the work of finding your business easy and also increases the possibility of making more sales from your web page. If you have a physical store, not everyone may want to visit it.
- For Professionalism and Credibility: Imagine having a business but no website or domain. This will make you look unprofessional to customers because they may not take you seriously.
- Increase your Online Presence: With a domain name, your online presence or your brand’s online presence is increased, which makes you more visible.
Now let's talk about setting up a Vercel account. This process is actually simple and easy to follow.
How to Set Up a Vercel Account
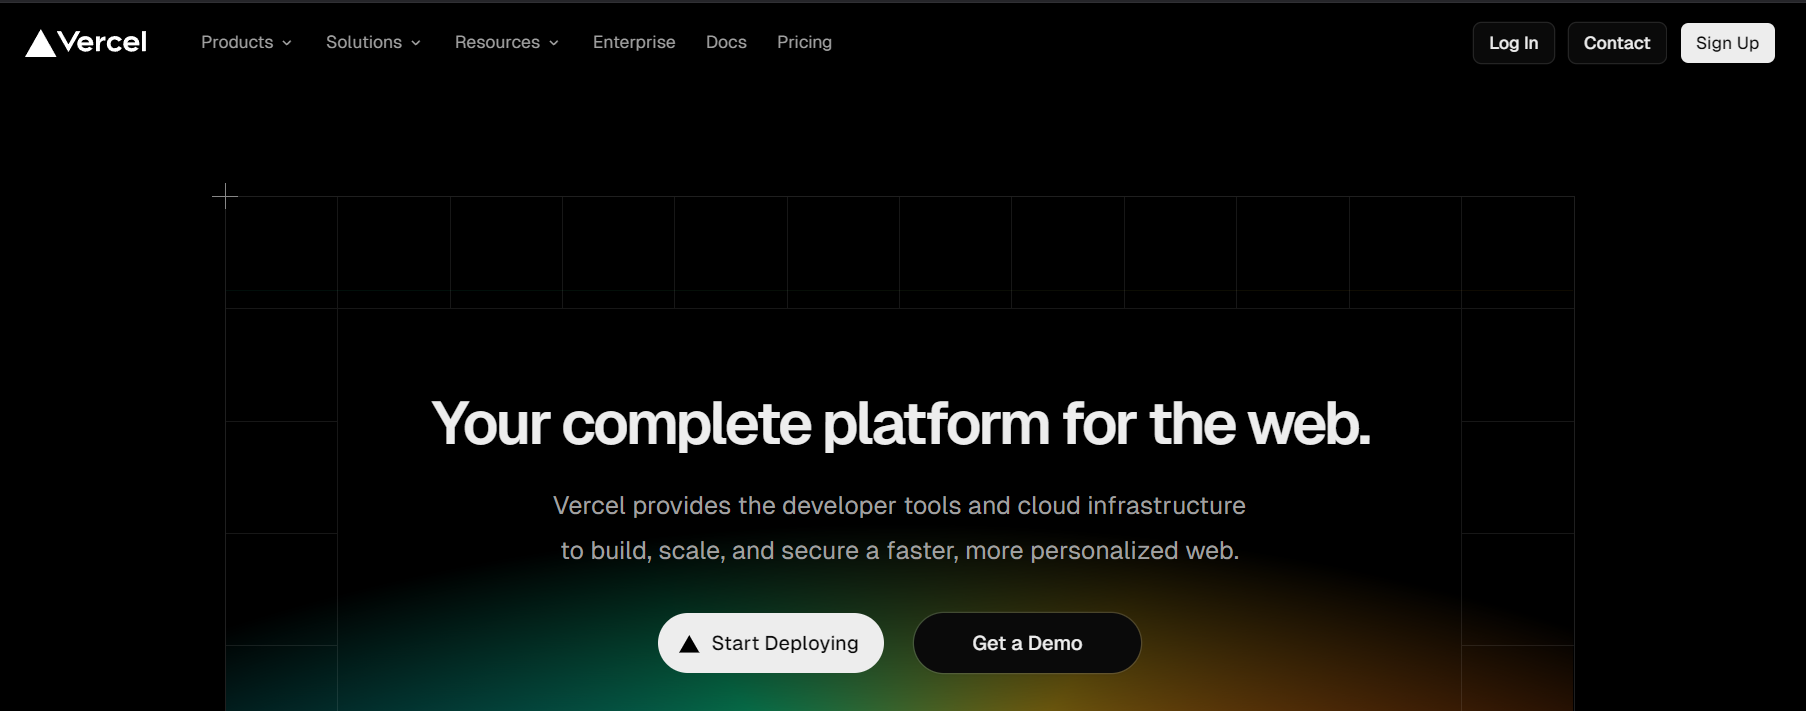
The first step is to visit Vercel.
On the Vercel home page, click on the sign-up button, located at the top right corner of the home page.
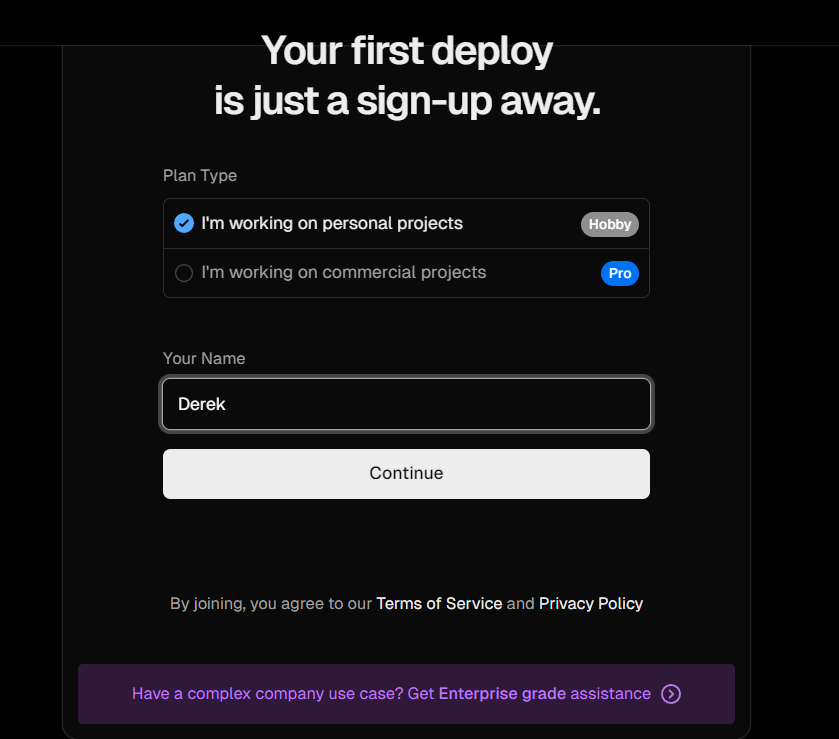
Choose your "Plan Type" and then input your name. Then click on Continue to proceed.
Next, connect the account where you will be importing your project from. You’ll be provided with three options: GitHub, GitLab, or BitBucket.

In my case, I clicked “Continue with GitHub”.
Note
If you don’t have a GitHub account, you can read see how to create one here.
::
Once you have linked your GitHub account with Vercel, the interface should look like this:
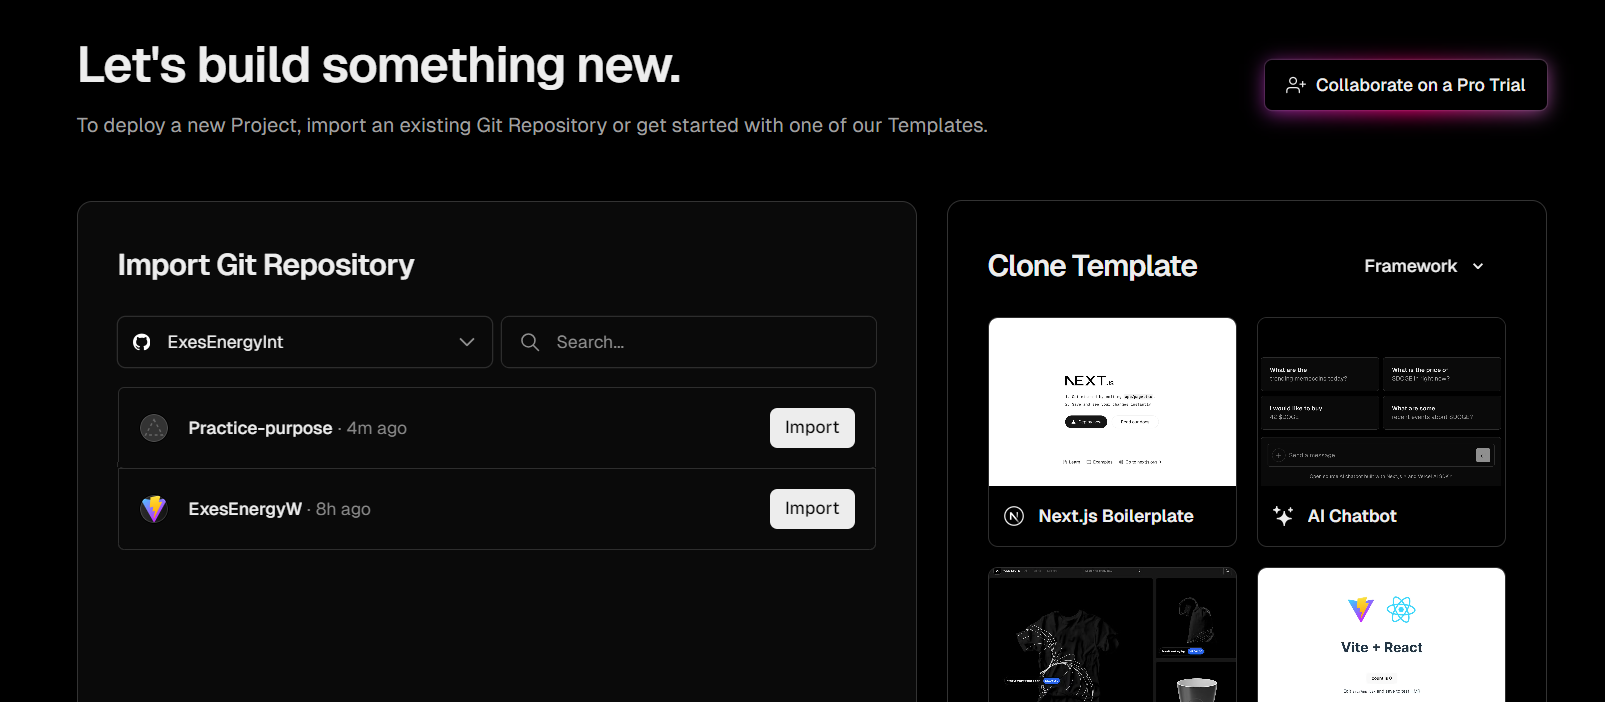
At this point, you’re done setting up your Vercel account. The next step is to deploy your project.
From the image description above, you can see an “import” button. Go to the particular project you want to deploy and click on the import button. In my case, I named my project repository “practice-purpose”.
Once you click the import button, it should lead you to the next page where you can input your project name and finally deploy it.
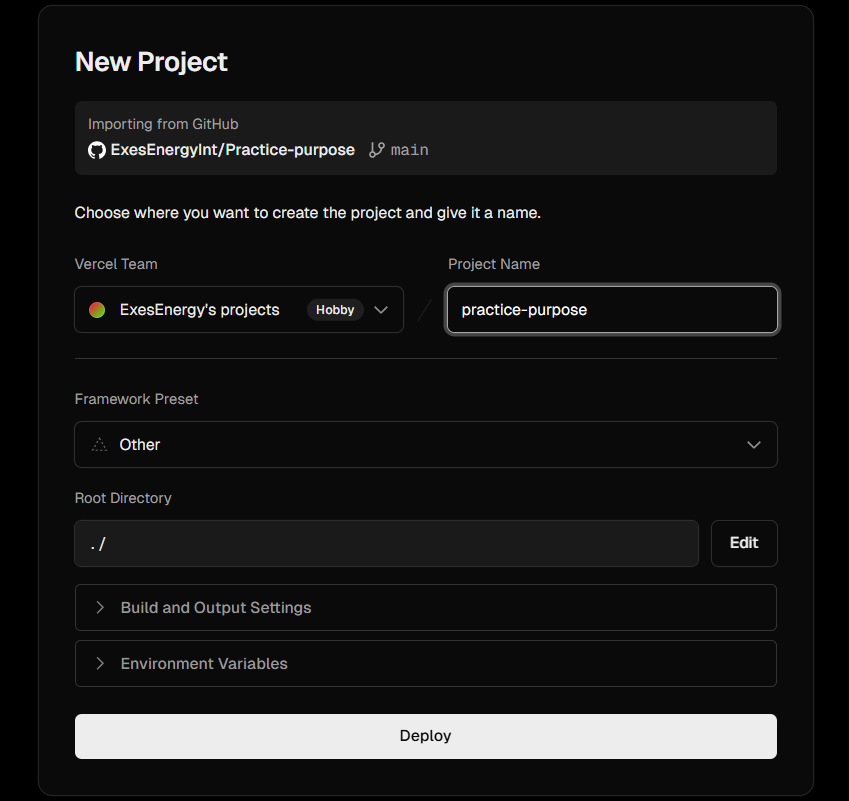
Wait for a few minutes for the deployment to be complete. After that, your interface should look like this:
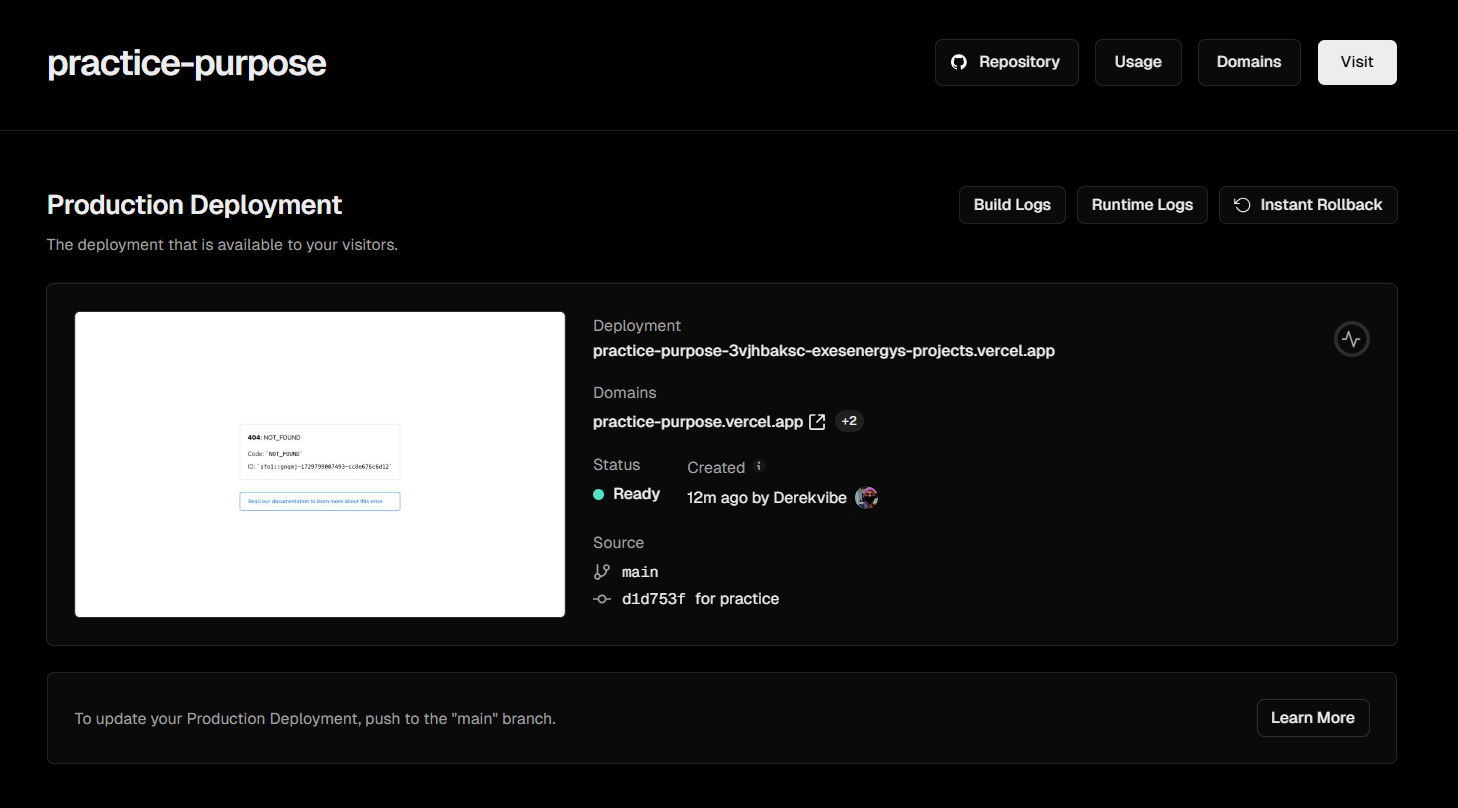
Congratulations! At this point, you have deployed your first project.
How to Configure a Custom Domain
Before you continue with the process of configuring a custom domain, you must have gotten your domain ready. If not, I have added a quick video that will guide you.
For this article, I will be making use of Namecheap, because that is where I got the domain I am using. Feel free to use any domain provider of your choice.
At this point, your domain name should be available. If that is so, let’s continue.
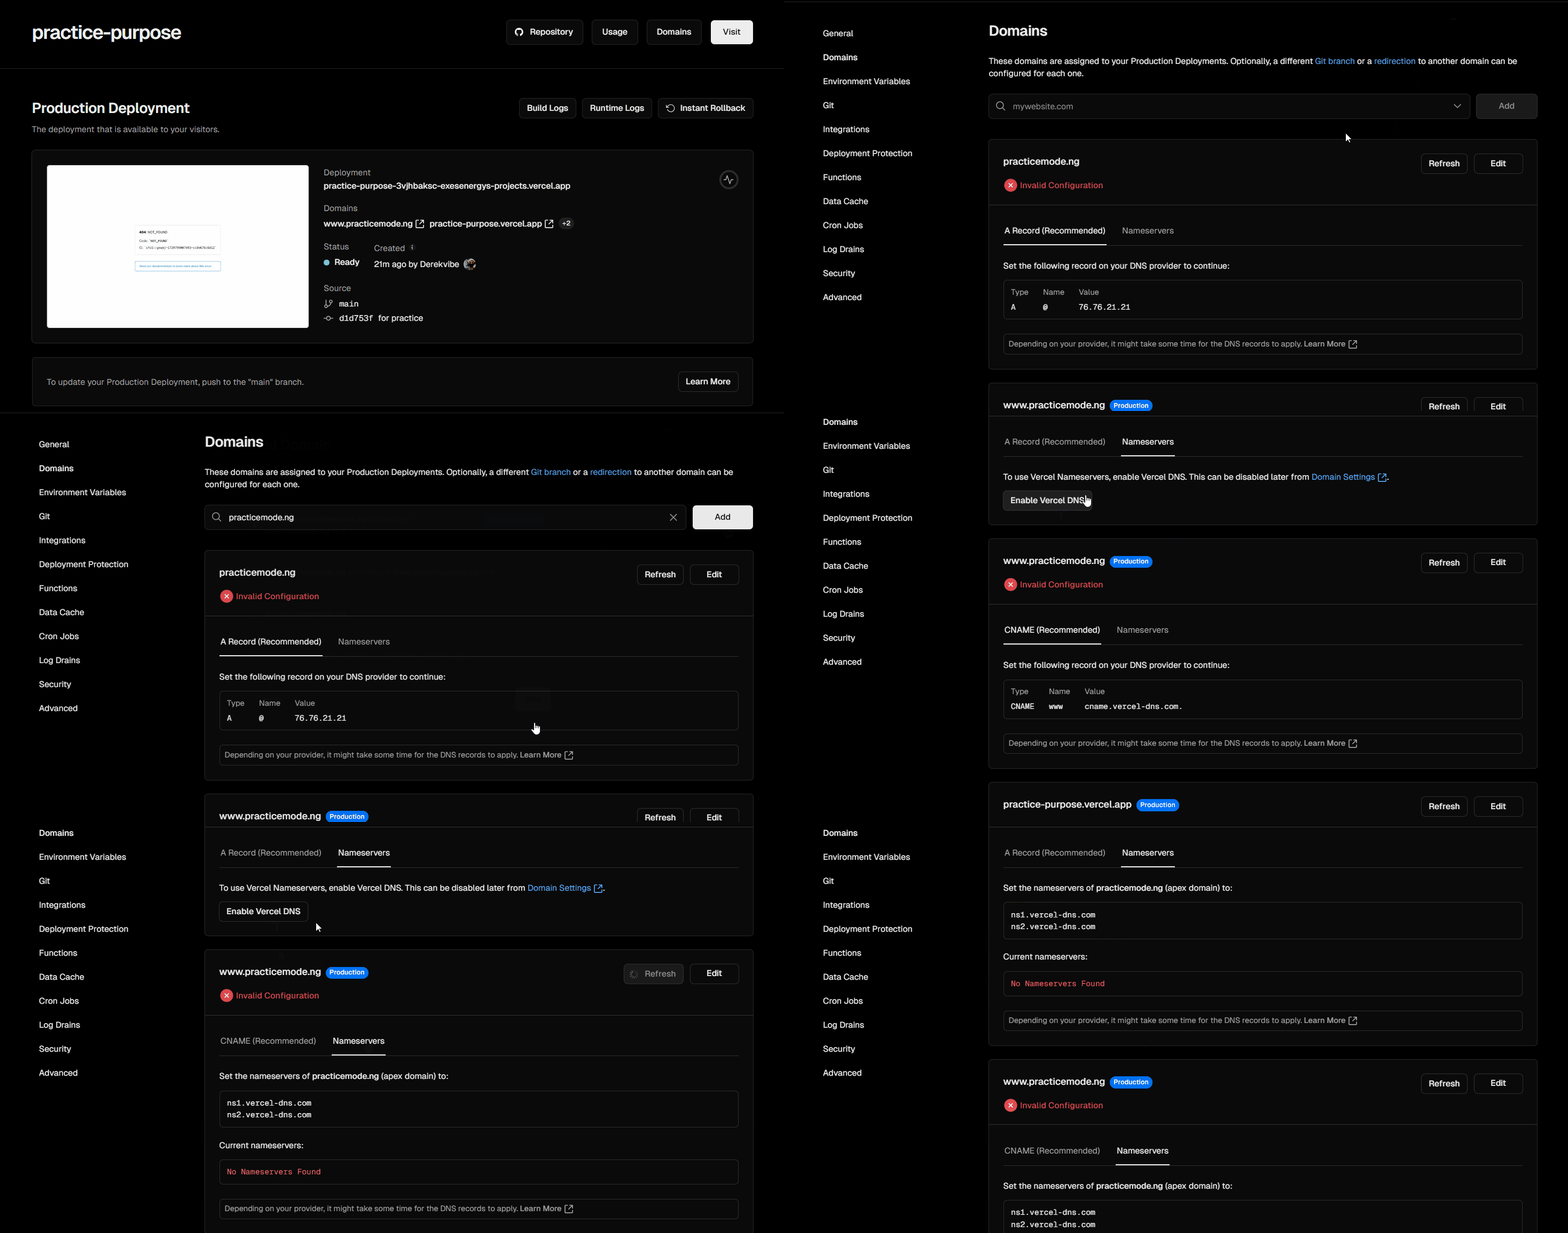
In your deployment page on Vercel, click on “Domain” in the navigation bar, input your custom domain name (the one you bought) in the space provided and click on “Add”.
When you click on the “Add” button, a prompt should pops up - don’t change anything, use the recommended option and click on the ‘Add’ button.
For the next step, click on the “Nameservers” option, then click on “Enable vercel DNS”.
Lastly, copy the DNS and head to the website where you purchased your domain.
Here are detailed images that show the above steps.
At this point, all you have to do is link your custom domain with Vercel, using the DNS you just copied from Vercel.
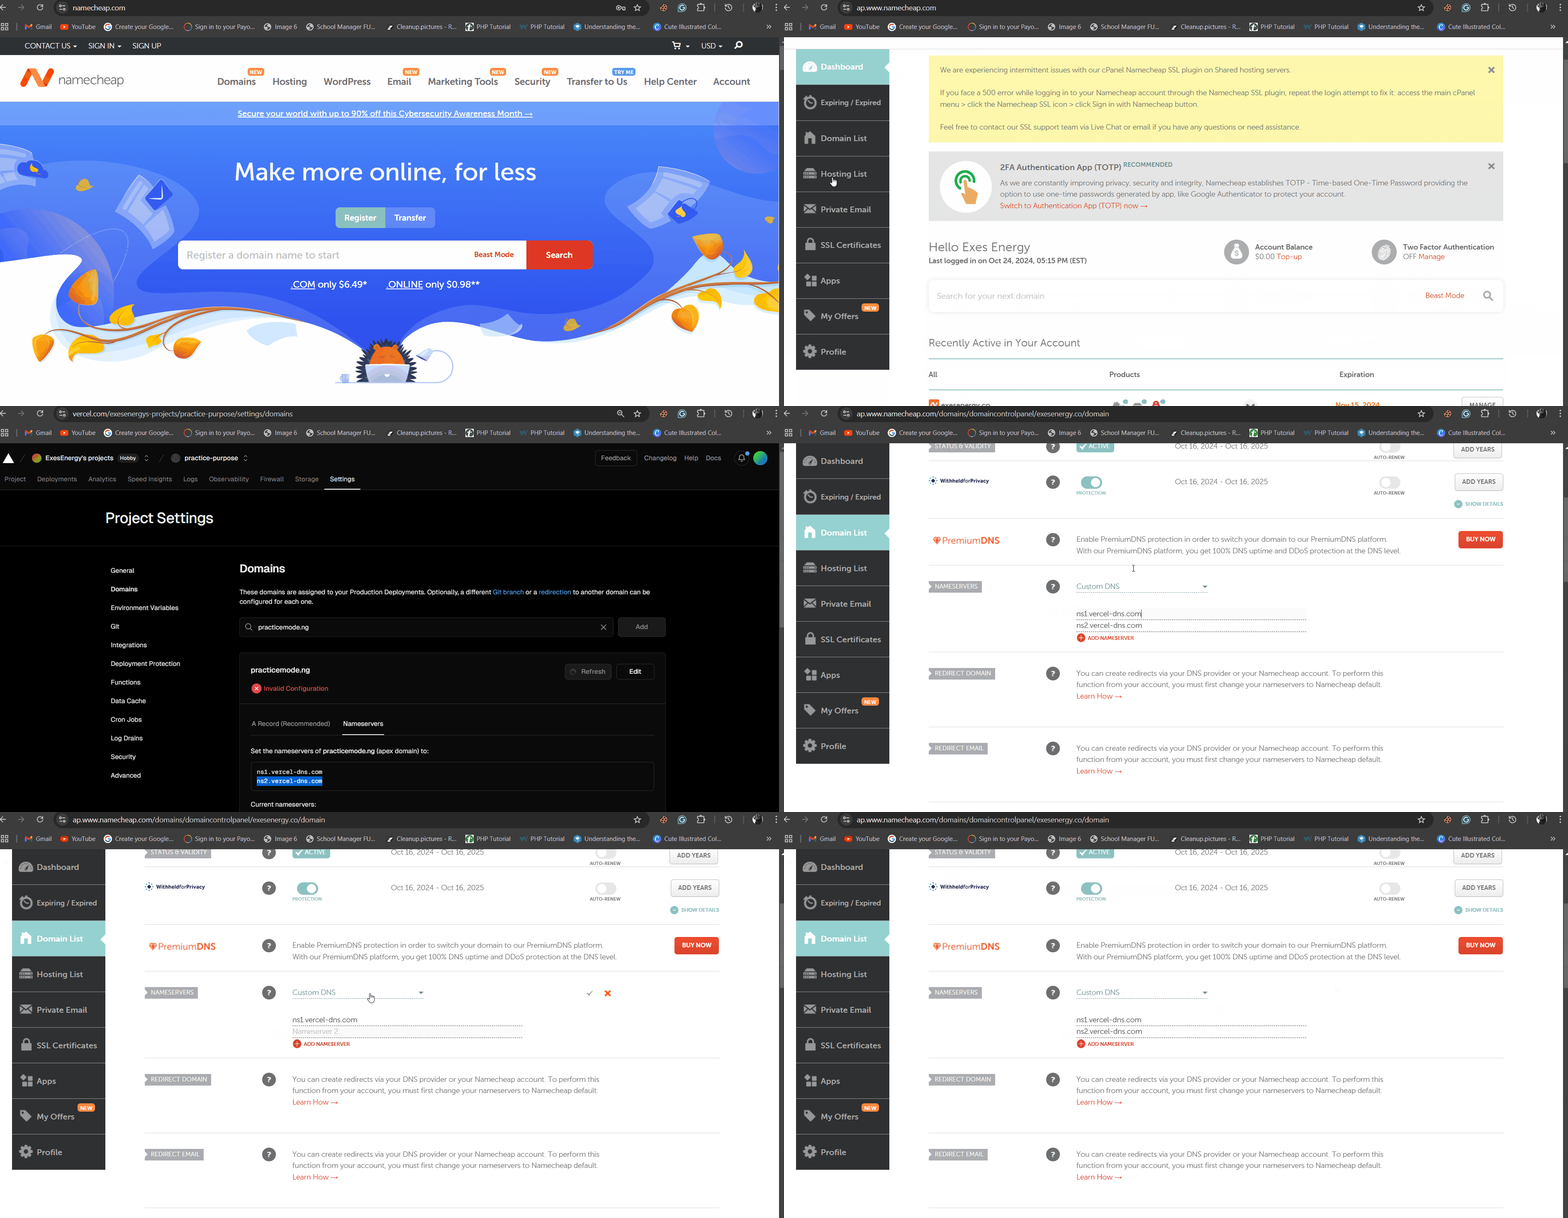
Here is how you can go do that (I’ll use the Namecheap process to explain it):
Go to the website where you purchased your domain and log in to your dashboard.
Head to the domain list option and click on it. This should display a list of domains you have purchased with that account.
Next, head to the domain name you used for your Vercel project and click on the “manage” option. This should open a page where details of the domain is displayed.
Find where you have “nameservers” and choose the “custom DNS” option. Lastly, paste each of the DNS you copied from Vercel into the spaces provided and click on save.
After this, you should get a prompt stating that the custom domain will be live in the next 48 hours. In most cases, it doesn’t take up to a day for it to be active.
Here is a detailed image that shows the above steps.
Conclusion
In this article, you learned about the Vercel platform, what a domain name means and its importance.
You also learned how to set up your Vercel account, deploy your project, and add a custom domain.
If you’ve read up to this point, I want to say a very big congratulations, and I hope you got the value out of this article.