HTTP Methods in Controller-based and Minimal APIs
HTTP Methods in Controller-based and Minimal APIs 관련
In a Controller-based approach, which is the traditional way of creating web APIs, you need to create a controller class and define methods for each HTTP method. For example:
- To create a
GETmethod, you use the[HttpGet]attribute. - To create a
POSTmethod, you use the[HttpPost]attribute. - To create a
PUTmethod, you use the[HttpPut]attribute. - To create a
DELETEmethod, you use the[HttpDelete]attribute.
This is how endpoints are created in a Controller-based approach.
In contrast, Minimal APIs use methods like app.MapGet, app.MapPost, app.MapPut, and app.MapDelete to create endpoints. This is the main difference between the two approaches: Controller-based APIs use attributes to define endpoints, while Minimal APIs use methods.
Now that you understand how to handle HTTP requests in both Controller-based and Minimal APIs, let's create our project folder structure.
Before we create our project folder structure, let's first run what we have. As we learned earlier, when you create a project with either Visual Studio or .NET CLI, it comes with a default WeatherForecast project which we can run and see on the UI. Let's run it to ensure everything works before we go on to create our project folder.
Run this command:
dotnet run
#
# info: Microsoft.Hosting.Lifetime[14]
#       Now listening on: http://localhost:5228
# info: Microsoft.Hosting.Lifetime[0]
#       Application started. Press Ctrl+C to shut down.
# info: Microsoft.Hosting.Lifetime[0]
#       Hosting environment: Development
# info: Microsoft.Hosting.Lifetime[0]
#       Content root path: D:\Devolopemnt\Dotnet\bookapi-minimal
This means the application is running and listening on http://localhost:5228. As I mentioned above, since we are using the dotnet CLI and Visual Studio Code, the application will not automatically open the browser for us. We need to do this manually.
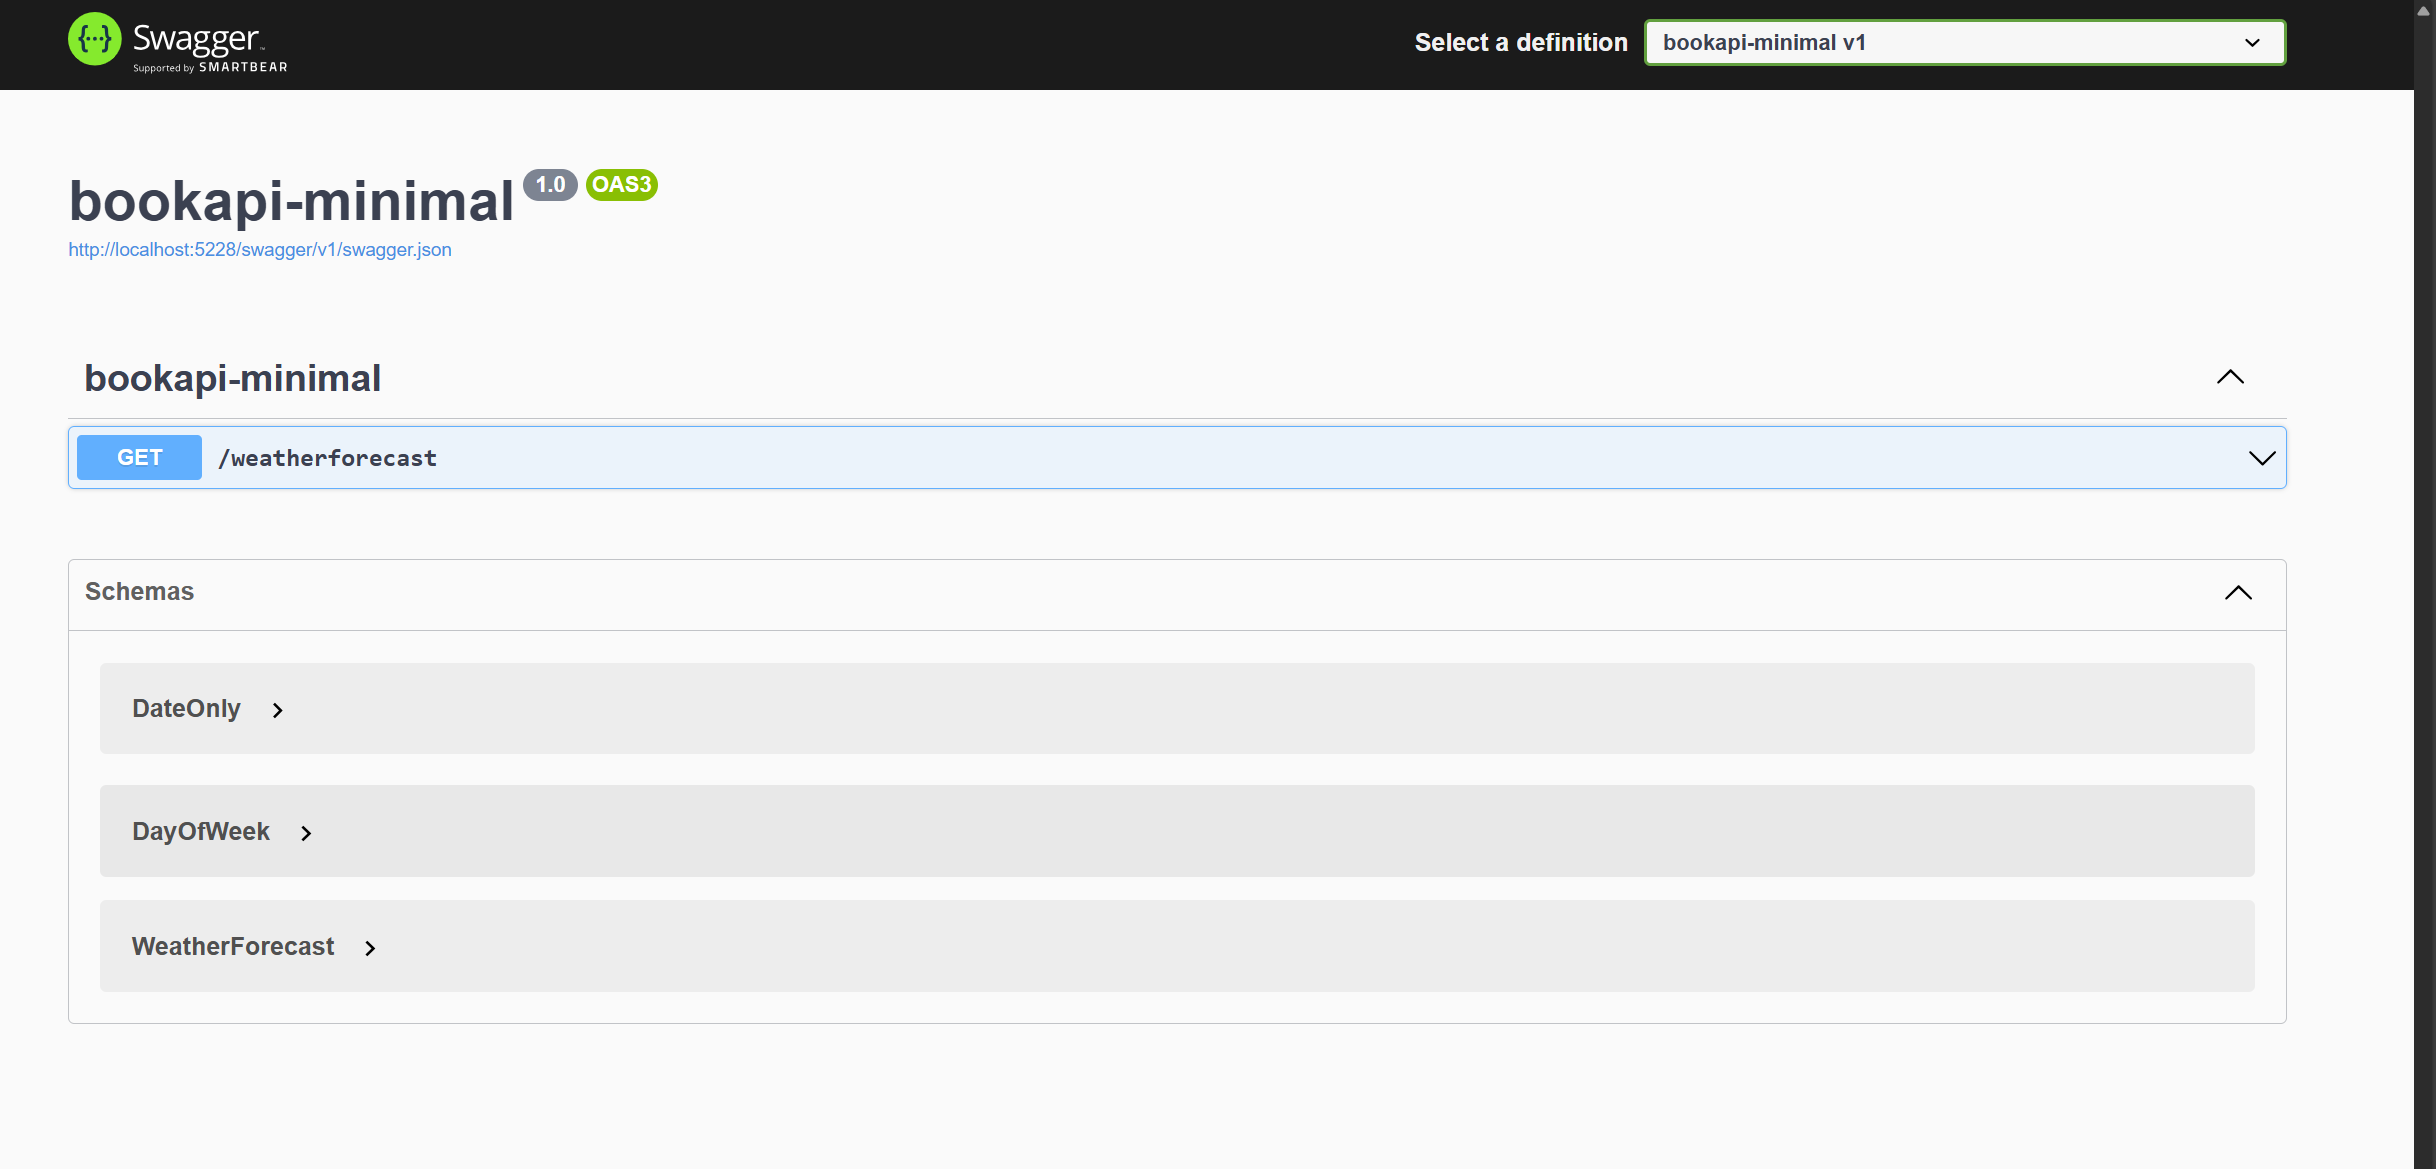
Open your browser and navigate to http://localhost:5228/swagger/index.html to see the default response from the API.
You should see something like this:

Now the next thing for us to do is find a way to structure our project and create the necessary files and folders to get us started.